Need any help or advice?![]() +44 (0)1782 454499
+44 (0)1782 454499
Specification
Weight and Dimensions
| Length | 1250 | mm |
|---|---|---|
| Wall Thickness | 0.035 | mm |
| Width | 625 | mm |
Product Data
| Colour | Silver | |
|---|---|---|
| Chemistry / Material | Aluminium | |
| Brand | Corex | |
| Cell Size | 3.2 | mm |
| Density (Dry) | 72.1 | kg/m³ |
| Thickness | 10 | mm |
Mechanical Properties
| Max Service Temp | 120 | °C |
|---|---|---|
| Compressive Strength (Stabilised) | 3.85 | MPa |
| Plate Shear Strength (lengthways) | 2.34 | MPa |
| Plate Shear Modulus (lengthways) | 482 | MPa |
| Plate Shear Strength (widthways) | 1.52 | MPa |
| Plate Shear Modulus (widthways) | 214 | MPa |
General Properties
| Gross Weight | 0.665 | kg |
|---|
Shipping Information
Restrictions
This product is not classed as dangerous goods for transport and can be shipped to all destinations without restriction.
Package Size
There are no package size restrictions or surcharges for this product.
Delivery Cost
To find the delivery cost of this item to your address, add it to your basket and then use the instant shipping calculator on the basket page.

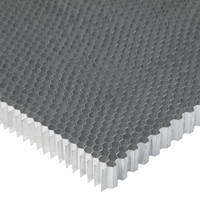
3.2mm (1/8") Cell Aluminium Honeycomb
- AHC-032-Q-10
- No reviews
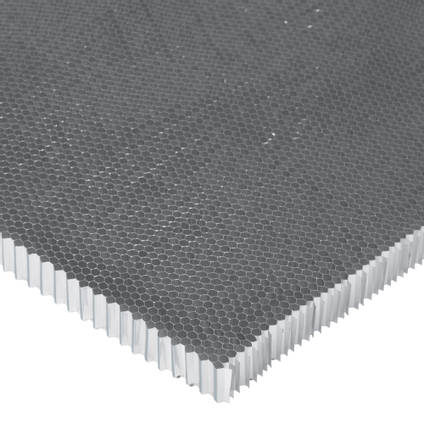
SUPPLIED UNEXPANDED; see full description. Unexpanded, unperforated aluminium honeycomb core material made from 5052 grade alloy. The honeycomb has a 76.9kg/m3 density and small 1/8" cells. This specification is typically used for the most high-spec applications including high-end motorsport/f1 and aerospace components, generally in conjunction with prepreg laminates and adhesive film.
Available in 10mm, 15mm and 20mm thicknesses in full sheet sizes of 2500mm x 1250mm or quarter sheets of 1250mm x 652mm.
PRODUCT VERSIONS
Sheet Size
Thickness
AVAILABILITY:More than 10 availablefor immediate shipping
Trade discounts
| 0-4 | 5+ |
|---|---|
| €80.55 | €70.50 |
We won’t be beaten on price!
If you believe you’re buying an equivalent product cheaper elsewhere, contact us to discuss your requirements.
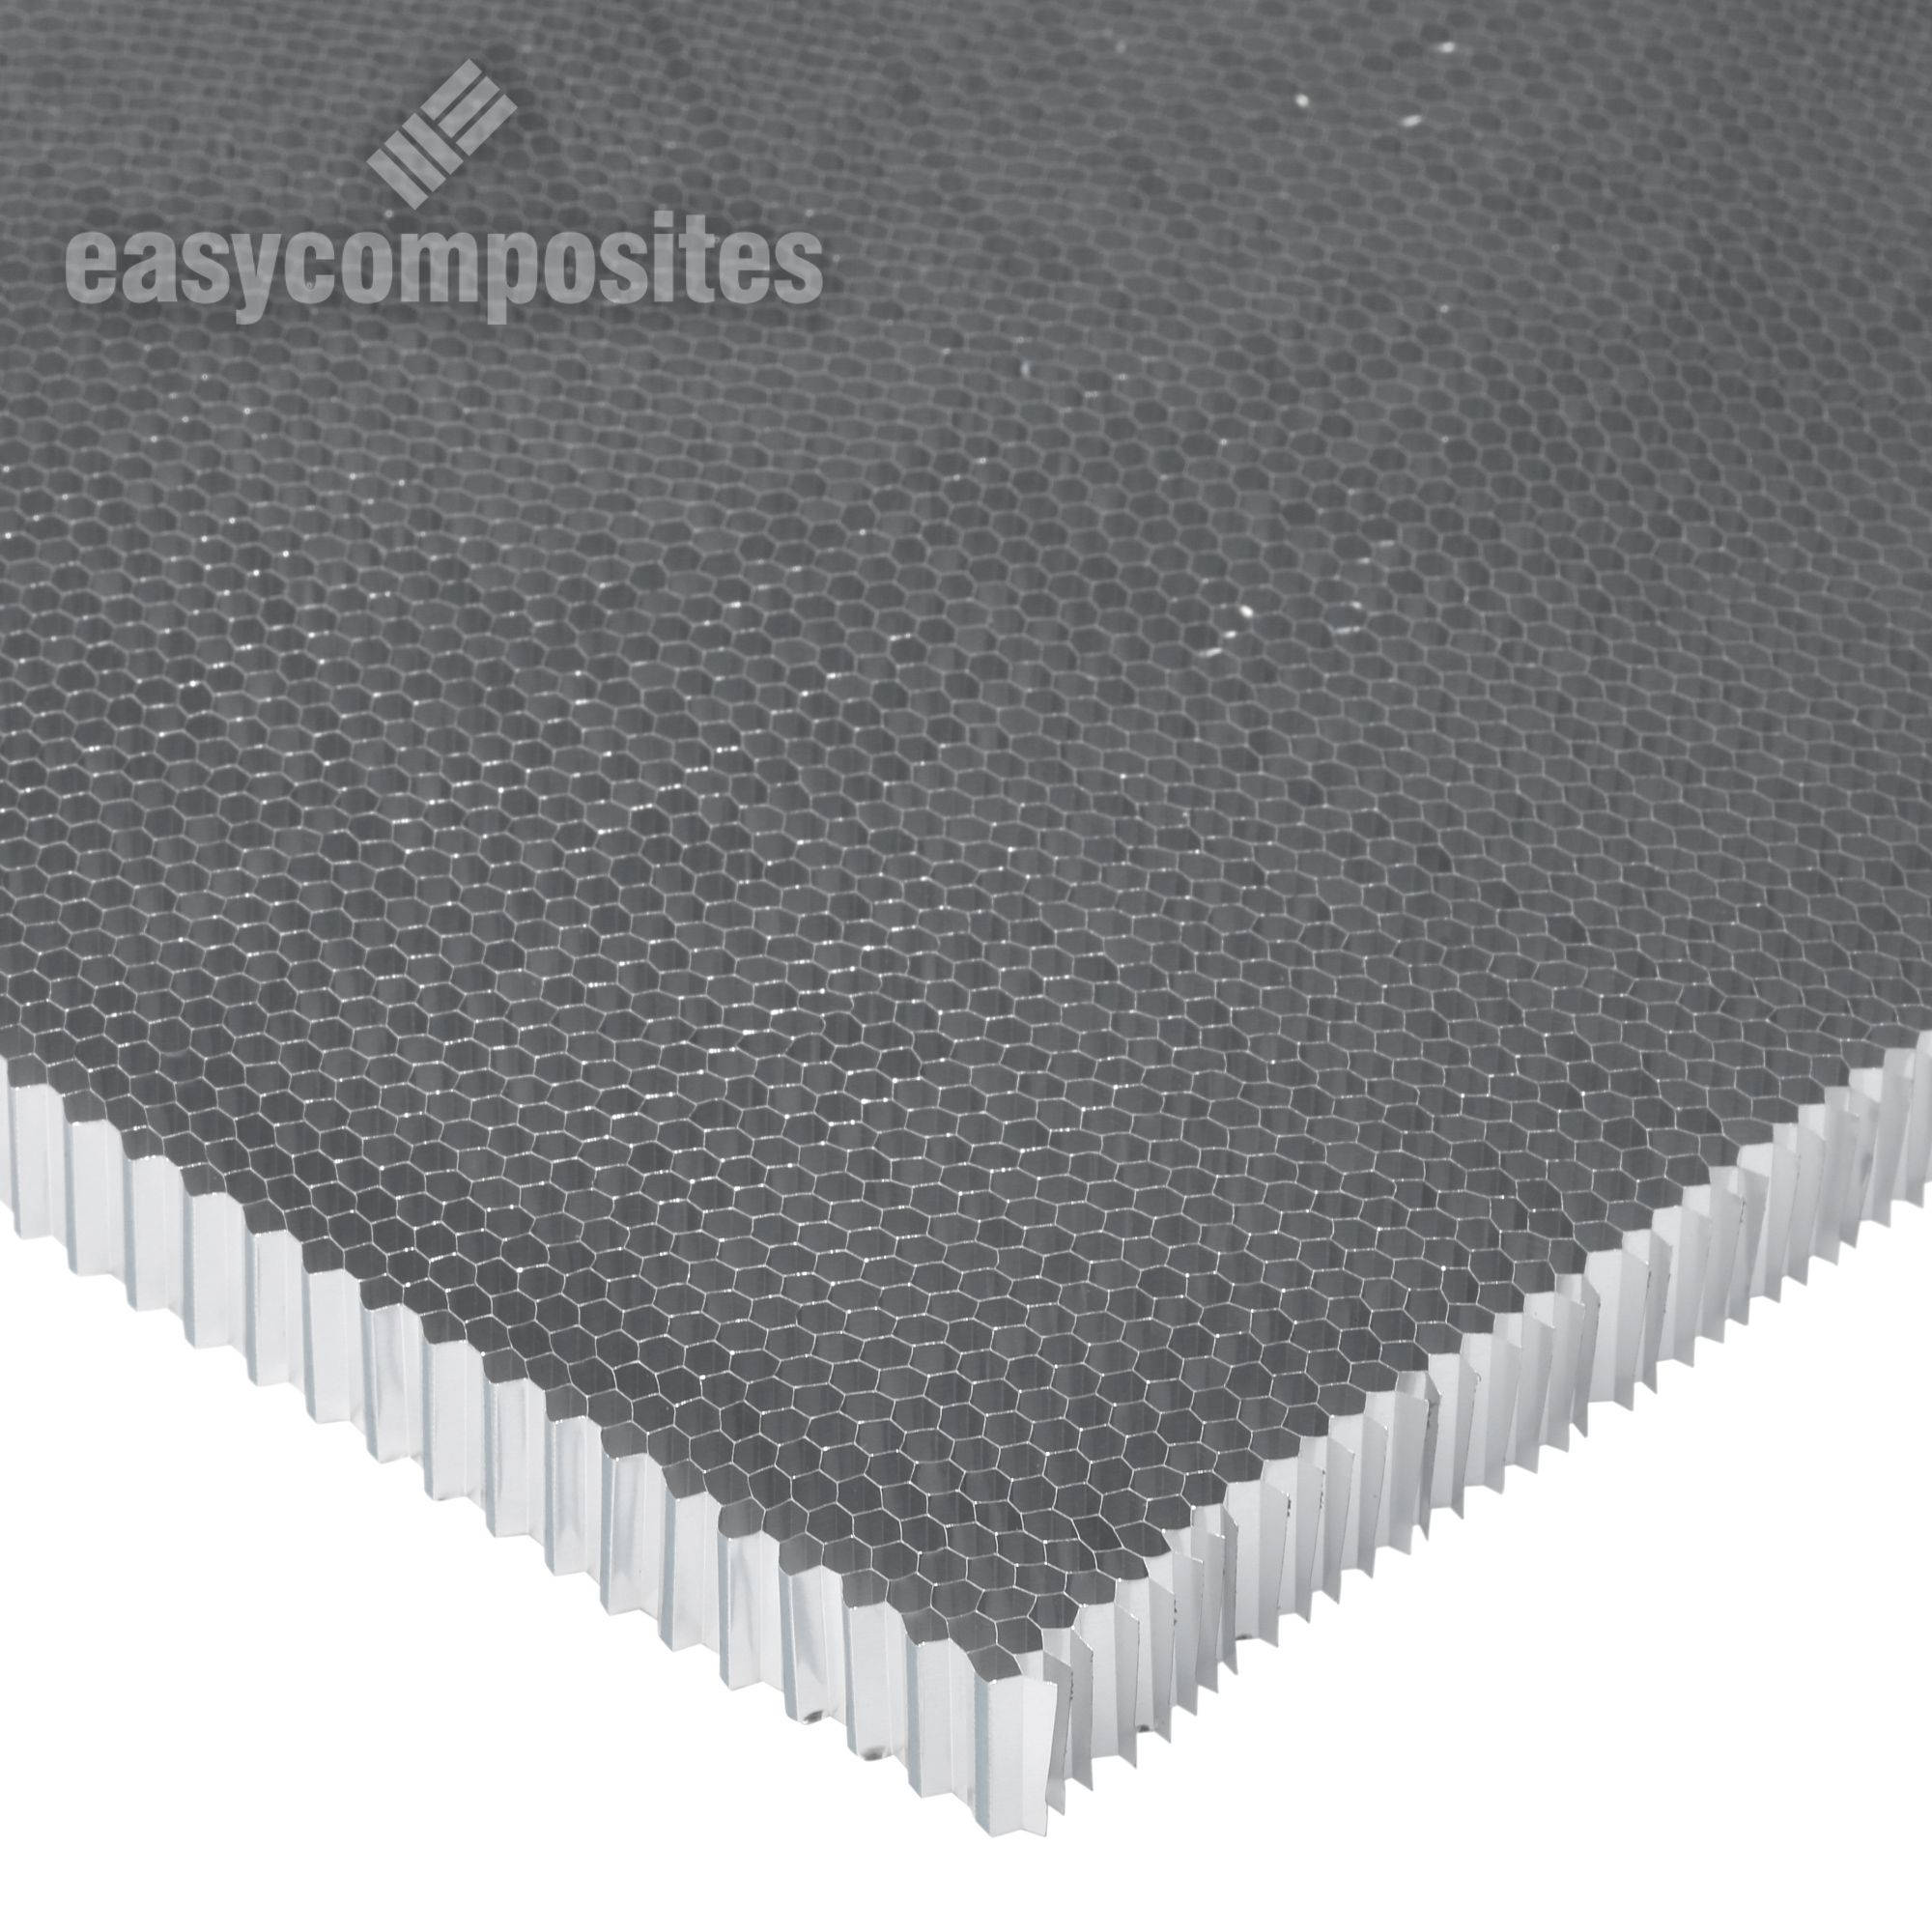
High performance aluminium honeycomb core exactly as supplied to the world's top composites engineering, aerospace and motorsport manufacturers.
Used correctly, aluminium honeycomb can be used to reduce the weight and increase the stiffness of composite panels in a wide range of applications:
This very small 3.2mm / 1/8" cell size honeycomb is one of the highest specification honeycombs available. It is used in the most demanding motorsport (F1) and aerospace applications to create incredibly strong sandwich panels.
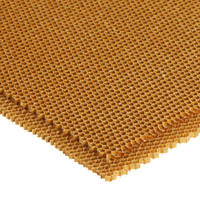
Our 3.2mm / 1/8" Aluminium Honeycomb has the smallest cell sizes of the 3 honeycombs that we offer. Smaller cell sizes means a stronger honeycomb but at the same time it is heavier and more expensive than honeycombs with a larger cell size (and therefore lower density).
How to Buy
Thickness
The honeycomb listed on this page is available in 10mm, 15mm and 20mm thicknesses. Please choose the thickness you require from the options at the top of the page.
Sheet Sizes (once expanded)
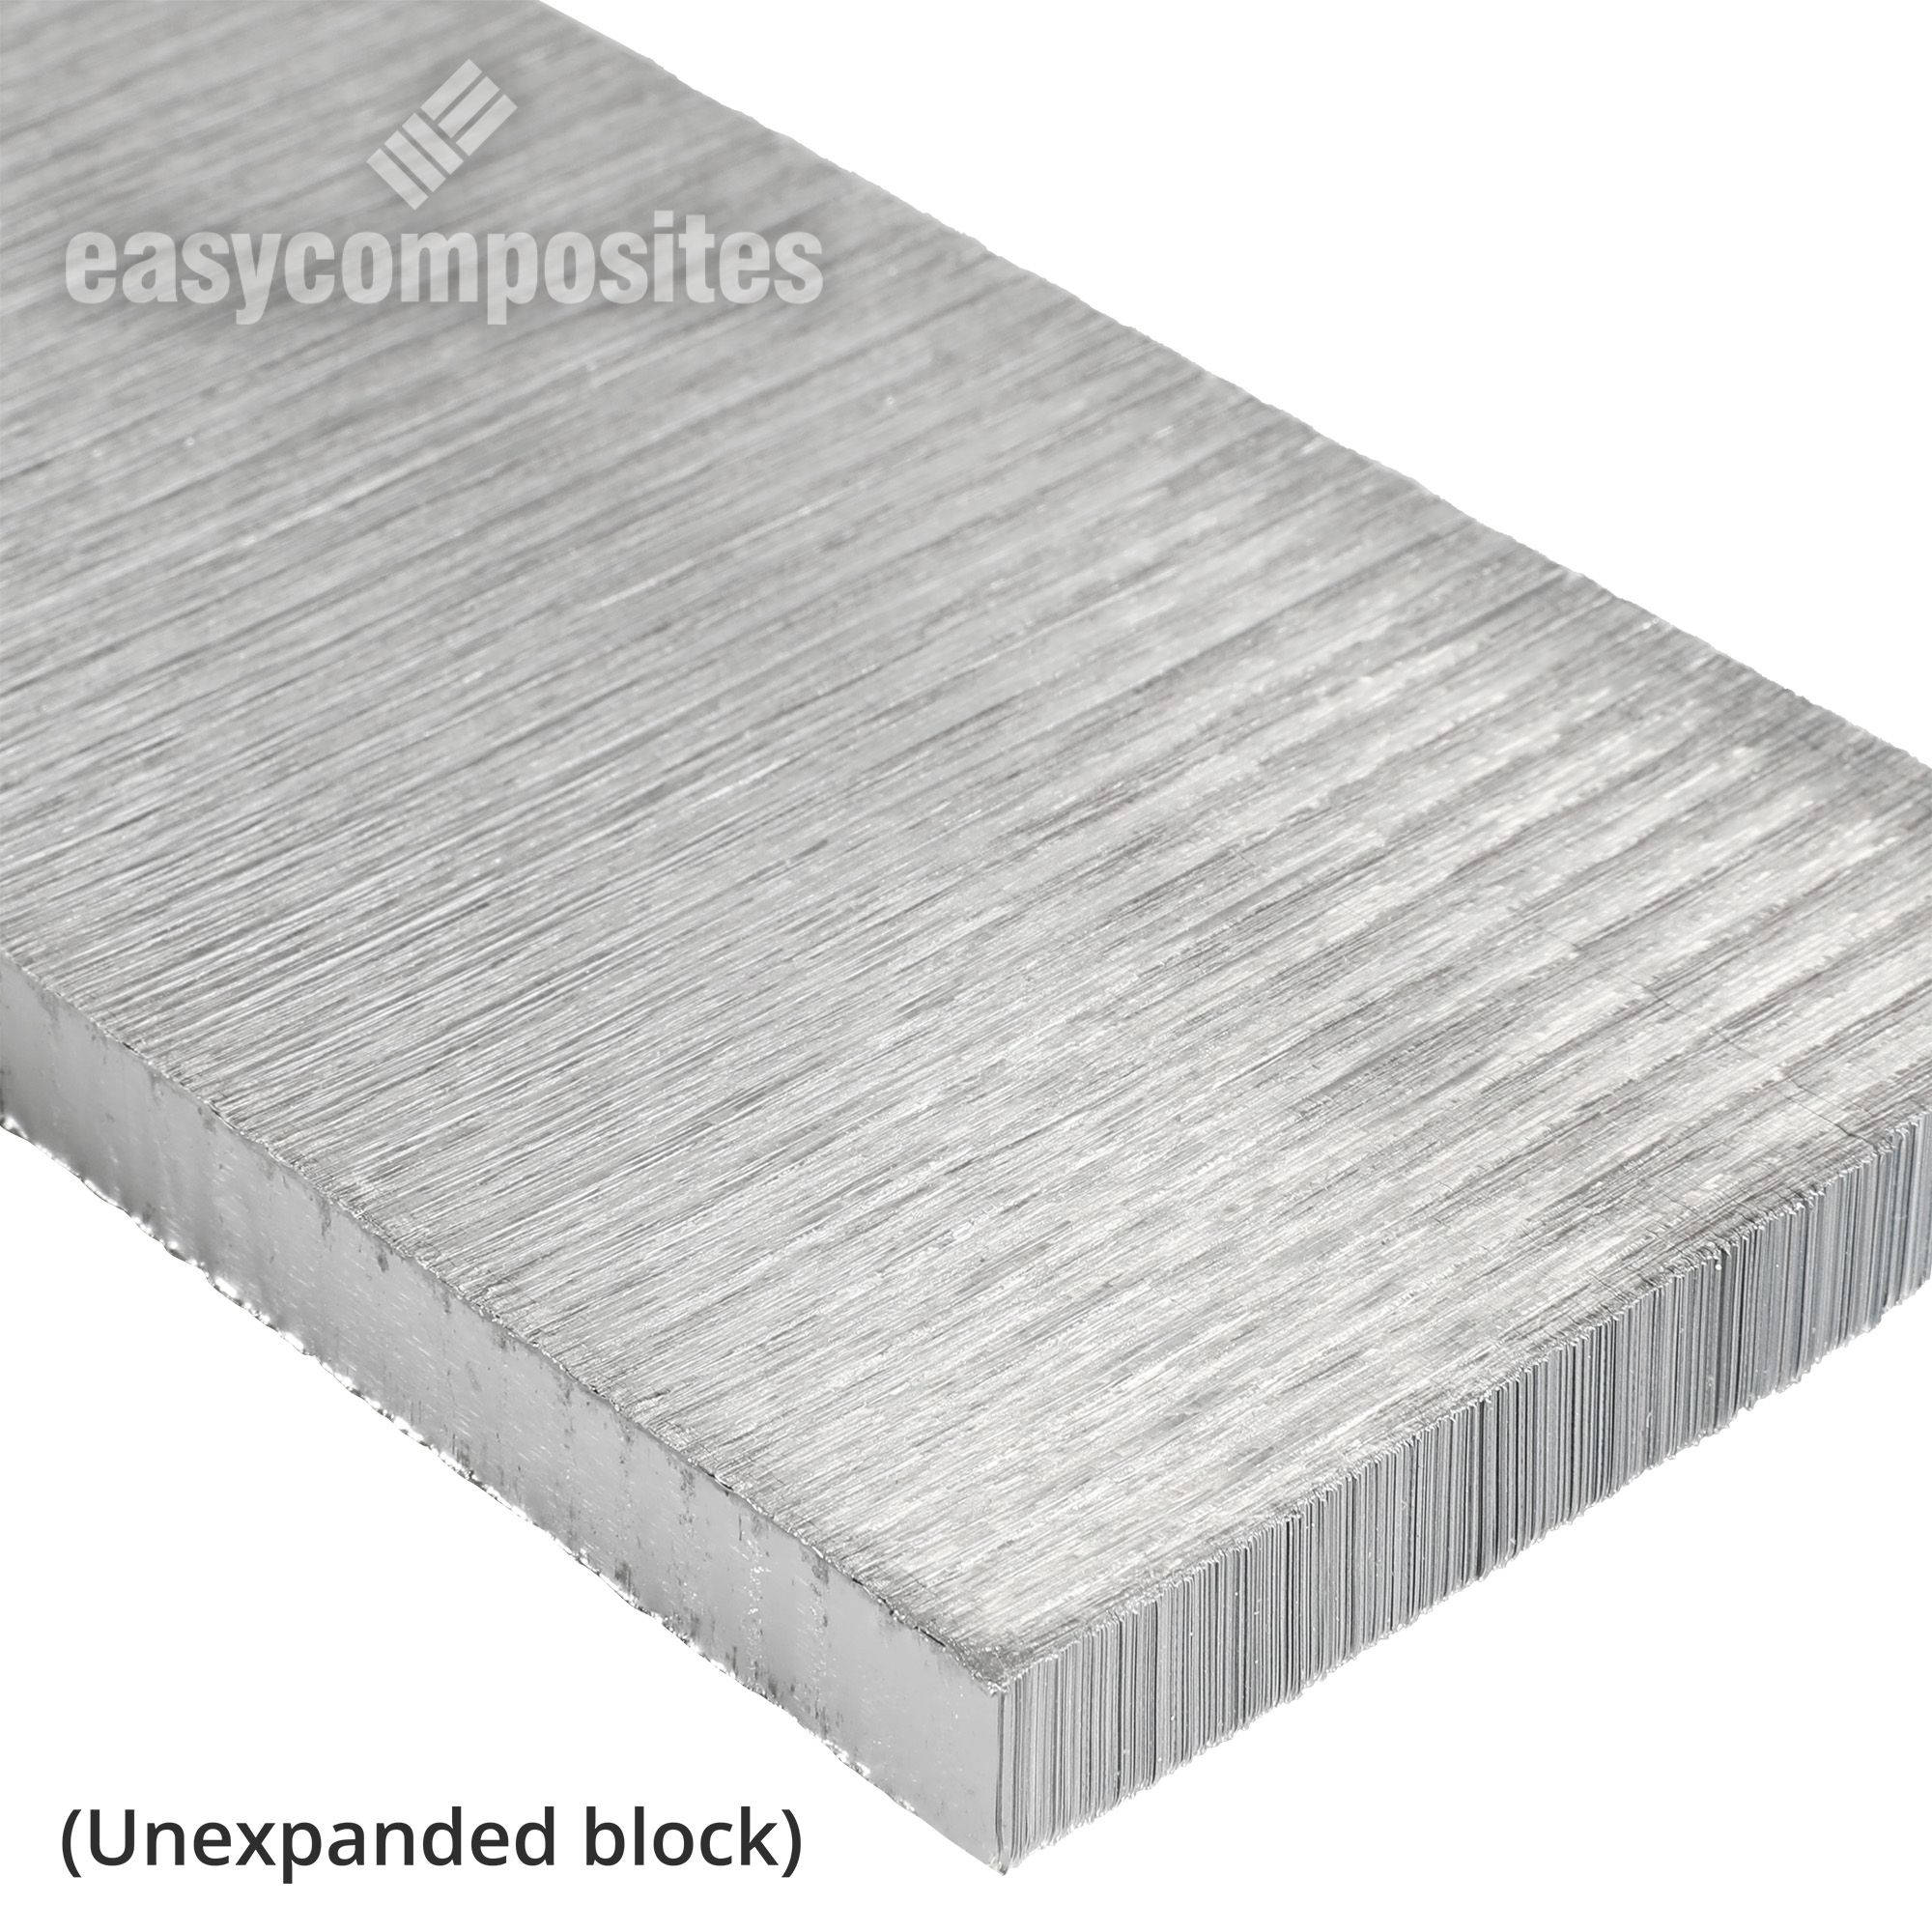
We stock and ship all our aluminium honeycomb in unexpanded block form (see below). This makes them much smaller and more cost effective to ship but also, importantly, ensures that they can be delivered undamaged, ready to be expanded into an undamaged sheet of honeycomb.
Sheets are available in blocks which will expand to a full sheet size of approximately 2500mm x 1250mm, or to a smaller sheet size of 1250mm x 652mm. Please choose the sheet size you require from the drop-down list at the top of the page.
Please note, when expanding aluminium honeycomb, several rows of cells will always be distorted by the expansion process and will generally not be usable which will reduce the usable area of the expanded honeycomb. The expanded sheet dimensions above make some allowance of this but depending on the expansion process, the usable dimensions may be less than those stated above.
Alternative Cell Sizes
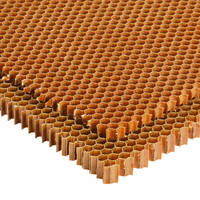
We also stock in 1/4" cell size aluminium honeycomb and 3/4" cell size aluminium honeycomb.
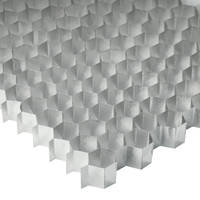
Supplied Unexpanded
Due to its fragile nature and large dimensions, aluminium honeycomb is supplied unexpanded in block form and must be expanded before use.
In industry, a specialist expanding machine is used to expand the honeycomb on site. Where an expansion machine is not available, the honeycomb can be expanded by hand using an improved rig; depending on the cell size and thickness, this can vary from easy, to difficult, to do. If you plan to expand the aluminium honeycomb by hand, please read our Guide to Expanding Aluminium Honeycomb by Hand. Easy Composites cannot be held responsible for damage caused to the honeycomb by the expansion method employed.
Trade discounts
| 0-4 | 5+ |
|---|---|
| €80.55 | €70.50 |
We won’t be beaten on price!
If you believe you’re buying an equivalent product cheaper elsewhere, contact us to discuss your requirements.
High performance aluminium honeycomb core exactly as supplied to the world's top composites engineering, aerospace and motorsport manufacturers.
Used correctly, aluminium honeycomb can be used to reduce the weight and increase the stiffness of composite panels in a wide range of applications:
This very small 3.2mm / 1/8" cell size honeycomb is one of the highest specification honeycombs available. It is used in the most demanding motorsport (F1) and aerospace applications to create incredibly strong sandwich panels.
Our 3.2mm / 1/8" Aluminium Honeycomb has the smallest cell sizes of the 3 honeycombs that we offer. Smaller cell sizes means a stronger honeycomb but at the same time it is heavier and more expensive than honeycombs with a larger cell size (and therefore lower density).
How to Buy
Thickness
The honeycomb listed on this page is available in 10mm, 15mm and 20mm thicknesses. Please choose the thickness you require from the options at the top of the page.
Sheet Sizes (once expanded)
We stock and ship all our aluminium honeycomb in unexpanded block form (see below). This makes them much smaller and more cost effective to ship but also, importantly, ensures that they can be delivered undamaged, ready to be expanded into an undamaged sheet of honeycomb.
Sheets are available in blocks which will expand to a full sheet size of approximately 2500mm x 1250mm, or to a smaller sheet size of 1250mm x 652mm. Please choose the sheet size you require from the drop-down list at the top of the page.
Please note, when expanding aluminium honeycomb, several rows of cells will always be distorted by the expansion process and will generally not be usable which will reduce the usable area of the expanded honeycomb. The expanded sheet dimensions above make some allowance of this but depending on the expansion process, the usable dimensions may be less than those stated above.
Alternative Cell Sizes
We also stock in 1/4" cell size aluminium honeycomb and 3/4" cell size aluminium honeycomb.
Supplied Unexpanded
Due to its fragile nature and large dimensions, aluminium honeycomb is supplied unexpanded in block form and must be expanded before use.
In industry, a specialist expanding machine is used to expand the honeycomb on site. Where an expansion machine is not available, the honeycomb can be expanded by hand using an improved rig; depending on the cell size and thickness, this can vary from easy, to difficult, to do. If you plan to expand the aluminium honeycomb by hand, please read our Guide to Expanding Aluminium Honeycomb by Hand. Easy Composites cannot be held responsible for damage caused to the honeycomb by the expansion method employed.
Specification
Weight and Dimensions
| Length | 1250 | mm |
|---|---|---|
| Wall Thickness | 0.035 | mm |
| Width | 625 | mm |
Product Data
| Colour | Silver | |
|---|---|---|
| Chemistry / Material | Aluminium | |
| Brand | Corex | |
| Cell Size | 3.2 | mm |
| Density (Dry) | 72.1 | kg/m³ |
| Thickness | 10 | mm |
Mechanical Properties
| Max Service Temp | 120 | °C |
|---|---|---|
| Compressive Strength (Stabilised) | 3.85 | MPa |
| Plate Shear Strength (lengthways) | 2.34 | MPa |
| Plate Shear Modulus (lengthways) | 482 | MPa |
| Plate Shear Strength (widthways) | 1.52 | MPa |
| Plate Shear Modulus (widthways) | 214 | MPa |
General Properties
| Gross Weight | 0.665 | kg |
|---|
This can be done by hand using a cutting template on top of the expanded honeycomb and a sharp knife to cut through the foils, or alternatively laser cutting can be used with a CAD drawn template to cut the discs more precisely and neatly.
The easiest way to cut aluminium honeycomb is to use a metal ruler as a guide and slice through the foils and cells using a stanley blade or similar. Each individual foil will cut easily and neatly as long as the blade is long enough to cut the foil in one step.
Yes absolutely, our aluminium honeycomb is often used on laser cutting beds. We have many regular customers who use it for that exact purpose. To ensure the Honeycomb lays flat, customers usually put the honeycomb into the original manufacturers supplied bed frame or fabricate a frame of their own to suit.
What it means is that the cell walls/foil have got tiny regular perforations in the foil itself into adjoining cells. This helps to avoid any pressure imbalance between cells, especially when processing using positive (autoclave) or negative (vacuum bag) pressure.
We sell a product called ET538 Honeycomb Bonding Adhesive. Although this adhesive is primarily aimed at bonding aluminium honeycomb to composite or aluminium skins it would also be ideal for bonding the honeycomb to wood. Epoxies are well known for their excellent bond to wood and the bond to the honeycomb would also be excellent.
Start by using your fingers to tease some of the cells open at the edges of the block. Once you've done this we use a simply 'puller' fashioned from a strip of wood with a series of nails in. We hook the nails through the open cells and then just pull the whole assembly to open the cells. As you expand it you can unhook the cells from over the nails and move them across so they are slightly closer together (the width of the honeycomb reduces as it becomes properly expanded). It might not sound too sophisticated but it works well and the commercial expanders aren't much different.
Yes, you can definitely use aluminium honeycomb in a wet-lay vac-bag process but it's almost always necessary to do this as a 'two shot' cure. By this, we mean that the outer skin of the sandwich panel should be laminated and vacuum bagged first (usually with a peel-ply finish on the inside). Once cured, the vacuum bag is removed and then you proceed with positioning the core and the inside skin which are then vacuum bagged again.
If you don't do this then you're likely to get a pretty pour finish on the outside (visible side) of the part because the pressure of the vacuum bag would only be pressing down on the laminate where the honeycomb is in contact with it, causing a sort of hexagon print pattern on the laminate.
ASK YOUR OWN QUESTION
Customer Product Reviews for 3.2mm (1/8") Cell Aluminium Honeycomb
SUBMIT YOUR OWN PRODUCT REVIEW
We publish all reviews for verified purchases. Submit your own review and help other customers with their choices.SUBMIT YOUR OWN PRODUCT REVIEW
We publish all reviews for verified purchases. Submit your own review and help other customers with their choices.Shipping Information
Restrictions
This product is not classed as dangerous goods for transport and can be shipped to all destinations without restriction.
Package Size
There are no package size restrictions or surcharges for this product.
Delivery Cost
To find the delivery cost of this item to your address, add it to your basket and then use the instant shipping calculator on the basket page.
100% SECURE
PAYMENT METHODS
Easy Composites EU B.V., registered in the Netherlands 73601195. All content copyright (C) Easy Composites Ltd, 2025. All rights reserved.