Need any help or advice?![]() +44 (0)1782 454499
+44 (0)1782 454499


PRODUCTS USED IN THIS PROJECT
Although not necessarily an exhaustive list, the following tools and materials, supplied by Easy Composites, were used in this project.
The quantity shown below is the approximate amount used in the project rounded up to the nearest available kit size or quantity.

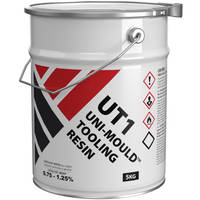
RESIN & PIGMENTS


MOULD MAKING MATERIALS
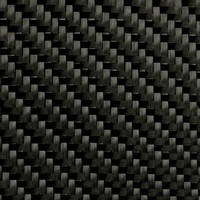
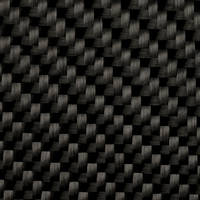
REINFORCEMENTS
CUSTOMER GALLERY
Creating an RTM Mould and Carbon Speed Shape
Matthieu was keen to experiment with the RTM process on a smaller/hobby level to create RTM parts with a good finish on both sides. So he decided to test the process and fabricate a mould to make a carbon fibre speed shape as a test piece.
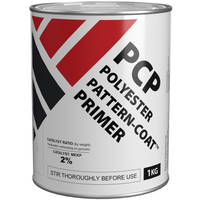
First step was to prepare an old speed shape former to use as a pattern for the lower mould. The former was trimmed and sanded smooth before being coated with Pattern Coat Primer. This gave an easily to shape surface to get the profile to the required standard. The pattern was then polished to a good level of gloss.
A large mould box was then constructed out of a formica covered wood and the pattern mounted centrally within it. The edges were profiled and rounded to ensure an easy release of the finished mould. The Pattern was then release coated using the CR1 Easy-Lease Release Agent.
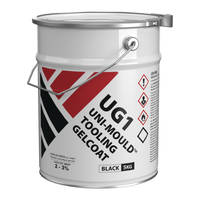
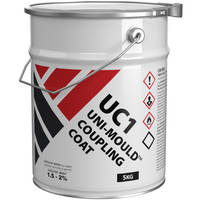
The Lower Mould was then made using the Uni-Mould Mould Making system in the conventional way starting with the UG1 tooling gelcoat, UC1 Coupling Coat and the reinforcement with the UT1 Tooling Resin. Once the mould was cured, the mould box was removed and pattern demoulded.
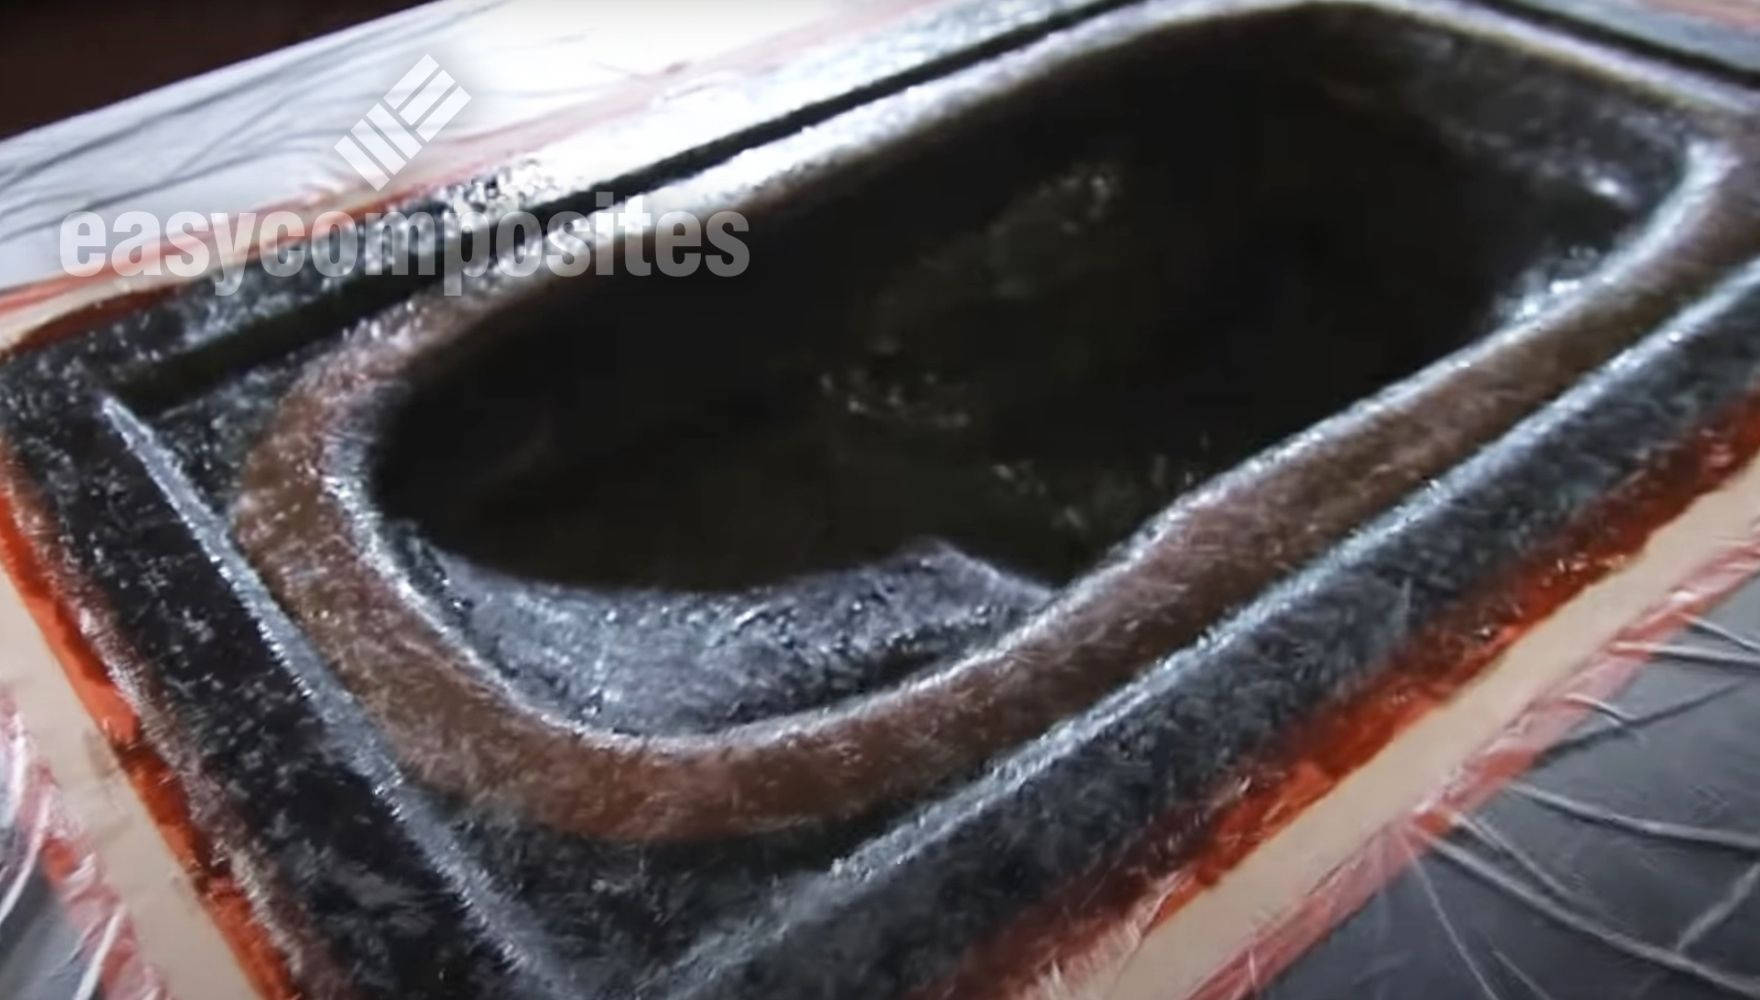
To create a flat surface and allow the central part to be lowered to created the necessary recess for the process, GlassCast 50 was poured to raise the height of the flange and create a very flat level surface. This needed a new mould box on the inside and outside to partition off the area to be filled. The surface was suitably cleaned and keyed for adhesion and the resin pigmented black before the pour.
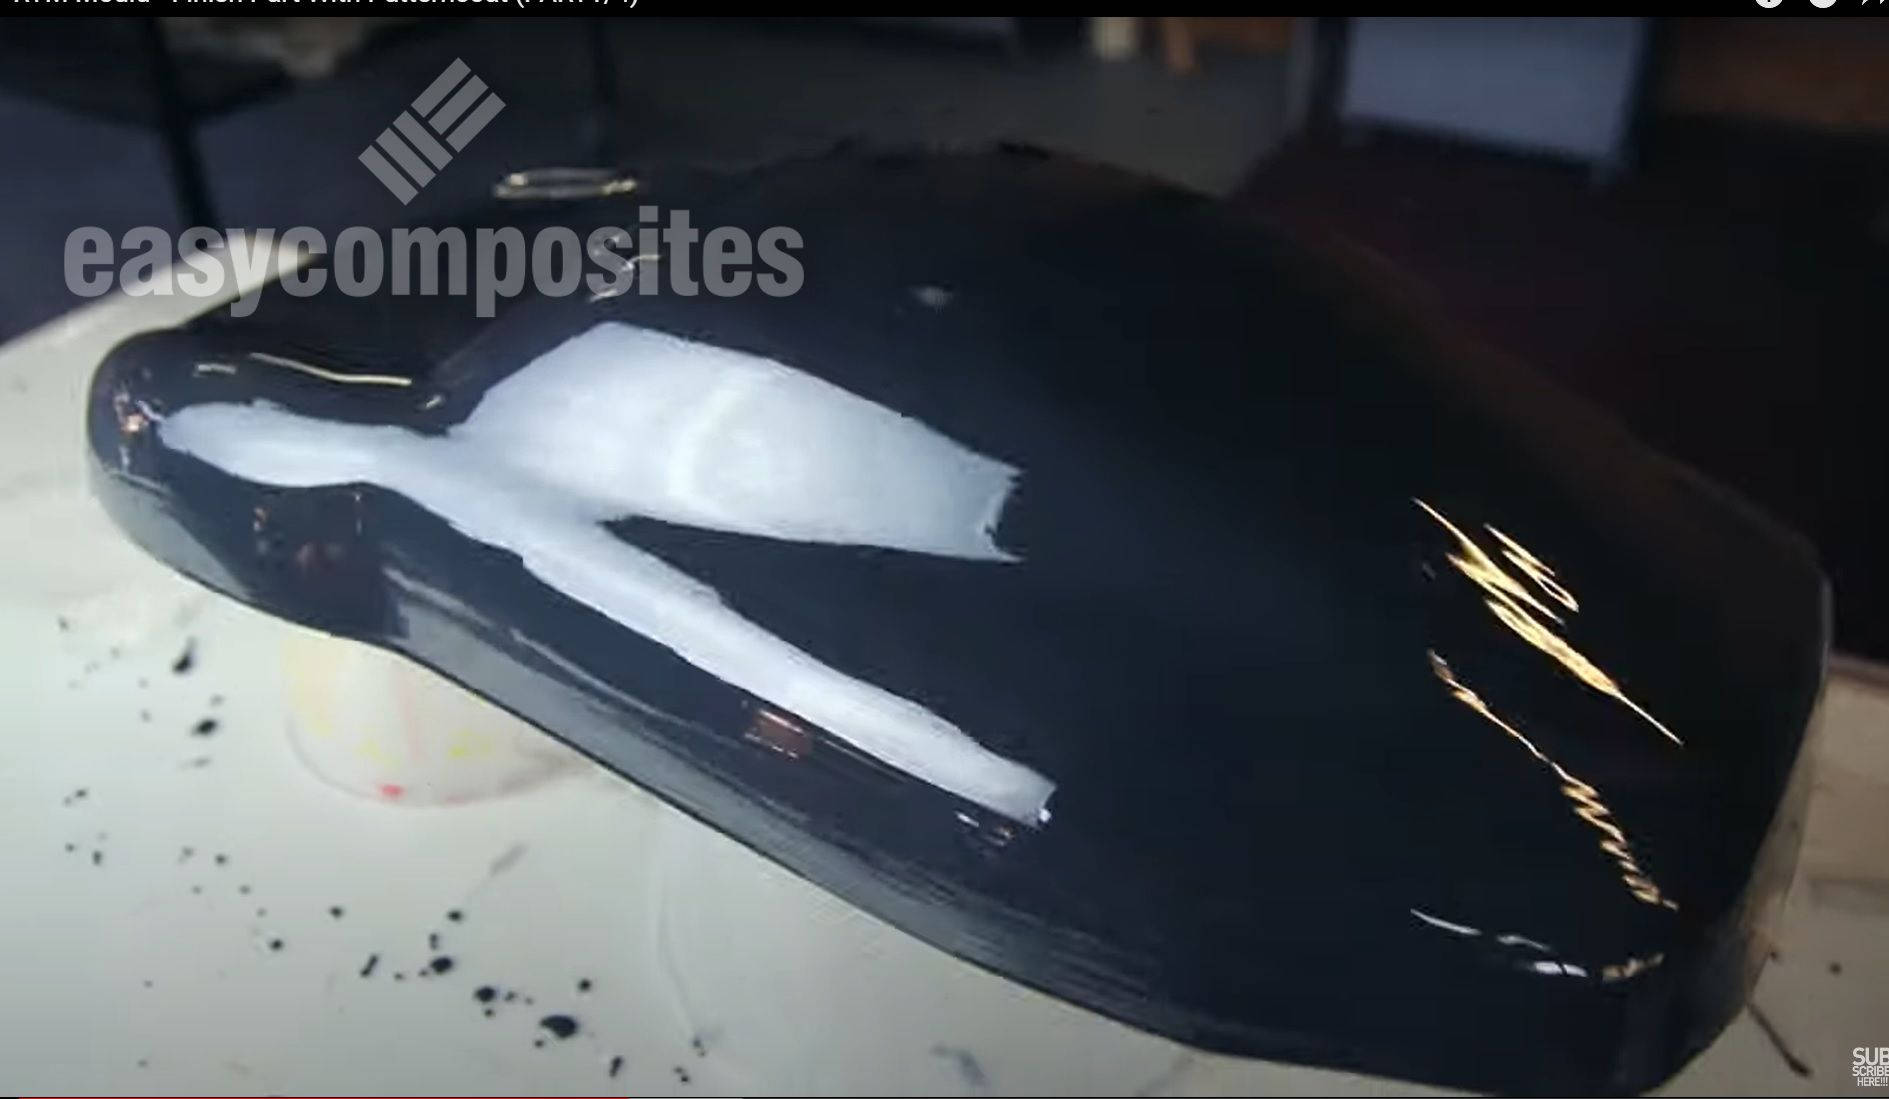
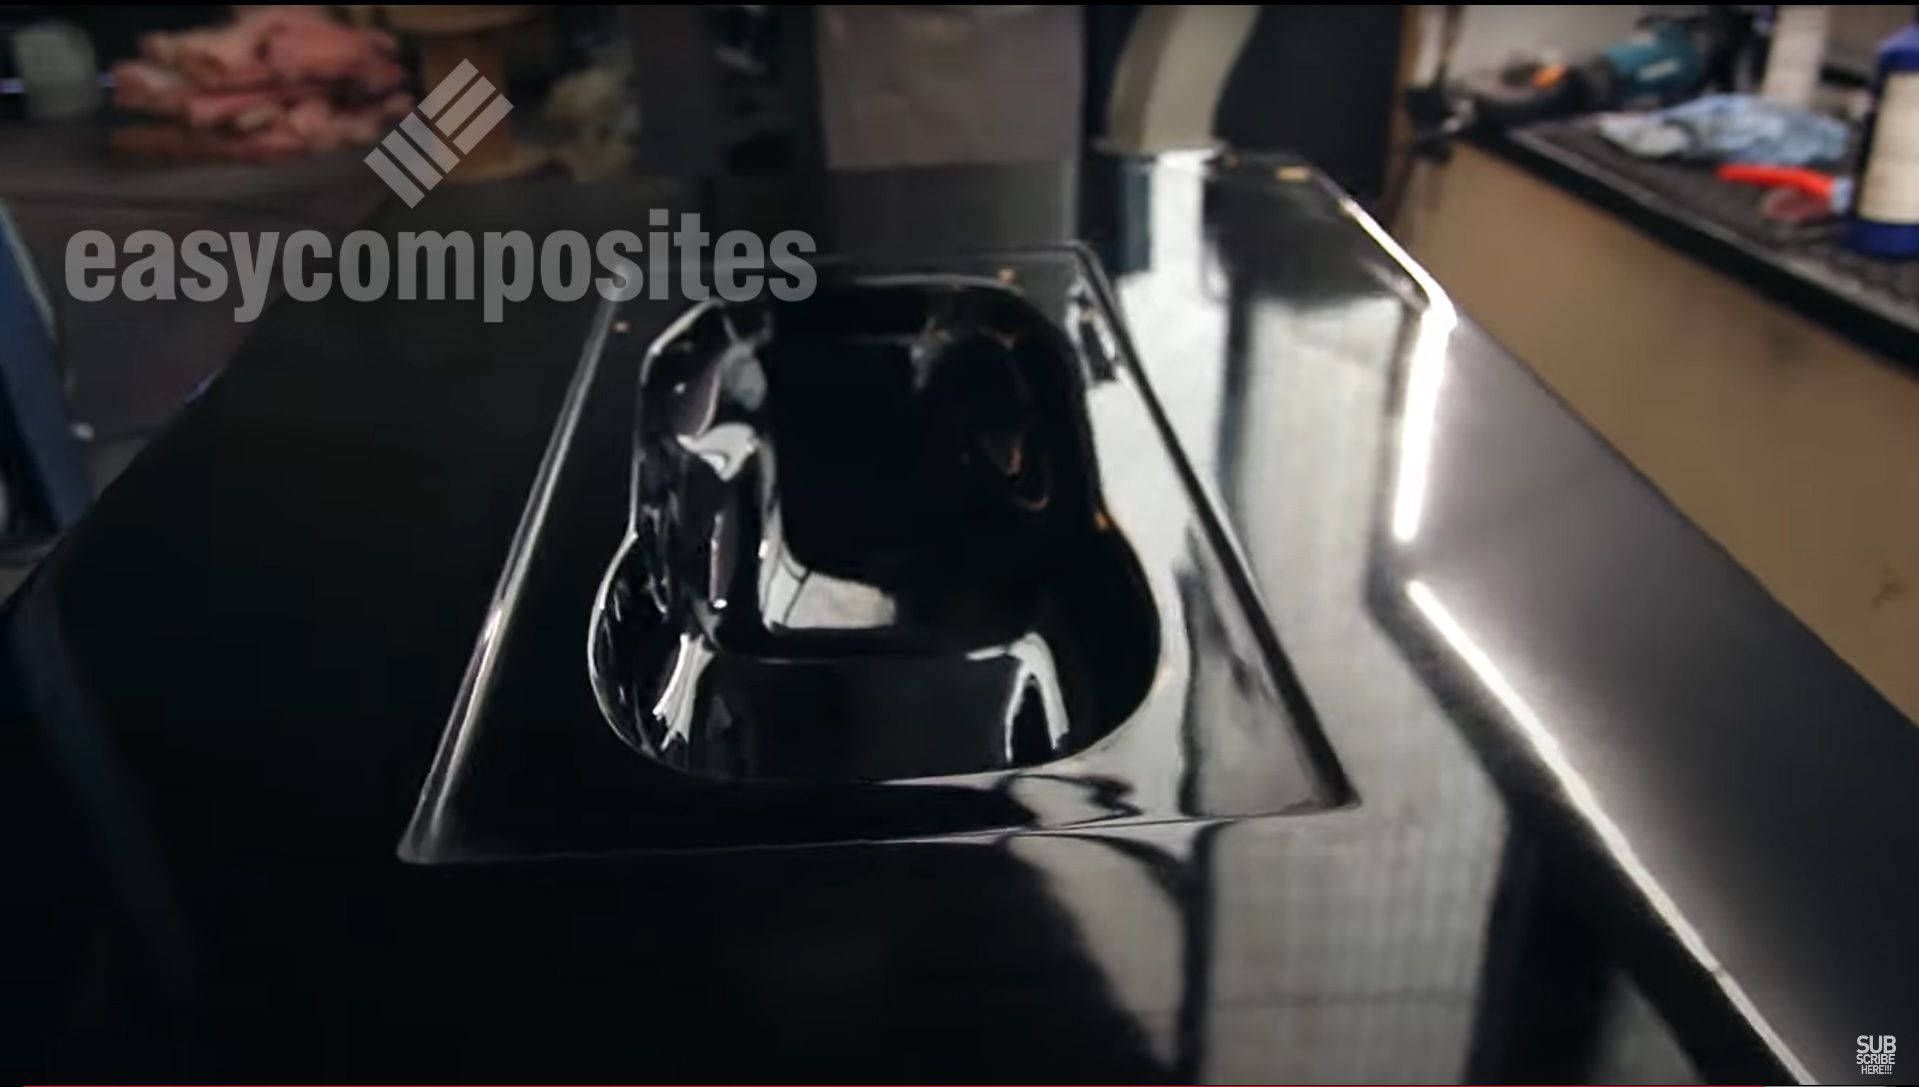
Once cured, any minor defects were removed from the mould surface. An epoxy paste was made and used to fill the sharp corner in the recessed part of the lower mould. The mould then had its edges and any imperfect areas sanded and flatted to shape before being polished to a high level of gloss.
At this stage the mould is ready to be used for a standard infusion. The reason for doing this is that to create the top mould, we need an offset to leave a void for the fibre and resin during the RTM process. Infusing a part of the correct thickness means that we have a pattern that can be used to create that offset for making the top mould.
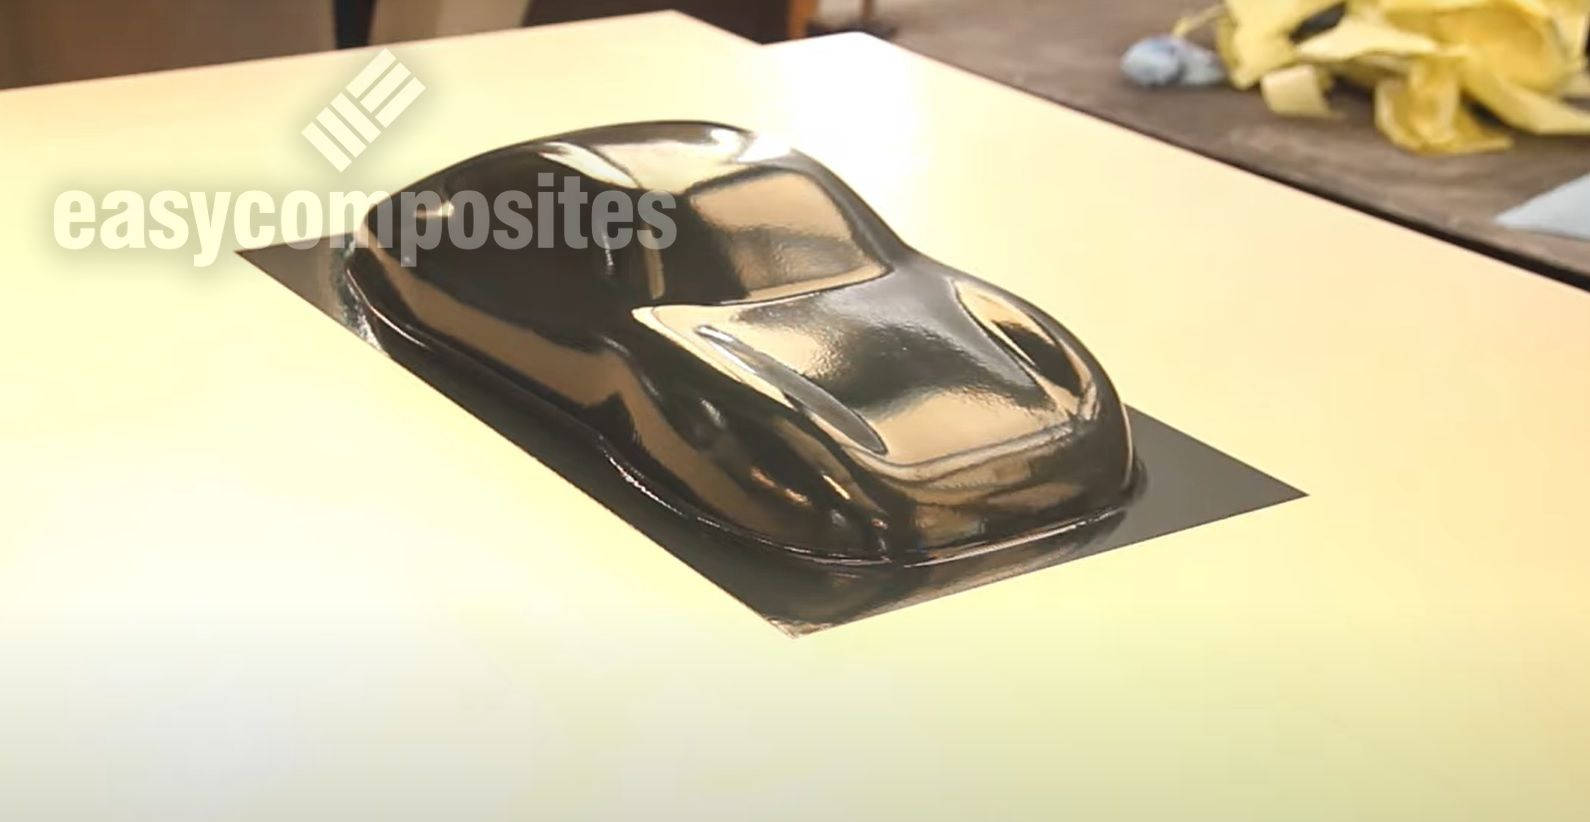
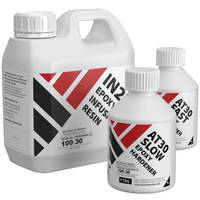
The infusion is entirely conventional using carbon fibre and IN2 Infusion Epoxy resin. For complex shapes like this, a trick to try is to use the original pattern to help press and conform the fabric layers and bagging stack to the mould shape. This makes laying up the mould quicker and easier. Once the infusion is complete and the part cured, it is demoulded and the mould cleaned up for use later on.
The underside of the infused part is then sanded flat before adding Pattern Coat Primer. The surface is then sanded perfectly smooth before being polished to a high gloss. This part is then ready to be used as a pattern to create the offset needed for the Top Mould. It is inserted back into the Lower Mould and then some wax strips added around the edge to seal and create further offset for the resin pathways. The entire lower mould and pattern is then release coated ready to take a mould from.
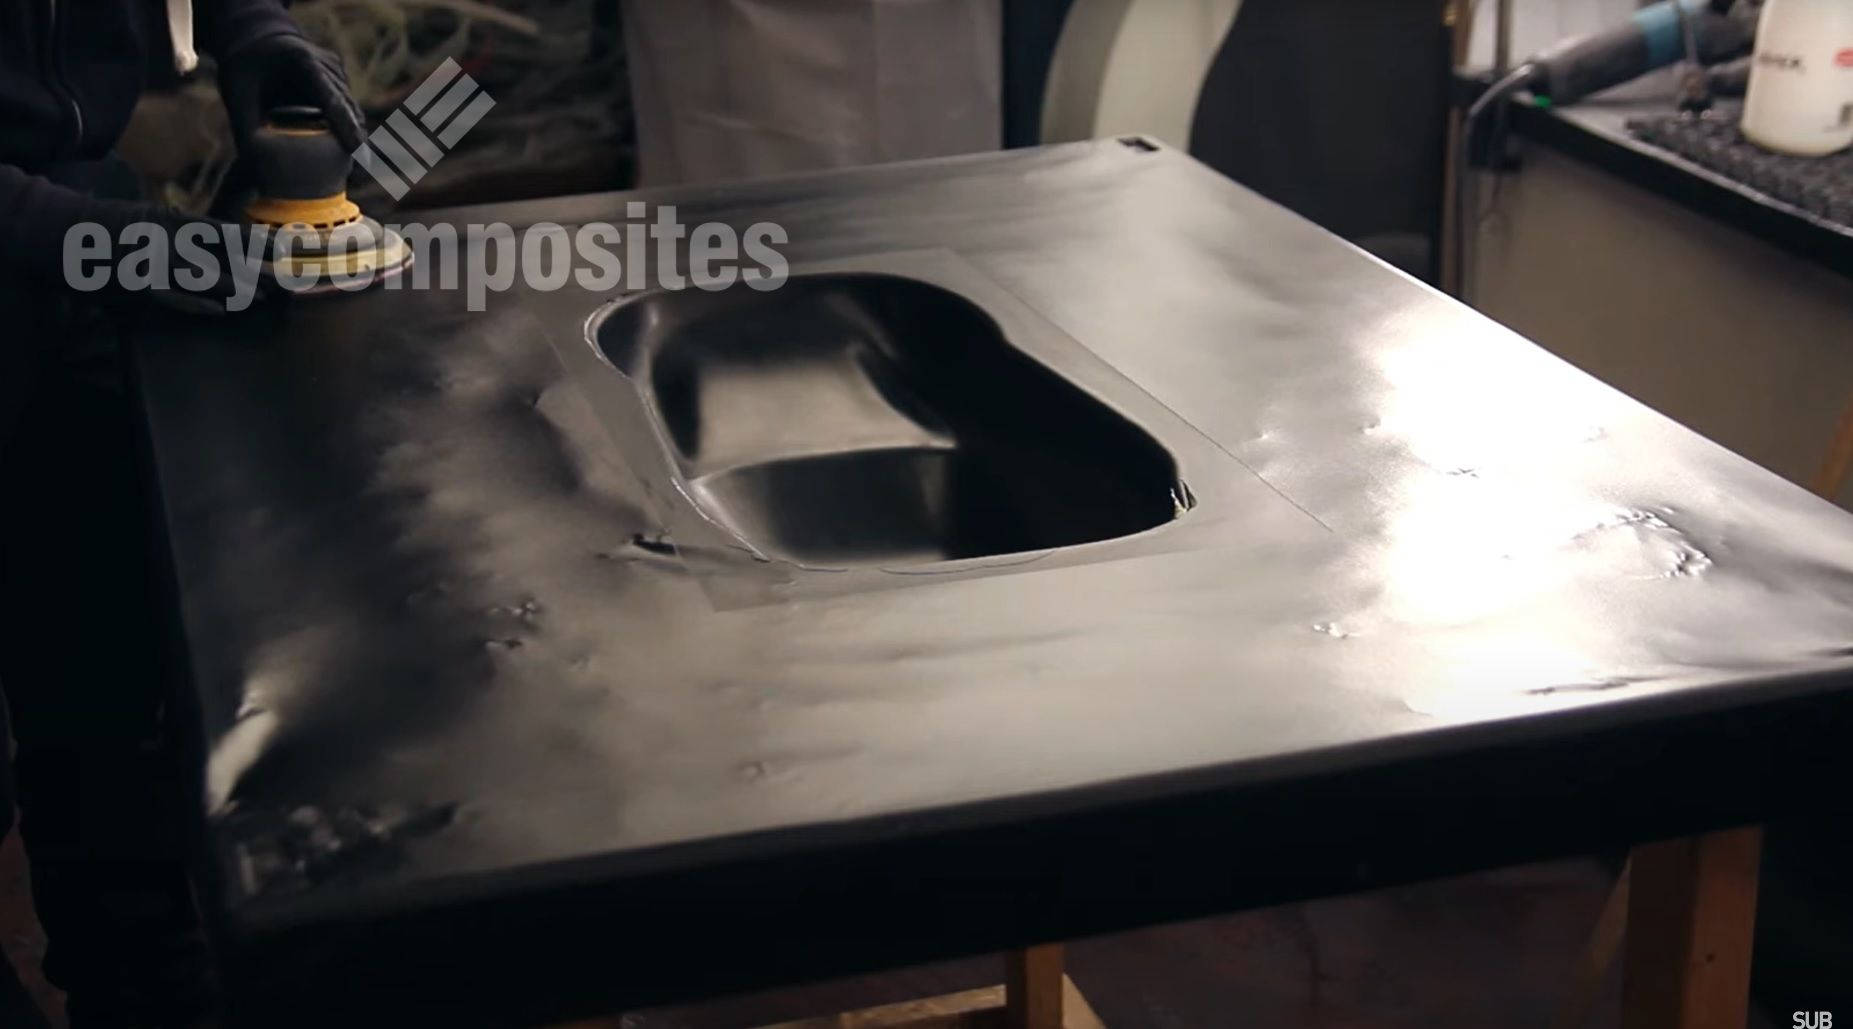
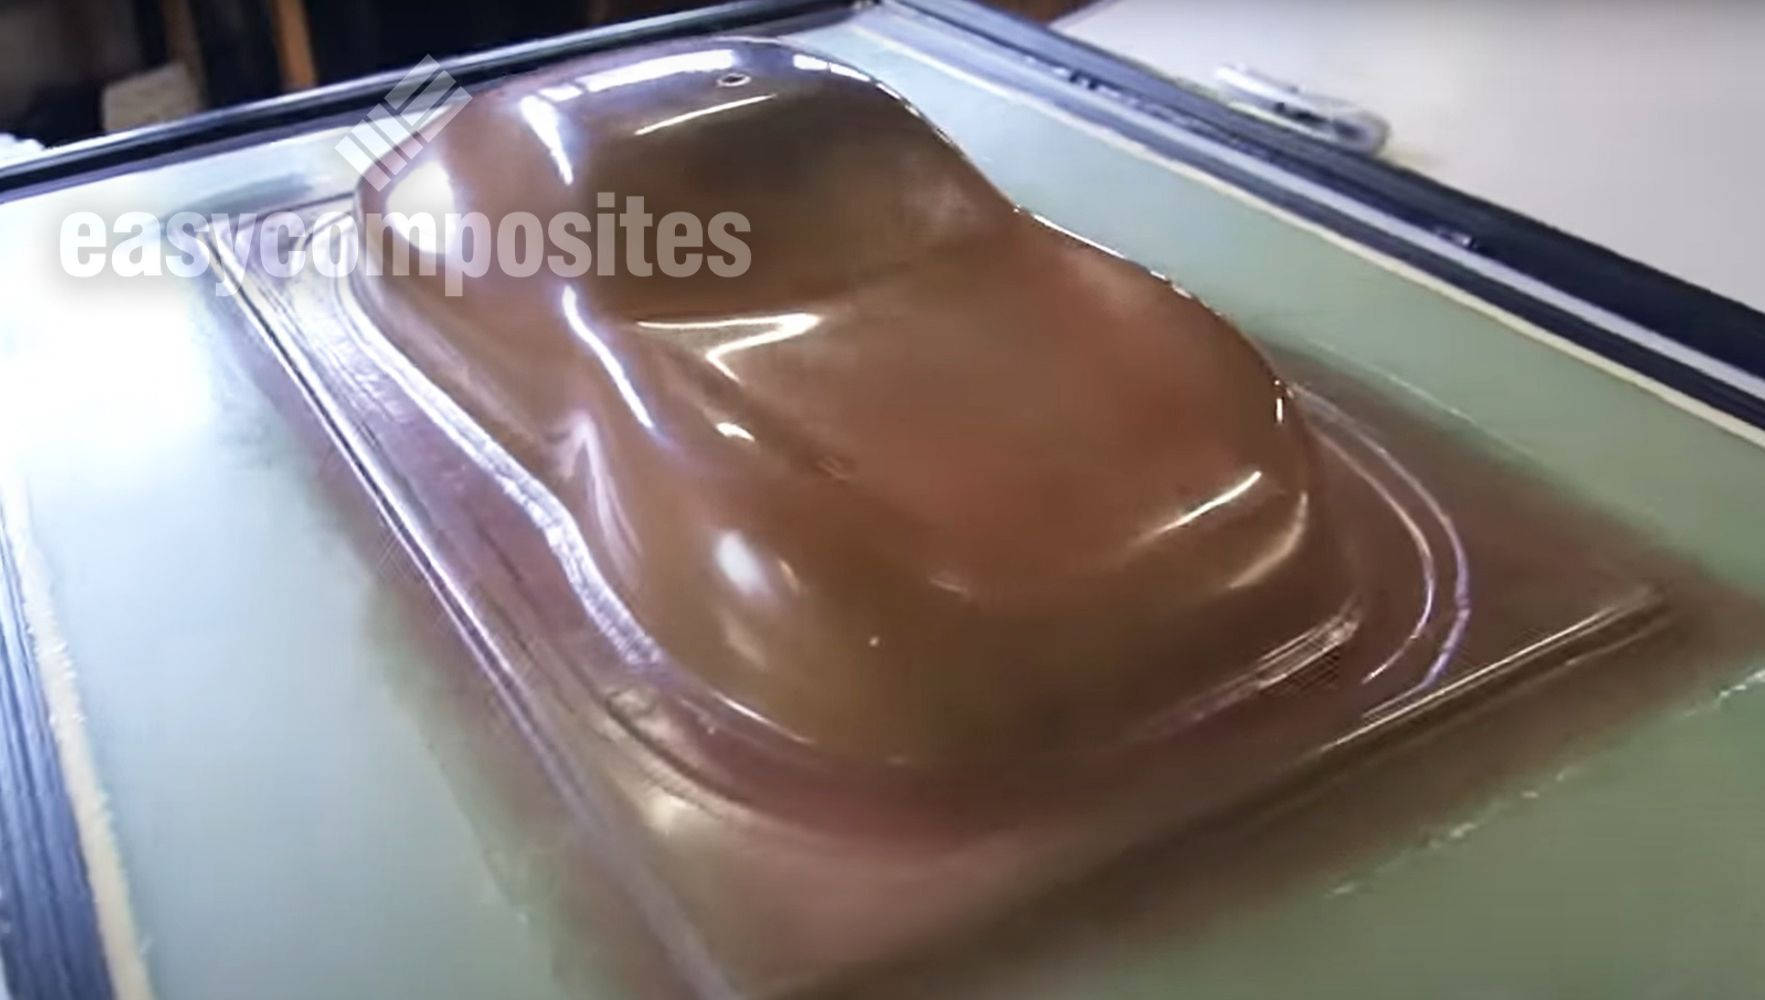
The centre part of the mould is masked off and then sprayed with the GCX Clear Polyester Gelcoat. This is so that this section of the mould is semi-translucent so that for the final RTM, the flow of resin can be monitored. This is then backed up with clear polyester resin and reinforcement. Care is taken to minimise shrinkage by only doing a few layers at a time. The mould part is then cured and demoulded and trimmed to shape.
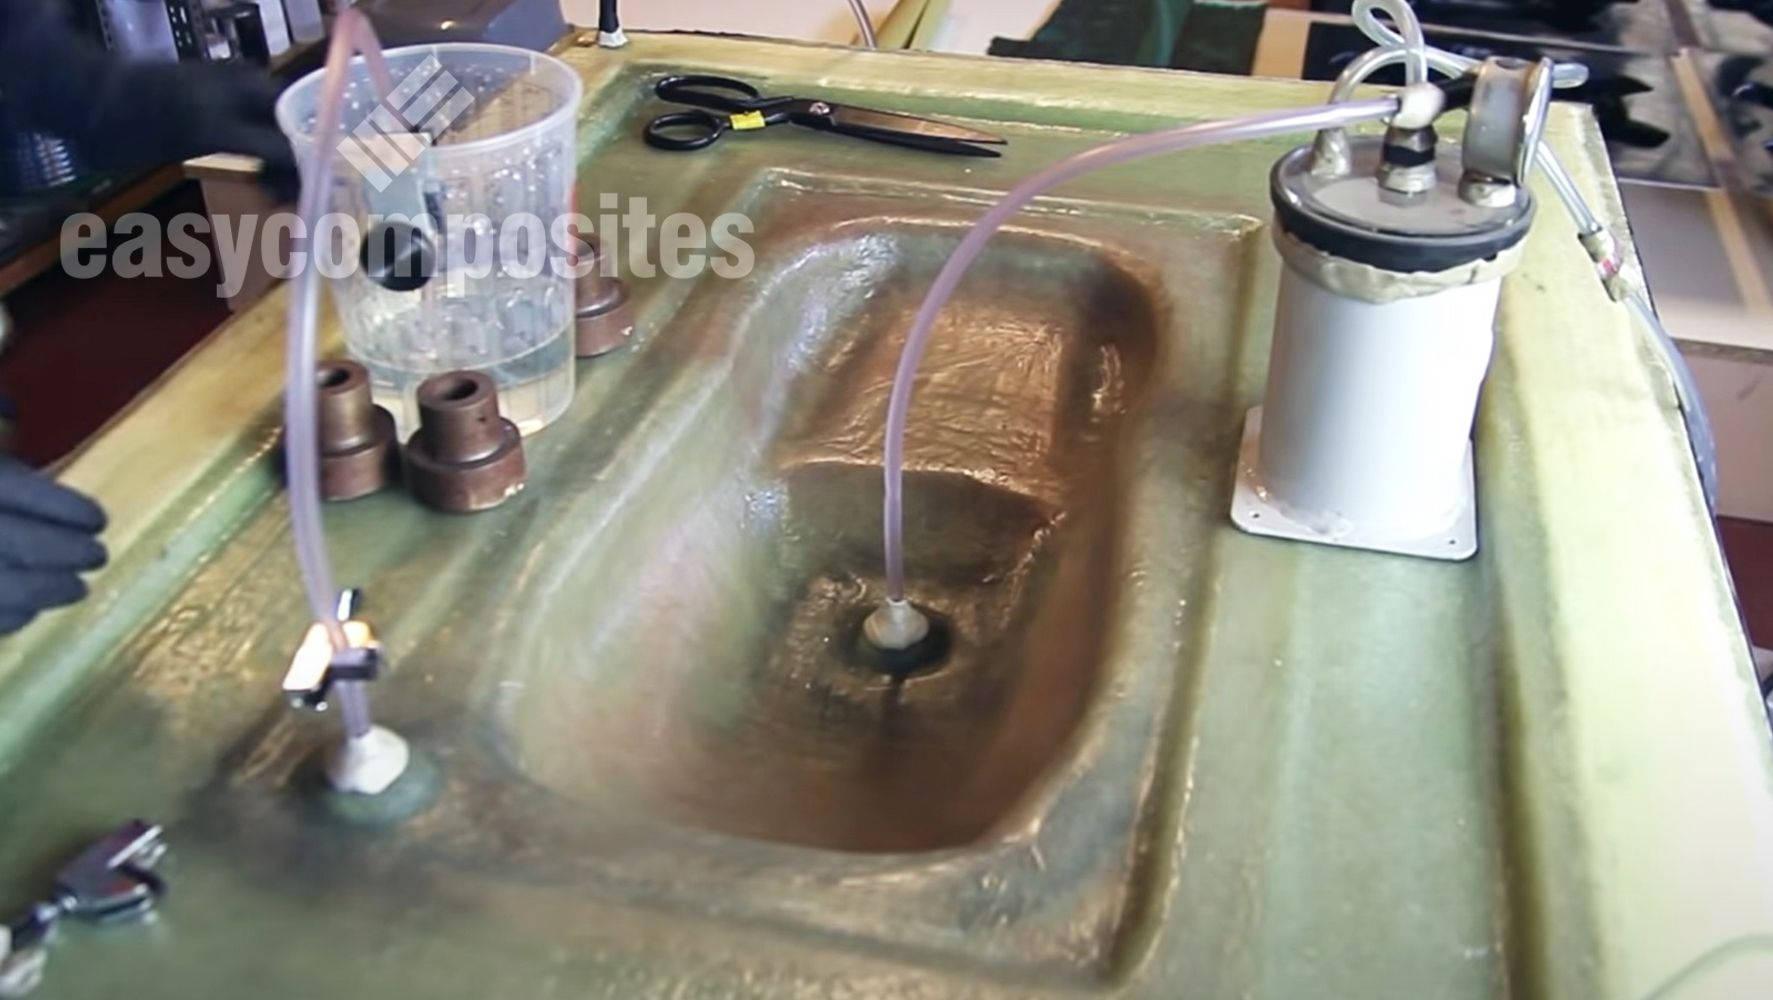
A seal plate is then fabricated using rubber seals and aluminium sheet. This provides the outer seal to vacuum the 2 parts of the mould together and the inner seal to vacuum the mould cavity for the RTM itself. This seal plate is then placed in place and vacuumed down. Further laminating is then done over the plate and flanges of the centre part to make it into one piece. Once cured it is demoulded and cleaned up. The resin in and out lines are then added to the mould by laminating them into position and drilling through once cured. The mould is then cleaned and release coated ready to try the RTM infusion.
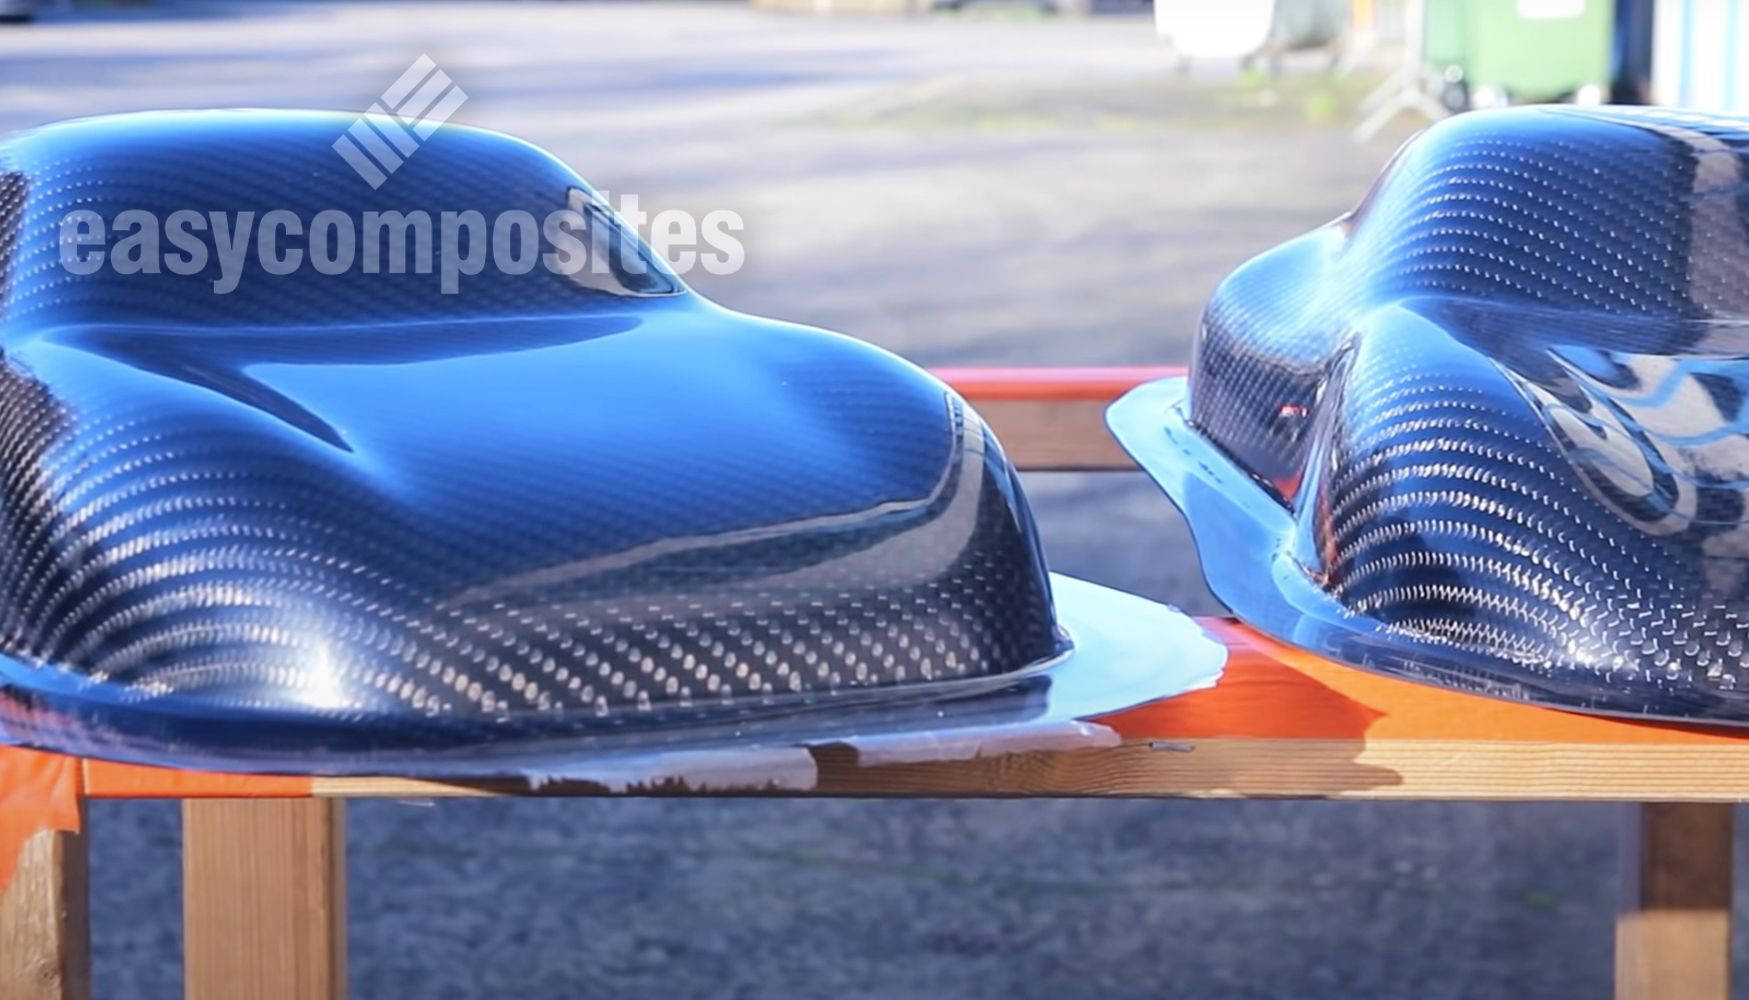
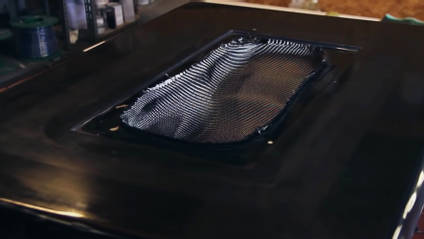
At this point the first part is ready to be made. The carbon is laid onto the pattern then used to place it in the mould. Care was taken to cut the edges of the fabric close to the edge of the mould cavity. The top part of the mould was then sealed to the lower mould using sealant which was fully allowed to cure. At this point a vacuum pump was connected to the outer seal to pull it down and a catchpot and pump attached to the resin outlet to pull the rest of the mould under vacuum.
The resin is then mixed up and allowed to infuse from the resin feed line into the mould. The semi translucent nature of the top mould means it was possible to monitor the progress of the resin through the mould. The resin does flow slower than with a conventional infusion so it is important to avoid an exothermic reaction in the feed cup. Once the resin had fully infused, the resin lines were clamped off and the part was allowed to cure.
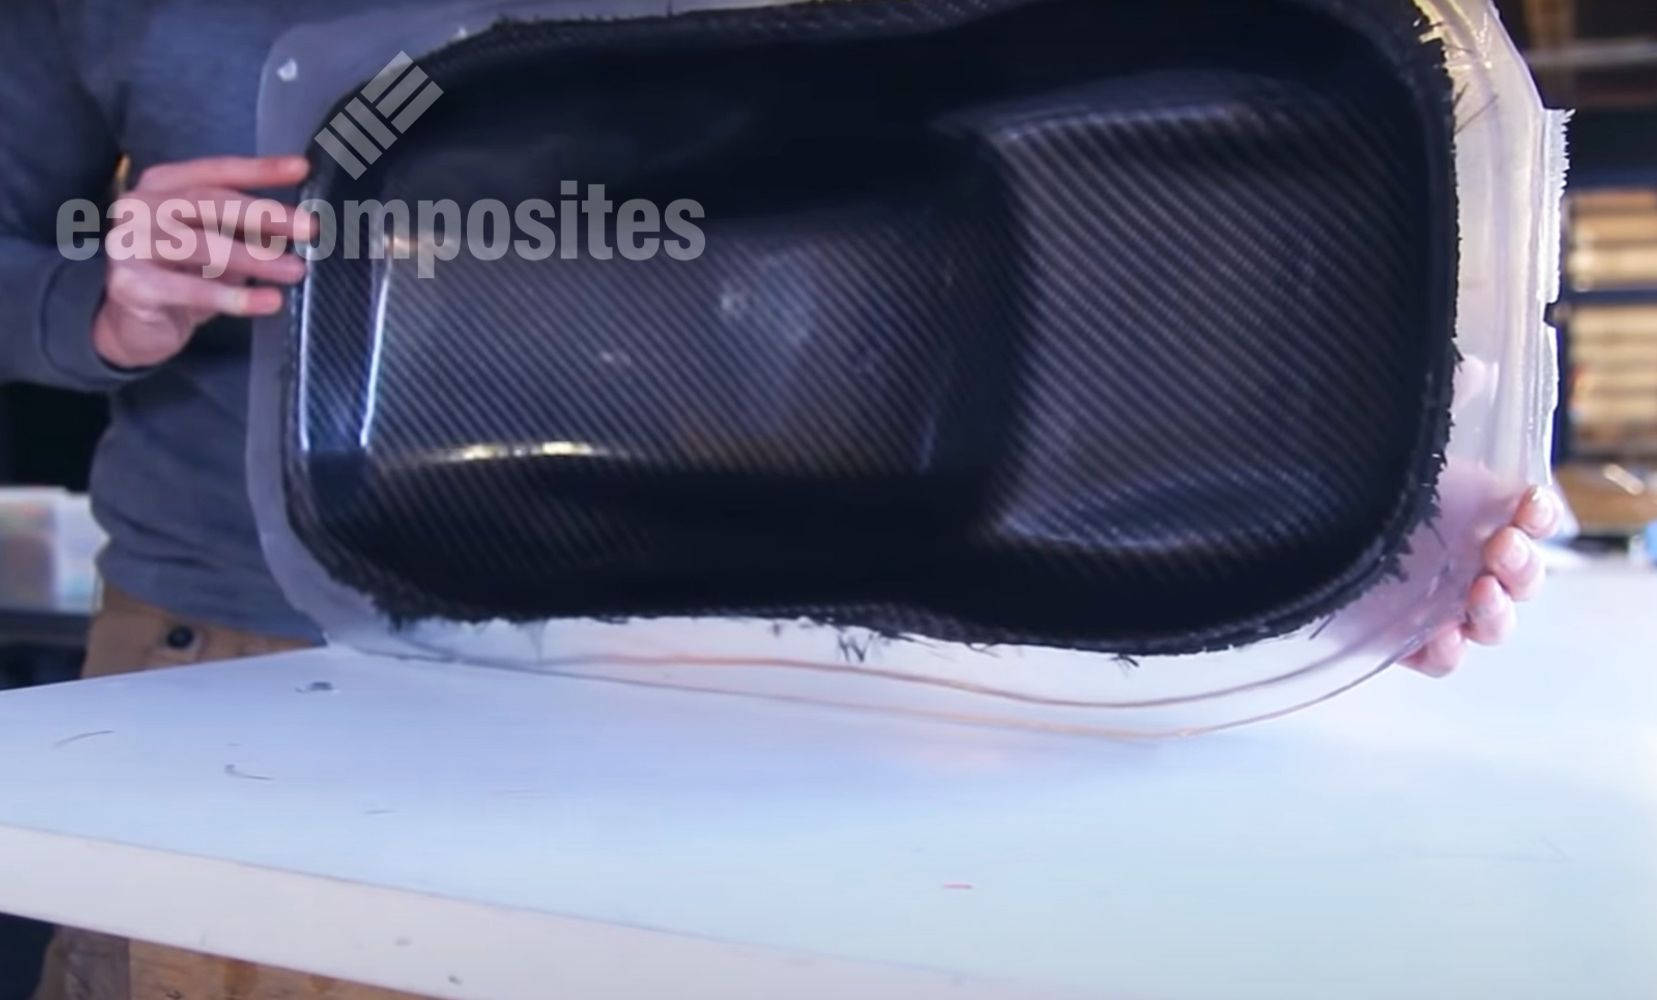
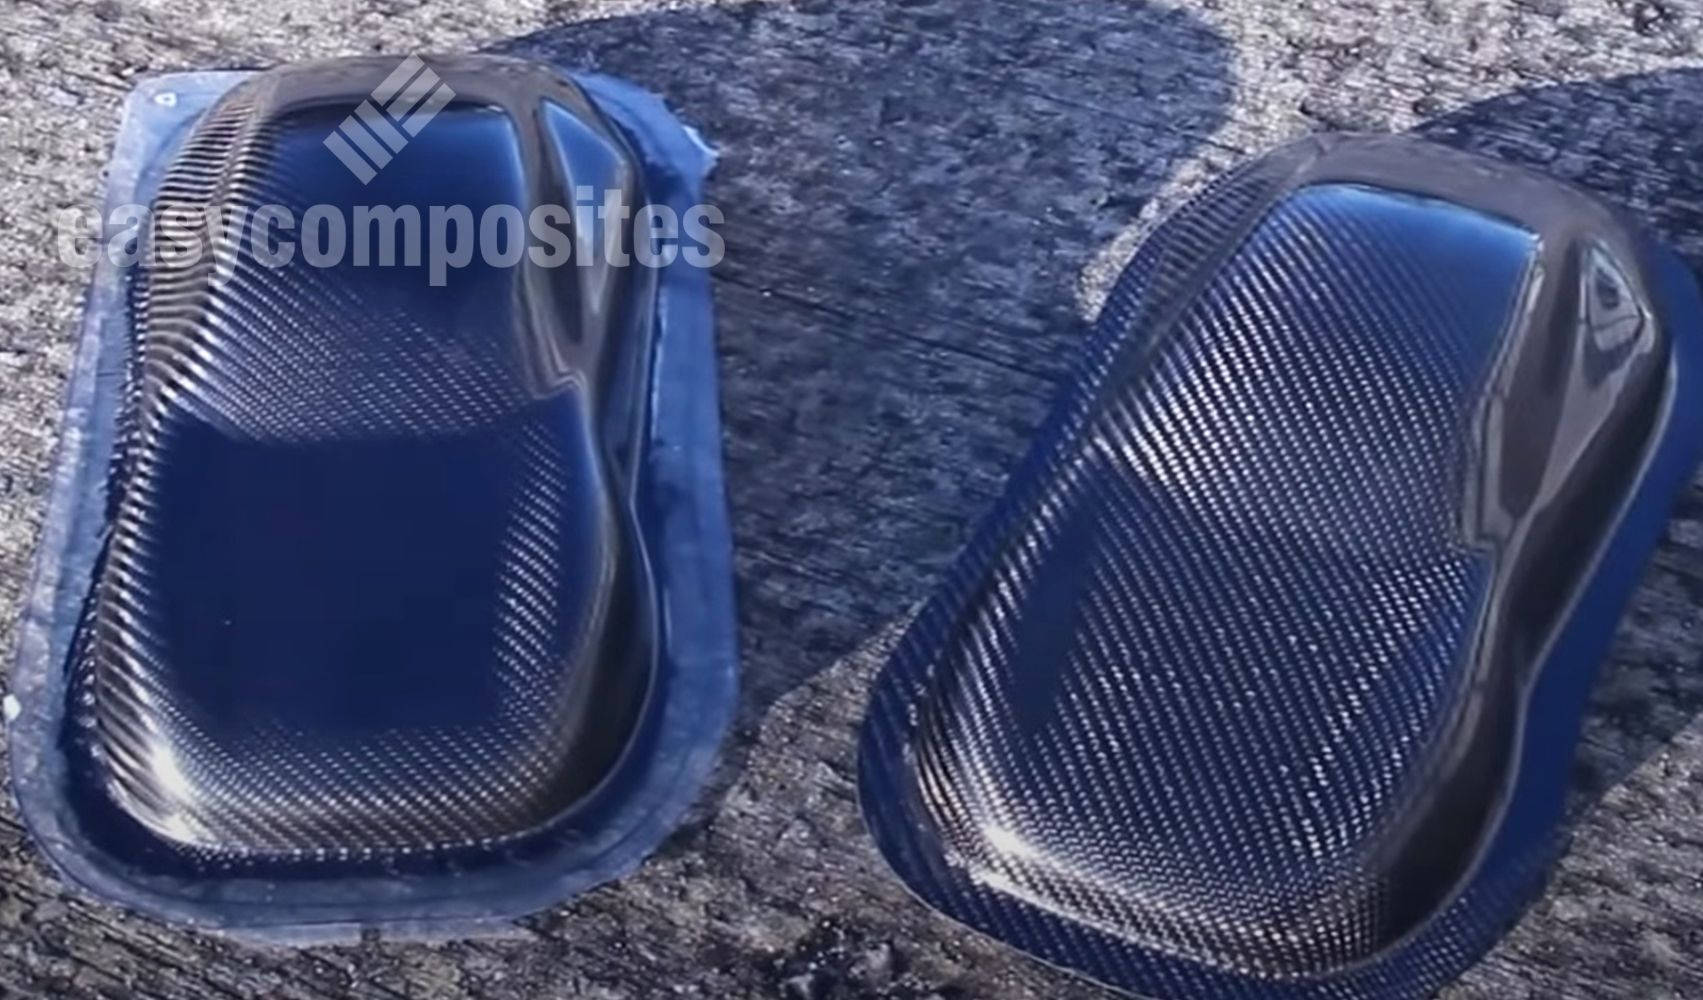
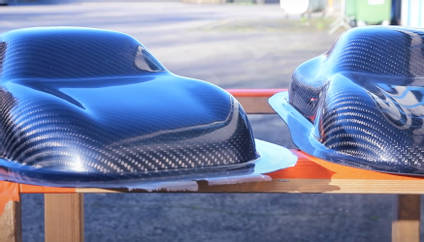
After initial difficulty removing the seals (design to be revised for future use), demoulding the finished carbon part was simple and the part came out flawless. Some revisions to the process will be done for future projects using what was learned here.
To finish, the infused and RTM parts were weighed and then some calculations done to get the Fibre to resin ratio which for the infused part came out at 60:40 and for the RTM part was 50:50 for the untrimmed parts.
ABOUT MAT2 COMPOSITES
Matthieu Libeert is a passionate carbon fibre crafter and maker, Industrial Product Designer and YouTuber based in Belgium.
Mat undertakes a wide range of composites projects which he documents and creates tutorials from on his YouTube channel Mat2COMPOSITES, covering carbon fibre, mould making, working with silicones and casting resins, 3D printing and more.
CONTACT INFORMATION
| Website | www.mat2composites.com |
|---|
| YouTube | www.youtube.com/matthieulibeert |
|---|
| @matthieulibeert |
| www.facebook.com/MAT2COMPOSITES |
PRODUCTS USED IN THIS PROJECT
Although not necessarily an exhaustive list, the following tools and materials, supplied by Easy Composites, were used in this project.
The quantity shown below is the approximate amount used in the project rounded up to the nearest available kit size or quantity.
RESIN & PIGMENTS
MOULD MAKING MATERIALS
REINFORCEMENTS
ABOUT MAT2 COMPOSITES
Matthieu Libeert is a passionate carbon fibre crafter and maker, Industrial Product Designer and YouTuber based in Belgium.
Mat undertakes a wide range of composites projects which he documents and creates tutorials from on his YouTube channel Mat2COMPOSITES, covering carbon fibre, mould making, working with silicones and casting resins, 3D printing and more.
CONTACT INFORMATION
| Website | www.mat2composites.com |
|---|
| YouTube | www.youtube.com/matthieulibeert |
|---|
| @matthieulibeert |
| www.facebook.com/MAT2COMPOSITES |
100% SECURE
PAYMENT METHODS
Easy Composites EU B.V., registered in the Netherlands 73601195. All content copyright (C) Easy Composites Ltd, 2025. All rights reserved.