Need any help or advice?![]() +44 (0)1782 454499
+44 (0)1782 454499
VIDEOS IN THIS SERIES
This video is part 1 of a 3 part series: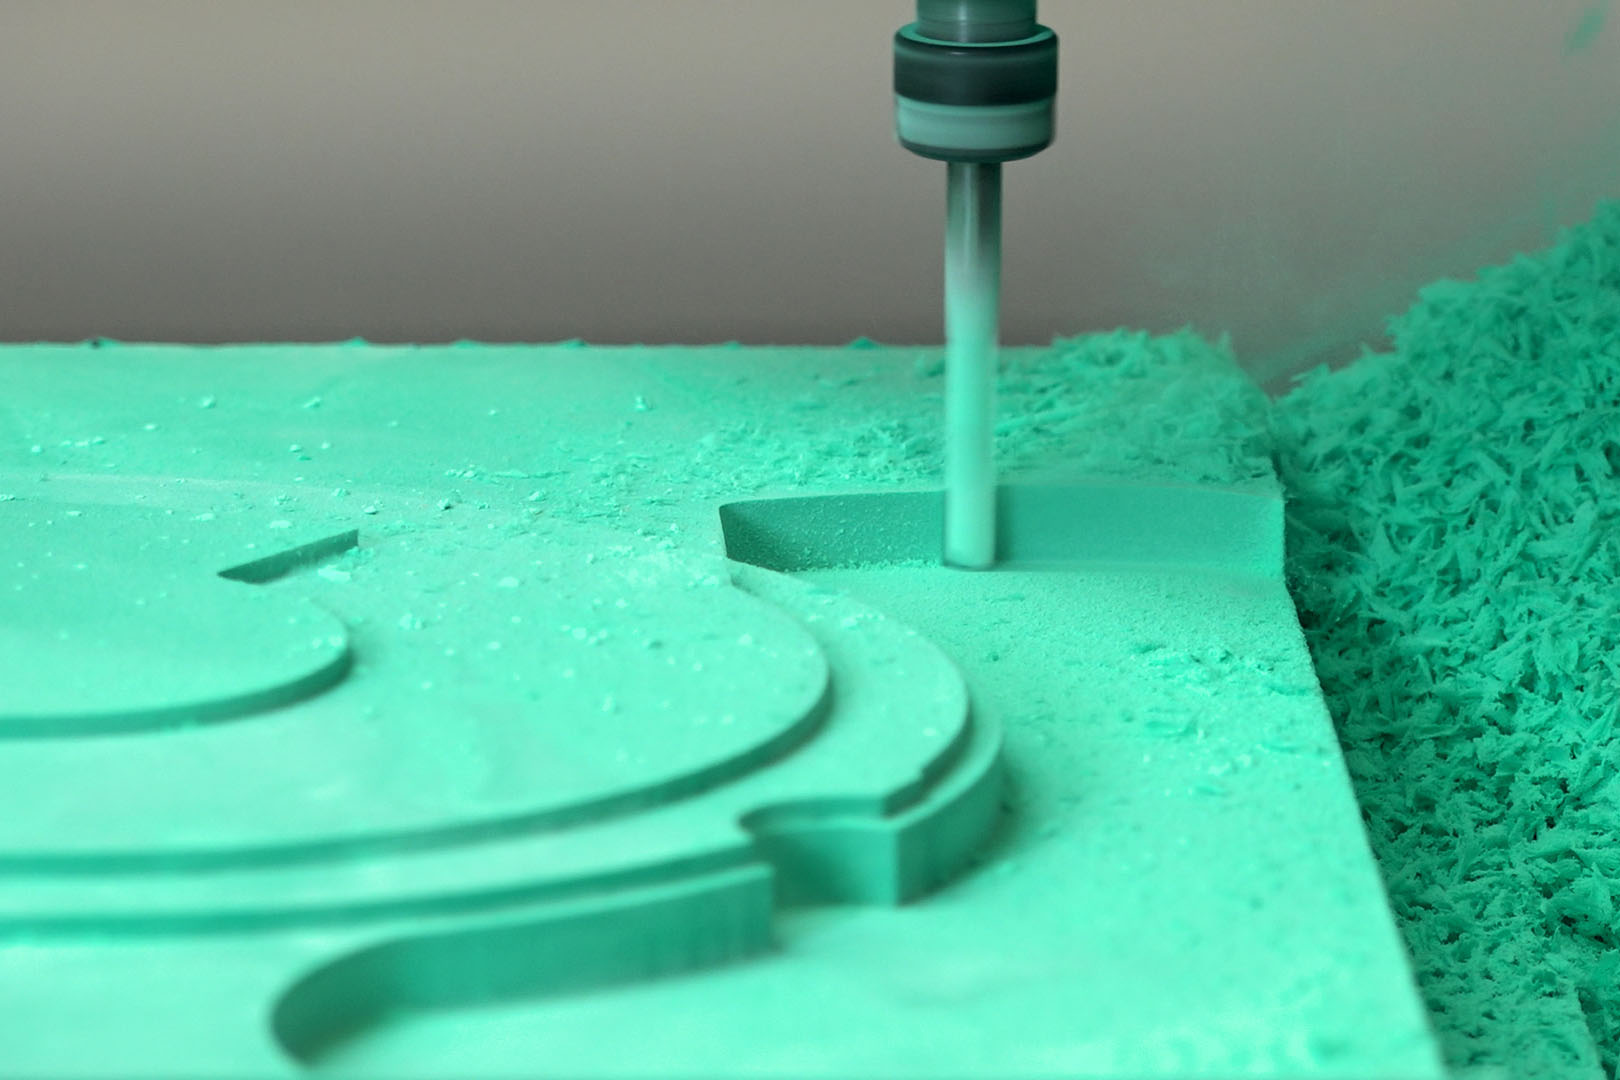
PRODUCTS USED IN THIS PROJECT
Although not necessarily an exhaustive list, the following tools and materials, supplied by Easy Composites, were used in this project.
The quantity shown below is the approximate amount used in the project rounded up to the nearest available kit size or quantity.
MATERIALS & CONSUMABLES

VIDEO TUTORIAL
CNC Machining 3D CAD Patterns and Moulds from Epoxy Tooling Board
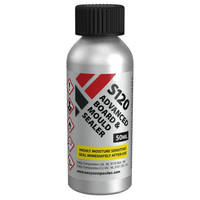
Video tutorial demonstrating how a 3D CAD design can be machined from epoxy tooling board on a CNC router to produce a highly accurate pattern or mould. Includes how to hand finish, seal and gloss the pattern using S120 board sealer.
In the tutorial we use a desktop CNC router to machine a block of our EB700 Epoxy Tooling Board. The original 3D design was done in Autodesk's Fusion360 CAD programme.
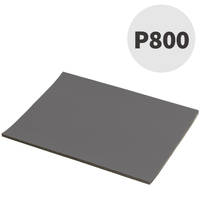
Once the machining is complete we use 800 grit Mirka abrasive paper to do some light flatting to smooth the surface of the pattern. We then spray four coats of S120 Advanced Board & Mould Sealer before flatting the surface again using more 800 grit abrasive paper before bringing the pattern to a full gloss finish using four wipe applications of the S120 board sealer.
TUTORIAL BREAKDOWN
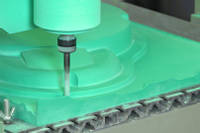
1. CNC machining
The design was drawn up using Fusion 360 before being CNC cut using a desktop CNC router. For applications like this, the 6mm cutter was ideal and cut the board easily. After the initial rough cut passes were completed, the finishing cuts were done with a 0.25mm step over to ensure a good overall finish.
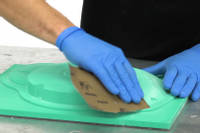
2. Hand finishing
The machining process leaves very small machining marks over the surface of the pattern. These need to be smoothed out by hand finishing the pattern with sandpaper until the finish is smooth. A good wipe down with a cloth is needed to remove any dust prior to the sealing.
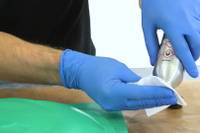
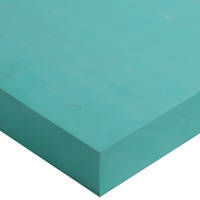
3. Board sealer
This stage aims to seal and bring the surface finish of the pattern to a high gloss perfect finish ready to take the mould from. Initially coats of S120 Board sealer are applied using the spray nozzle to help seal and build up a level coating. It takes between 3 and 5 coats for a typical epoxy board.
After the 4th coat has had several hours to dry, using sandpaper, denib and smooth out the finish on the board. Once smooth, the final coat is applied by lint free wipe before the sealer is allowed to dry. Once cured, the pattern can be post-cured in the oven to get it ready for the mould making process.
DISCUSSION (12)
Please share any questions or comments you may have about this video tutorial.
Yes, you could also use a thin layer of resin to seal the board if you don't want to use a specific board sealer (like S120). Resin will build a bit thicker and therefore need a bit more flatting to restore a flat, accurate surface. A good choice would be our XCR Epoxy Coating Resin - it goes on thin, cures quickly to a high gloss, and is highly polishable. The working temperature of the XCR is lower than the board sealer but it’s still fine for use up to 80°C.
Please take a look at our tutorial on vacuum bagging a split-moulded carbon fibre tube component, I think this covers just what you're looking for!
LEAVE A COMMENT OR QUESTION
PRODUCTS USED IN THIS PROJECT
Although not necessarily an exhaustive list, the following tools and materials, supplied by Easy Composites, were used in this project.
The quantity shown below is the approximate amount used in the project rounded up to the nearest available kit size or quantity.
MATERIALS & CONSUMABLES
DISCUSSION (12)
Please share any questions or comments you may have about this video tutorial.
Yes, you could also use a thin layer of resin to seal the board if you don't want to use a specific board sealer (like S120). Resin will build a bit thicker and therefore need a bit more flatting to restore a flat, accurate surface. A good choice would be our XCR Epoxy Coating Resin - it goes on thin, cures quickly to a high gloss, and is highly polishable. The working temperature of the XCR is lower than the board sealer but it’s still fine for use up to 80°C.
Please take a look at our tutorial on vacuum bagging a split-moulded carbon fibre tube component, I think this covers just what you're looking for!
LEAVE A COMMENT OR QUESTION
100% SECURE
PAYMENT METHODS
Easy Composites EU B.V., registered in the Netherlands 73601195. All content copyright (C) Easy Composites Ltd, 2025. All rights reserved.