Need any help or advice?+44 (0)1782 454499
PRODUCTS USED IN THIS PROJECT
Although not necessarily an exhaustive list, the following tools and materials, supplied by Easy Composites, were used in this project.
The quantity shown below is the approximate amount used in the project rounded up to the nearest available kit size or quantity.
MATERIALS & CONSUMABLES

VIDEO TUTORIAL
Sustainable Composites - Resin Infused Skateboard Using Flax and Bio Resin
In this video tutorial we use quite a fun project, the creation of a skateboard deck, to demonstrate how easy it can be to work with some of the more environmentally friendly, sustainable materials available from Easy Composites.
We create a simple, temporary mould using some basic OSB wooden board in combination with 'Foamex' sheet (commonly by sign makers and screen printers) where we use wedges to curve the foam sheet to create the double-curvature (camber and concave) typical of a longboard skateboard deck. The PVC 'Foamex' sheet is prepared with CR1 Easy-Lease Chemical Release Agent to prevent the deck from sticking to the 'Foamex'.
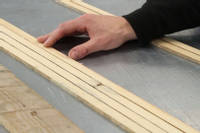
The core for the deck is made by running some planks of wood recycled from old shipping pallets through the saw and then assembling them into a sheet using dots of hot-melt glue, making sure to leave gaps between each strip to allow the resin to pass from one side of the core to the other side.
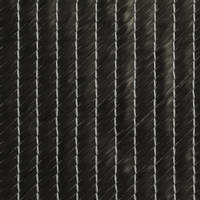
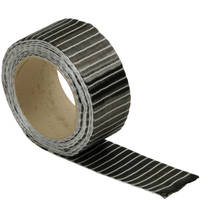
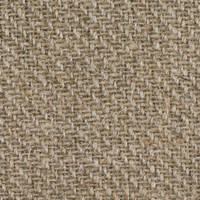
Reinforcement for the deck with a layer of Flax Fibre Twill Weave 550g cloth as the top and bottom layer providing strength, a 'damping' property and the great natural appearance of the flax fibre. Additional reinforcement for the deck comes from a layer of 650gsm Unidirectional Carbon Fibre Tape followed by a layer of 300gsm +/- 45 Biaxial Carbon Fibre. The reinforcement is mirrored either side of the core to create a 'balanced' laminate.
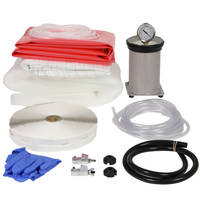
The dry laminate and core are then vacuum bagged to the mould surface ready for resin infusion using all of the materials and equipment included in our Resin Infusion Starter Kit or available in the our Vacuum Bagging Consumables or Vacuum Bagging Equipment section of our website.
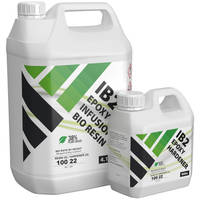
For the resin infusion itself, we use a special low viscosity IB2 Epoxy Bio Resin which is ideal for resin infusion and lends excellent mechanical properties to the finished board too.
TUTORIAL BREAKDOWN
1. Wood strip core
In this case, we are using wooden planks from broken pallets to make the wood core. Selecting planks of about the right size, we cut them into thin strips. These thin strips were then glued together with small dots of hot melt glue, taking care to leave a small gap between each strip of wood. This gap is essential for the infusion resin to be able to pass to the bottom side of the core during the infusion itself.
2. Simple mould
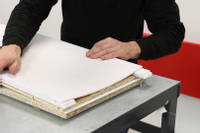
We have fabricated the mould as this is a one off project. It was desirable to get a nice curve in both directions to give the skateboard the shape it needs. To do this we bent a thin piece of OSB wooden board over some wedges and blocks spaced to give the desired curve. We then screwed the OSB down to a stable base to hold its shape.
To give a nice smooth mould surface, a layer of "Foamex" sign board style sheet was bonded over the OSB surface. This gives a good smooth layer from which to mould from.
3. Apply release agent
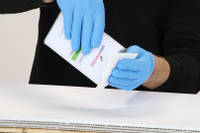
For this mould we have chosen to use our EasyLease Chemical Release Agent on the surface. This is applied with a lint free cloth building up the coats allowing 15 minutes between coats and a final hour before use after the last coat.
Once this was done, to avoid any trapped fibres or dirt, we applied the gum tape now before laying up the materials.
4. Visual Details
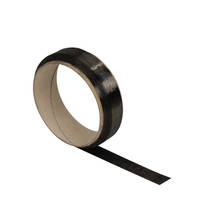
At this stage, you can decorate the first layer of fabric to give any visual effect you wish. In this case we used two thin stripes of Spread Tow Carbon Fibre ribbon and made a company logo stencil template which was spray painted onto the fabric.
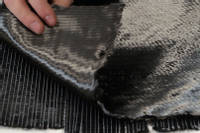
5. Reinforcement and core
The layup of this project was the previously decorated 500gsm flax fibre as a top and bottom layer. Additional material comes from a layer of 600gsm Unidirectional carbon tape and a layer of biaxial carbon cloth. The layup is mirrored either side of the core.
The natural fibres, as well as strength, add a nice damping property to the board as well as the natural fibre credentials and unique look.
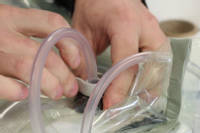
6. Vacuum consumables
The bagging stack used for this infusion is entirely standard for resin infusion and includes the peel ply layer, infusion mesh, spiral and silicone connectors, finally sealed with the vacuum bagging material. Ensure there are enough pleats in the tape and bagging material so that there is enough bagging film as the vacuum is pulled down. The vacuum line is then connected to the pump via the catch pot and the resin feed clamped off ready to be inserted into a pot of resin.
The next stage is to pull a vacuum on the bag, stopping in places, to adjust the bagging material and pleats to get the film where it needs to go. Once a full vacuum is achieved, conduct a leak test. The gum tape may need to be pressed firmly down to achieve a good seal. Once the leak test has been done, the bag is ready to be infused.
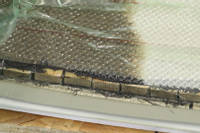
7. Resin infusion
Now that the bag has been leak tested, weight out and mix the resin ready for the infusion. The resin feed line is inserted into the resin pot and secured so it cannot move. The clamp on the resin feed is then opened allowing the resin to flow.
Once the resin has fully infused the part, the vacuum line can be clamped, followed shortly after by the resin feed. Once both lines are clamped, the pump can be switched off and the skate board left to fully cure.
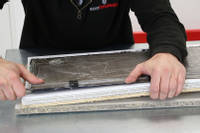
8. Demould cured deck
Now the deck has fully cured, it can be demoulded. The bagging film is easily removed. The mesh and peel ply required a bit more effort to remove, wearing gloves so that the sharp shards of resin do not cause any injury. Once the bagging stack has been removed, the deck itself can be demoulded from the temporary mould.
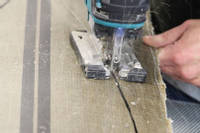
9. Trim and fettle
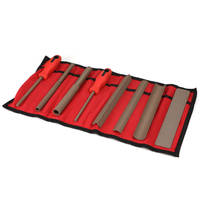
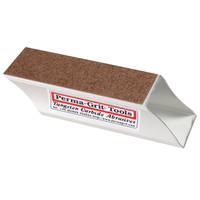
Using the original card template, the deck can be marked out with a marker pen before being cut out with a jigsaw. Using a Sanding block, the rough cut edge is then neatened and fettled to get the exact shape we wanted. The wheel wells are also sanded to shape. Finally the edges are finished off with 120 grit paper to finish them off.
The board was measured to locate the position for the trucks. Once happy with the position, the fixing holes were marked by pen and then drilled.
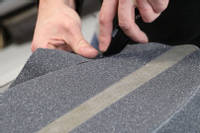
10. Apply grip-tape
We measured and marked out the grip tape to fit the board including some grip tape stripes to fit in with the rest of the design. Then the tape was cut and fitted to the board in the normal way and the edges tidied and finished.
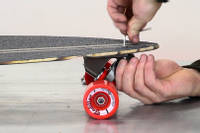
11. Fit trucks
The final stage in completing the board is to fit and bolt on the trucks in the pre-drilled holes. Once secured, the skate board is complete.
DISCUSSION (13)
Please share any questions or comments you may have about this video tutorial.
LEAVE A COMMENT OR QUESTION
PRODUCTS USED IN THIS PROJECT
Although not necessarily an exhaustive list, the following tools and materials, supplied by Easy Composites, were used in this project.
The quantity shown below is the approximate amount used in the project rounded up to the nearest available kit size or quantity.
MATERIALS & CONSUMABLES


DISCUSSION (13)
Please share any questions or comments you may have about this video tutorial.
LEAVE A COMMENT OR QUESTION
100% SECURE
PAYMENT METHODS
Easy Composites EU B.V., registered in the Netherlands 73601195. All content copyright (C) Easy Composites Ltd, 2025. All rights reserved.
