Need any help or advice?![]() +44 (0)1782 454499
+44 (0)1782 454499
VIDEOS IN THIS SERIES
This video is part 2 of a 2 part series: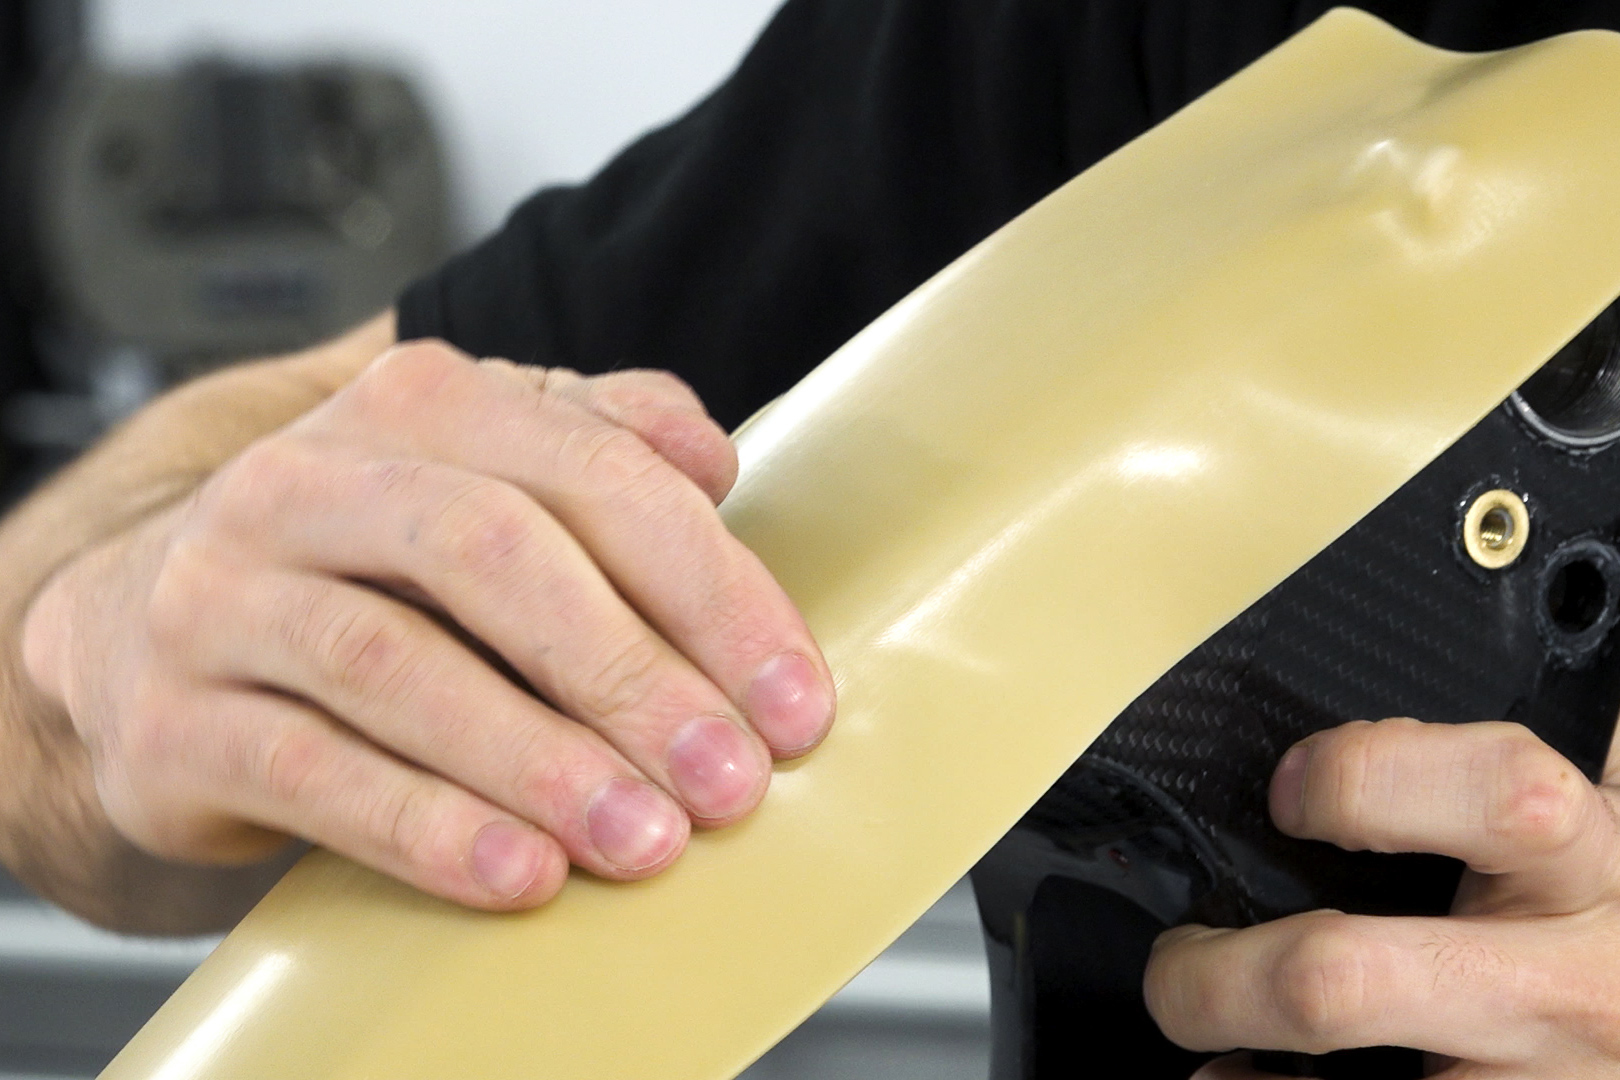
PRODUCTS USED IN THIS PROJECT
Although not necessarily an exhaustive list, the following tools and materials, supplied by Easy Composites, were used in this project.
The quantity shown below is the approximate amount used in the project rounded up to the nearest available kit size or quantity.
MATERIALS & CONSUMABLES

TOOLS & EQUIPMENT
VIDEO TUTORIAL
How to Hand Laminate & Vacuum Bag a Simple Carbon Fibre Part
WHAT YOU WILL LEARN
What You Will Learn
- How to use the Carbon Fibre Laminating Starter Kit
- How to hand laminate a basic carbon fibre part
- How to vacuum bag a hand laminated part using professional equipment
- How to vacuum bag a hand laminated part using household equipment
In this video tutorial we use the 'offset' composite mould which we made in the previous tutorial to produce a carbon fibre bike frame protector using a hand laminating or 'wet-layup' process.
Having laminated the part using the materials included in our Carbon Fibre Laminating Starter Kit we go on to vacuum bag the part using a vacuum pump and conventional vacuum bagging consumables. Later on in the tutorial we also demonstrate how the vacuum bagging process can also be undertaken with minimal specialist equipment using a household vacuum cleaner and vacuum storage bags.
This tutorial can be followed whether or not you intend to vacuum bag the laminated part; up to the vacuum bagging stage, the process is exactly the same.
INTRODUCTION
There are many different ways that carbon fibre parts can be produced including resin infusion, prepreg, hot-press and RTM but in this video tutorial we look at the simplest method of all; hand-laminating or 'wet lay', however we go one step further by vacuum bagging the part in order to reduce the risk of air voids or bridging, remove excess resin and improve the surface finish of the part.
In the wet-lay method, carbon fibre cloth is added to the mould, one layer at a time, and each layer is wetted out with resin, by hand, using a brush or roller. Once all the reinforcement has been added to the mould and wetted-out with resin the part can, at this stage, just be allowed to cure at room temperature. However, if you plan to vacuum bag the part then this should be done immediately before the resin starts to cure.
Material Compatibility
When working with carbon fibre, it is almost always recommended to use 'epoxy' resin as the matrix (the 'glue' that holds the carbon fibre together). This is because carbon fibre is a high performance reinforcement and so it makes sense to use a high performance resin to go with it, otherwise the performance of the carbon fibre will be let down by the performance of the resin.
When laminating parts using epoxy resin it is highly recommended to avoid using moulds that have a polyester gelcoat surface, this is because epoxy resin has a habit of sticking badly to polyester gelcoat, even when multiple applications of release agent have been applied. Instead, it is much better to use moulds that have a surface made from either epoxy gelcoat (such as our EG60 Epoxy Tooling Gelcoat) or a vinylester gelcoat (such as our Uni-Mould Tooling Gelcoat).
In this tutorial we are using a composite mould which we made in a previous tutorial using our Epoxy Mould Making Starter Kit; the kit uses an epoxy gelcoat and is 100% suitable for making epoxy resin-based parts.
TUTORIAL BREAKDOWN
1. Apply mould release wax to the mould
Before you begin, if you will be laminating your part into a composite mould, make sure you are using a mould that has either an 'epoxy' or 'vinylester' gelcoat; this will ensure that you get an easy and reliable release from the mould. See notes above on Material Compatibility.
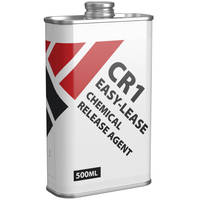
To prevent the part you're about to laminate from sticking in the mould, we begin by applying multiple applications of a suitable release agent. In this tutorial, we use the Number 8 Release Wax that's included in our Epoxy Mould Making Starter Kit.
5 applications of wax are added by swirling the wax on, waiting 10-15 mins, and then gently buffing the wax to a shine before adding the next application.
2. Materials and equipment needed
Hand laminating the carbon fibre part
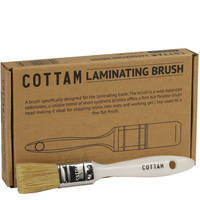
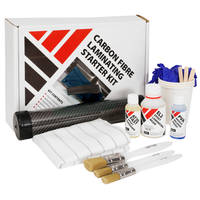
To make a small carbon fibre part similar to the one made in this tutorial our Carbon Fibre Laminating Starter Kit contains all the basic materials and equipment needed including 210g carbon fibre cloth and high quality epoxy laminating resin, along with basic ancillaries of mixing cups, gloves, and laminating brushes.
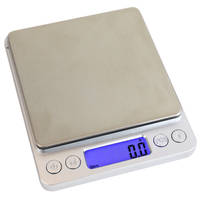
We also need digital scales for measuring the resin and some scissors for cutting the carbon fabric.
Vacuum bagging the part using professional equipment
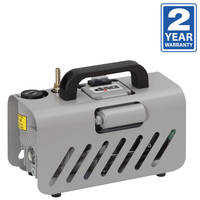
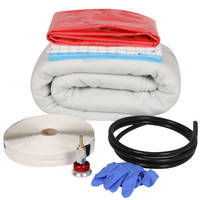
To vacuum bag the part using conventional industrial materials and equipment we used our EC4 dual stage composites vacuum pump, VB160 vacuum bagging film, PP180 peel ply, BR180 breather cloth, ST150 sealant tape and a through-bag connector.
Vacuum bagging the part using a household vacuum cleaner and vacuum storage bags
As an alternative to the professional equipment and materials, vacuum bagging of small parts carbon be undertaken using minimal specialist equipment. To follow this process you would need just the PP180 peel-ply and BR180 breather cloth, along with a household vacuum cleaner and a sealable vacuum storage bag.
3. Cut the carbon fibre cloth reinforcement
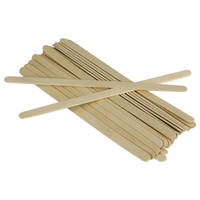
Carbon fibre cloth can be easily cut using normal household scissors. If you are working regularly with carbon fibre then a pair of specialist carbon fibre shears or carbon fibre scissors will last many years and make the job even easier.
To ensure that you cut the carbon fibre cloth in a straight line, a snip can be made and a single carbon fibre tow can be pulled out of the fabric creating an easy-to-follow cut line.
In our example, we will be using 6 layers of carbon fibre cloth. Each layer of 210g carbon fibre cloth is around 0.25mm thick and so 6 layers will result in a laminate thickness of around 1.5mm.
4. Prepare the vacuum bag
To help ensure you get the laminated part under vacuum as quickly as possible, it's important to prepare your vacuum bag in advance.
VB160 vacuum bagging film is cut into a folded sheet that's considerably larger than the component you'll be placing inside it. Where possible, use one of the existing 'edges' of the vacuum bagging film to reduce the amount of sealant tape needed.
ST150 sealant tape is placed around the edge of the bag ready to form the seal. The edges can be sealed down in advance, leaving just one edge un-sealed, ready to load the part in.
A small hole is made in the bag and a TBC2 through-bag connector is fitted through the hole and closed tightly. A patch of BR180 breather cloth is positioned underneath the connector to ensure an air path between the connector and where the part will be positioned.
The TBC2 through-bag connector is connected to the vacuum pump. This can be done directly (often using a female-female ¼ turn valve and 8mm ID hose-tail barb) or, as demonstrated in this tutorial, using a VC200 quick-release coupling.
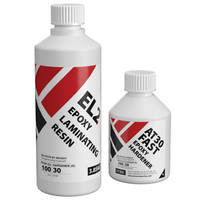
5. Measure and mix the resin
EL2 Epoxy Laminating Resin is an excellent choice for hand layup of carbon fibre parts, including cosmetic finish parts, because it combines excellent mechanical properties with very good clarity and natural UV stability. It also offers fast wet-out of reinforcement and minimal air bubbles.
EL2 should be accurately measured and thoroughly mixed according to the instructions. Once mixed, the pot-life of the resin is around 10 mins and so you should start laminating immediately.
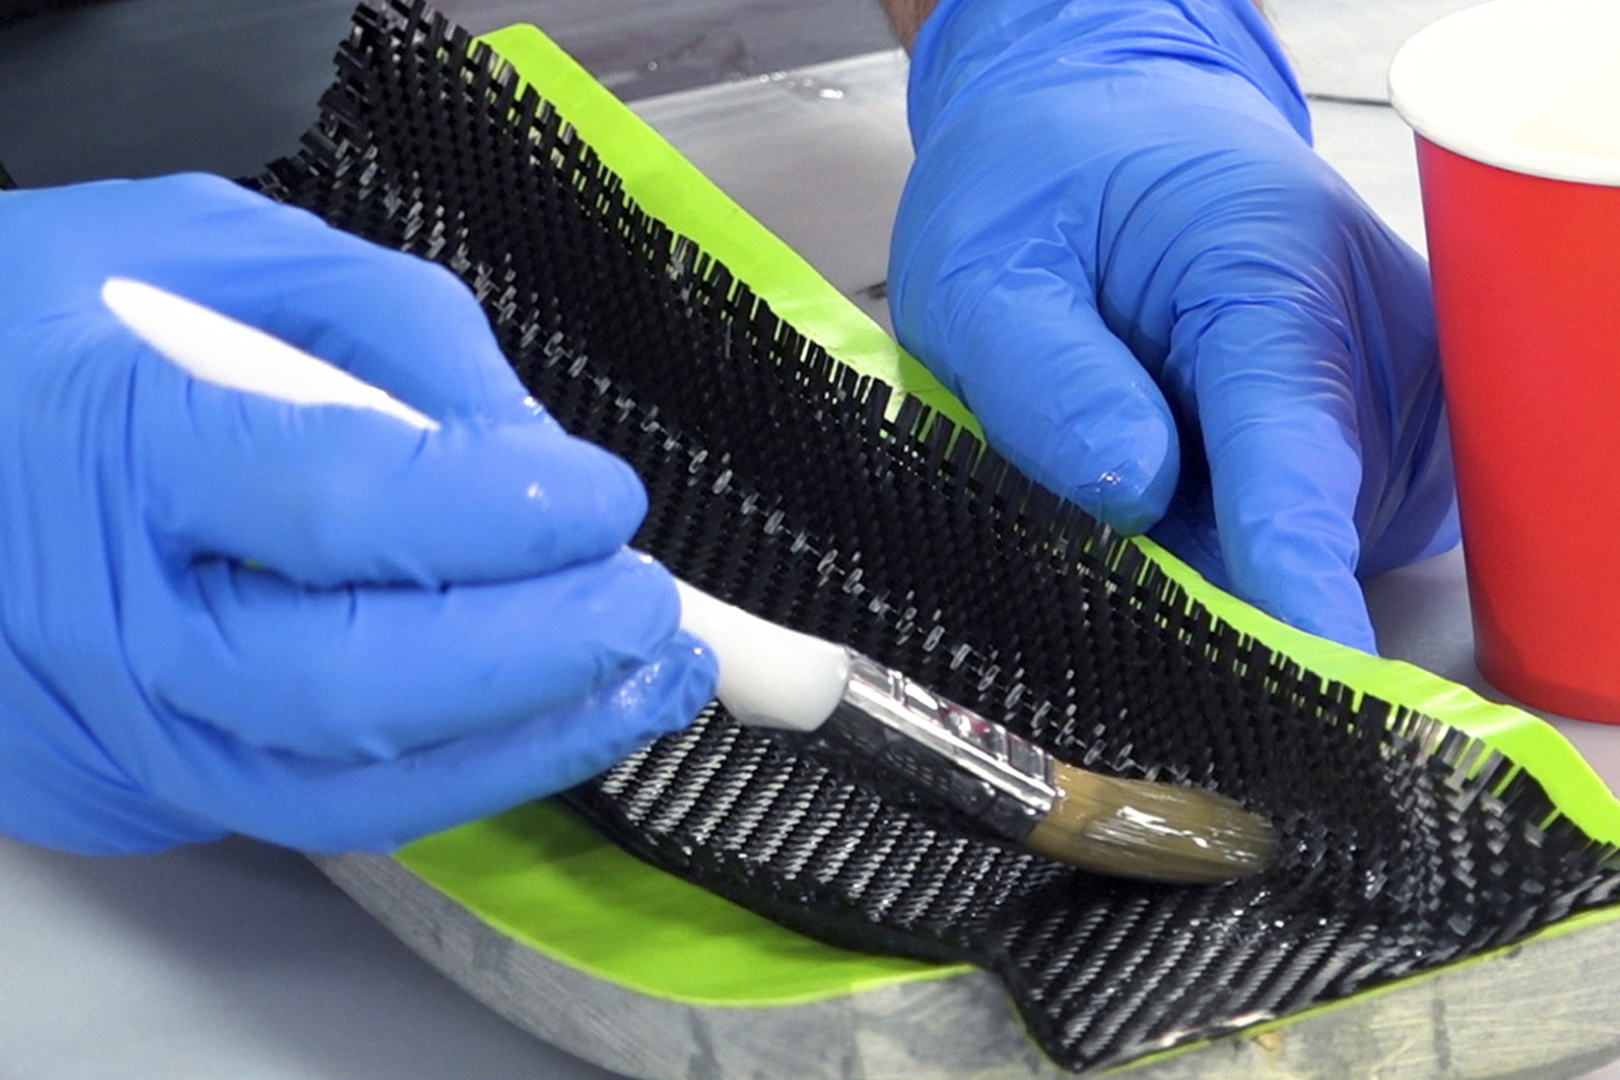
6. Laminate the part
The trick to hand laminating a carbon fibre part correctly is to treat the reinforcement gently, avoiding dragging it too much with the brush or roller, and also to avoid using excessive amounts of resin which will make the part heavier than it needs to be.
Begin by applying a liberal coat of resin directly onto the mould. Don't worry if the resin seems to pull and 'fish-eye' into streaks, this is quite normal, especially on a highly waxed mould.
Place the first layer of pre-cut carbon fibre cloth directly onto the wet resin in the mould. The resin on the mould should help to 'stick' the carbon cloth in place whilst you begin to press the carbon fibre cloth more thoroughly into the surface of the mould, driving the resin through the cloth as you do.
Once the cloth appears to be fully wetted-out, a new coat of resin can be applied, making the first layer of cloth quite resin-rich and then the next layer of dry carbon cloth can be added onto the wet resin. Once again, without adding more resin, press the reinforcement down against the mould surface, driving the resin from underneath into the new layer of cloth.
This process is repeated until all layer of carbon fibre cloth have been laminated into the mould.
At this point, the lamination is now complete and if you don’t plan on vacuum bagging the part you can simply now leave it to cure. Alternatively, you can follow either the 'professional equipment' or 'household equipment' methods of vacuum bagging in the following stages.
7. Vacuum bagging the part – using professional equipment
There are many different combinations of vacuum bagging consumables and vacuum pressure that can be used to vacuum bag a wet-layup laminate and the right choice will depend what the priorities are for the finished part. In the case of this part our priority is to achieve the best possible surface finish which we have found is best done using a low vacuum level (around 20%) in combination with a peel-ply and a breather cloth. When using a high vacuum pump, such as our EC4, it will be necessary to use a vacuum regulator to reduce the vacuum level from almost 100% down to just 20%. Running 100% vacuum (or close to is), particularly with this vacuum bagging stack, will take too much resin out of the laminate, resulting in a weaker laminate and pin-holed surface finish.
PP180 peel-ply is cut to size and laid directly onto the wet laminate. Peel-ply is a woven nylon cloth that excess resin can be absorbed into and passed through easily, but which can generally be removed from the cured laminate without too much difficultly.
Next, we add a layer of BR180 breather cloth. This is a non-woven felt-like material that will maintain an air path to the vacuum pump connector and also absorb excess resin.
With the peel-ply and breather in place, the mould is placed inside the pre-made vacuum bag and the sealant tape is sealed to close the bag around the mould and component.
The vacuum pump is then switched on and the vacuum regulator is set to 20% vacuum.
The vacuum bag should be carefully positioned and manipulated so that there is no bridging of the film on the inside of any corners and the film is fully pressed down into all details and contours of the mould.
The vacuum pump is now left running whilst the resin reaches its initial cure; with the EL2 Epoxy Laminating Resin and the AT30 FAST hardener this will take around 6hrs. At this time, the pump can be switched off whilst the resin reaches full cure.
8. Demould the cured part
Once fully cured, the part can be removed from the mould. Be careful of any sharp splinters. A fully cured part should make a sharp 'ringing' sound when struck. A dull sound when struck is an indication that the resin is not fully cured; in this case the part should be returned to the mould so as not to distort whilst it does reach full cure.
9. Vacuum bagging the part – using household equipment
As an alternative to vacuum bagging using conventional professional equipment, this tutorial includes guidance on how a small carbon fibre part can be successfully vacuum bagged using a domestic vacuum cleaner and reusable vacuum storage bags.
Our own testing has shown that most domestic vacuum cleaners generate around 20% vacuum, which is the ideal vacuum level for achieving the best cosmetic finish.
To follow this method, having added the peel-ply and breather layer onto the wet laminate, the mould is placed inside a vacuum storage back and sealed using the bag’s normal seal. A vacuum cleaner is then connected to the valve on the bag and used to pull a vacuum on the bag before being switched off and the cap screwed back onto the valve. Just as with the professional method, it is important to carefully position and manipulate the vacuum bag so as to avoid any bridging ensure the bag perfectly follows the contours of the mould.
The part can now be left to cure fully before demoulding.
10. Alternative reinforcements
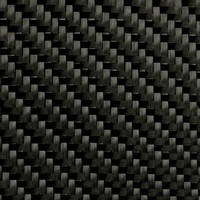
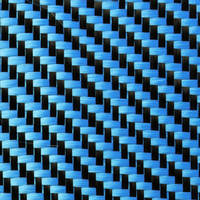
In this tutorial we used the 210g 2x2 twill 3k carbon fibre cloth that is included in the laminating starter kit. This type of carbon fibre cloth is by far our most popular cloth and has the classic diagonal weave pattern that people most associate with carbon fibre. It also has excellent mechanical properties and – as with any reinforcement from Easy Composites – is premium quality with an excellent cosmetic appearance.
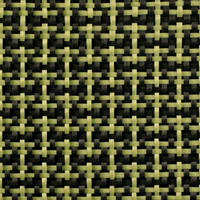
When using the wet-layup process, a huge range of alternative reinforcements can be used; in fact, just about any type of dry composite reinforcement can be used with this process. This means that hybrid reinforcements like carbon/Kevlar, or coloured carbon fibre can be used, along with giant pattern 'spread-tow' carbon fibre, woven glass, pure Kevlar reinforcement and even natural fibre reinforcements. Feel free to experiment with a range of different woven reinforcements for your projects.
DISCUSSION (6)
Please share any questions or comments you may have about this video tutorial.
A typical vacuum bagging consumables 'stack' when vac bagging a wet layup will be peel ply, then perforated film, then breather. The breather works to keep an air path open over the whole surface of the laminate which means that in fact you only need a single vacuum connection, positioned anywhere, providing it is sitting on the breather, and the breather covers the whole surface of the laminate. There is no advantage at all in having multiple vacuum lines/ports/connections. In fact, they're just more places where you might have a leak and so a single vacuum connection is recommended.
Because a typical vacuum cleaner will only generate around 30% vacuum, there isn't really much danger of a vacuum cleaner drying out the laminate in a vacuum bagging application but most vacuum cleaners won't be happy running for any long period of time (especially fully restricted) and so - providing you've got a fully sealed bag - you should be safe to switch off the vacuum cleaner a few minutes after the bag feels like it reaches full tightness.
I guess this really depends on just how rough the surface of the aluminium is. If we're talking of lots of light scratches over the whole surface then it's very likely that mould release wax, such as the Miracle Gloss, would be sufficient to fill in the scratches on the surface of the part and ensure the mould releases without any difficulty. The more coats of wax you apply, the more likely this is to be the case.
However, if the scratches are really coarse, resulting in some of the aluminium almost sticking up from the surface then this would be more that the wax could infill and is likely to cause the mould to mechanically grip and lock onto this surface. If this is the case then no release agent is going to work reliably and instead you would need to improve the surface of the component (using abrasive paper and wire wool) until it's smooth enough and free of anything that the mould could grip onto. If you took the surface to an 800 grit abrasive paper then there wouldn't be any concerns.
Either way, mould release wax is a good release agent choice when you want to fill in some micro-texture in the surface of an original part or pattern. PVA is another good option, particularly if you were able to spray it so that you can build up more than one layer (more than one layer by wipe application of PVA isn't possible).
LEAVE A COMMENT OR QUESTION
PRODUCTS USED IN THIS PROJECT
Although not necessarily an exhaustive list, the following tools and materials, supplied by Easy Composites, were used in this project.
The quantity shown below is the approximate amount used in the project rounded up to the nearest available kit size or quantity.
MATERIALS & CONSUMABLES
TOOLS & EQUIPMENT
DISCUSSION (6)
Please share any questions or comments you may have about this video tutorial.
A typical vacuum bagging consumables 'stack' when vac bagging a wet layup will be peel ply, then perforated film, then breather. The breather works to keep an air path open over the whole surface of the laminate which means that in fact you only need a single vacuum connection, positioned anywhere, providing it is sitting on the breather, and the breather covers the whole surface of the laminate. There is no advantage at all in having multiple vacuum lines/ports/connections. In fact, they're just more places where you might have a leak and so a single vacuum connection is recommended.
Because a typical vacuum cleaner will only generate around 30% vacuum, there isn't really much danger of a vacuum cleaner drying out the laminate in a vacuum bagging application but most vacuum cleaners won't be happy running for any long period of time (especially fully restricted) and so - providing you've got a fully sealed bag - you should be safe to switch off the vacuum cleaner a few minutes after the bag feels like it reaches full tightness.
I guess this really depends on just how rough the surface of the aluminium is. If we're talking of lots of light scratches over the whole surface then it's very likely that mould release wax, such as the Miracle Gloss, would be sufficient to fill in the scratches on the surface of the part and ensure the mould releases without any difficulty. The more coats of wax you apply, the more likely this is to be the case.
However, if the scratches are really coarse, resulting in some of the aluminium almost sticking up from the surface then this would be more that the wax could infill and is likely to cause the mould to mechanically grip and lock onto this surface. If this is the case then no release agent is going to work reliably and instead you would need to improve the surface of the component (using abrasive paper and wire wool) until it's smooth enough and free of anything that the mould could grip onto. If you took the surface to an 800 grit abrasive paper then there wouldn't be any concerns.
Either way, mould release wax is a good release agent choice when you want to fill in some micro-texture in the surface of an original part or pattern. PVA is another good option, particularly if you were able to spray it so that you can build up more than one layer (more than one layer by wipe application of PVA isn't possible).
LEAVE A COMMENT OR QUESTION
100% SECURE
PAYMENT METHODS
Easy Composites EU B.V., registered in the Netherlands 73601195. All content copyright (C) Easy Composites Ltd, 2025. All rights reserved.