Hulp of advies nodig?![]() +44 (0)1782 454499
+44 (0)1782 454499
VIDEO'S IN DEZE SERIE
Deze video is deel 1 van een 3-delige serie:PRODUCTEN DIE IN DIT PROJECT ZIJN GEBRUIKT
Hoewel het niet per se een uitputtende lijst is, werden de volgende gereedschappen en materialen, geleverd door Easy Composites, in dit project gebruikt.
De hieronder getoonde hoeveelheid is de geschatte hoeveelheid die in het project is gebruikt, afgerond naar de dichtstbijzijnde beschikbare kitgrootte of hoeveelheid.
MATERIALEN VOOR HET MAKEN VAN MODELLEN
POLIJSTEN
GEREEDSCHAP & APPARATUUR
MATERIALEN & VERBRUIKSARTIKELEN
VIDEO-HANDLEIDING
Hoe Maak je met de Hand een Nauwkeurig Composietpatroon
Als u een origineel ontwerpidee heeft voor een nieuw glasvezel- of koolstofvezelonderdeel, dan moet u, voordat u het onderdeel zelf kunt maken, of zelfs de mallen, eerst een model maken.
In deze uitgebreide videotutorial demonstreren we een stapsgewijs proces voor het maken van composietpatronen dat kan worden gebruikt om betrouwbaar dimensionaal nauwkeurige en professioneel afgewerkte patronen volledig met de hand te produceren.
OVERZICHT TUTORIAL
1. Creëer de basisvorm
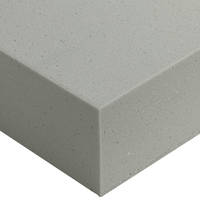
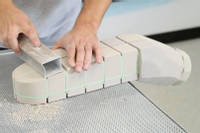
Aan het begin van de tutorial leggen we uit wat een model is en waarom deze nodig zijn in het composietmatrijzenbouwproces, voordat we laten zien hoe 3D CAD-ontwerpen kunnen worden afgedrukt als profielsjablonen die kunnen worden gebruikt om een dimensionaal nauwkeurig skelet van uw model te creëren met behulp van Gesloten Cel PVC-Schuim.
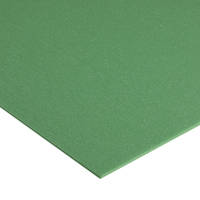
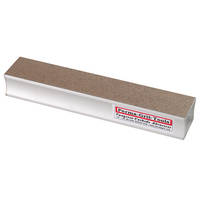
Nadat het profielskelet is gemaakt, gebruiken we Polyurethaanschuim met Lage Dichtheid om de basisvorm van het model uit te vullen. Het schuim wordt vervolgens gevormd met eenvoudig handgereedschap zoals metaalzagen, een Perma-Grit Schuurblok en Schuurpapier.
Het oppervlak van het model wordt vervolgens gladgemaakt en gevuld met een plamuur voor modelmakers (binnenkort verkrijgbaar), alvorens eventuele hoge plekken vlak te schuren met grof schuurpapier.
2. Het patroon afwerken
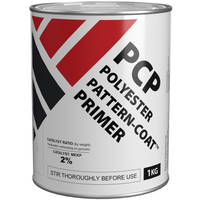
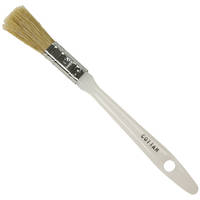
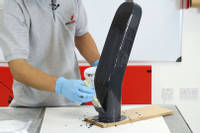
Vervolgens wordt het model gecoat met Pattern-Coat Primer die wordt uitgehard voordat de uitgeharde Primer vervolgens wordt teruggeschuurd met een 120 Korrel Schuurpapier en een nieuwe laag Pattern-Coat Primer (gemengd met een geleidepigment) wordt aangebracht. Dit proces wordt herhaald totdat het model perfect vlak is, zonder hoge of lage plekken. Als er lage plekken zijn, kunnen deze worden opgevuld met een kleine hoeveelheid plamuur tussen de toepassingen van de Pattern-Coat Primer door.
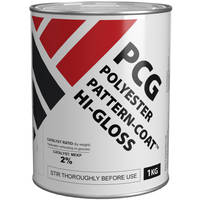
In dit stadium kan het patroon worden geschuurd met fijnere schuurpapieren en vervolgens worden gepolijst tot een gladde, satijnen afwerking of, voor een hoogglans afwerking, kan het oppervlak worden gecoat met Pattern-Coat Hoogglans, wat we in deze tutorial doen.
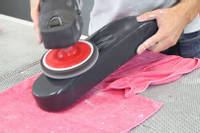
3. Polijst het model
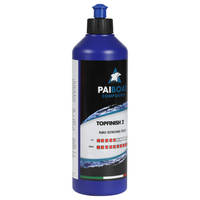
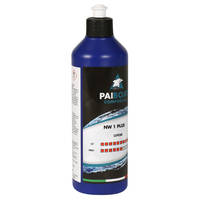
De hoogglans wordt vervolgens droog geschuurd met Schuurpapier korrel 400 en daarna nat geschuurd met progressief korrel 800, korrel 1200 en Schuurpapier korrel 1500. Zodra het patroon perfect is geschuurd tot korrel 1500, gebruiken we een NW1 Witte Super Slijp Pasta voor handmatig polijsten, waarna we overgaan op TOPFINISH 2 voor een ultrahoogglans afwerking, handmatig of machinaal.
Het model is nu voltooid en klaar om te worden gecoat met lossingsmiddel voordat het malproductieproces wordt gestart.
DISCUSSIE (14)
Deel al uw vragen of opmerkingen over deze videohandleiding.
EEN OPMERKING OF VRAAG ACHTERLATEN
PRODUCTEN DIE IN DIT PROJECT ZIJN GEBRUIKT
Hoewel het niet per se een uitputtende lijst is, werden de volgende gereedschappen en materialen, geleverd door Easy Composites, in dit project gebruikt.
De hieronder getoonde hoeveelheid is de geschatte hoeveelheid die in het project is gebruikt, afgerond naar de dichtstbijzijnde beschikbare kitgrootte of hoeveelheid.
MATERIALEN VOOR HET MAKEN VAN MODELLEN
POLIJSTEN
GEREEDSCHAP & APPARATUUR
MATERIALEN & VERBRUIKSARTIKELEN
DISCUSSIE (14)
Deel al uw vragen of opmerkingen over deze videohandleiding.
EEN OPMERKING OF VRAAG ACHTERLATEN
100% VEILIG
BETAALMETHODEN
Easy Composites EU B.V., geregistreerd in Nederland 73601195. Alle inhoud auteursrecht (C) Easy Composites Ltd, 2025. Alle rechten voorbehouden.