Need any help or advice?![]() +44 (0)1782 454499
+44 (0)1782 454499

Specification
General Properties
| Gross Weight | 0.001 | kg |
|---|
Shipping Information
Restrictions
This product is not classed as dangerous goods for transport and can be shipped to all destinations without restriction.
Package Size
There are no package size restrictions or surcharges for this product.
Delivery Cost
To find the delivery cost of this item to your address, add it to your basket and then use the instant shipping calculator on the basket page.
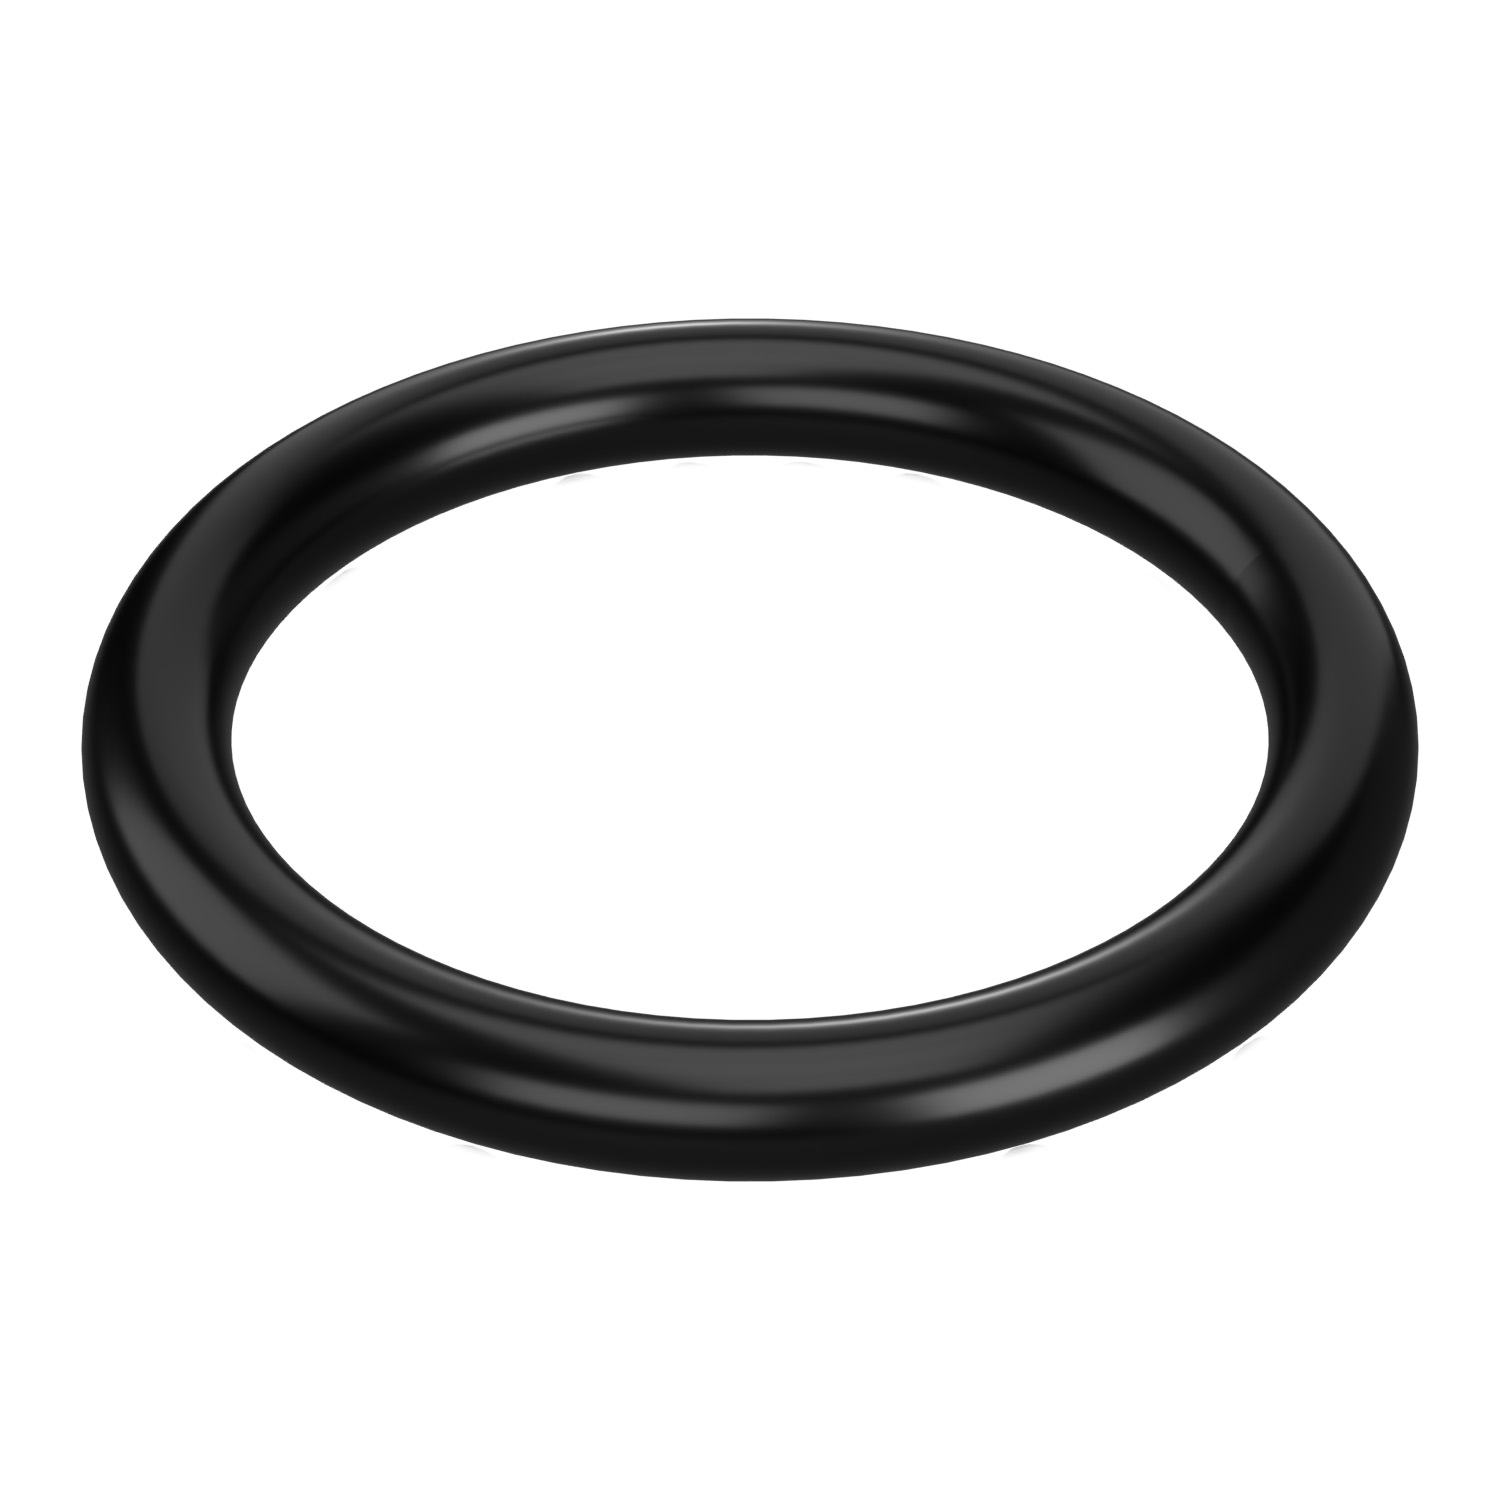
Replacement O-Ring for CG110 Gelcoat Spray Gun Nozzle
- CG110-ORNG-NOZ
- No reviews
Replacement O-Rings for the CG110 Gelcoat Spraying Cup Gun and its associated nozzles. Available as a complete set for the gun and individually for the nozzles.
PRODUCT VERSIONS
Pack Size
AVAILABILITY:More than 10 availablefor immediate shipping
We won’t be beaten on price!
If you believe you’re buying an equivalent product cheaper elsewhere, contact us to discuss your requirements.
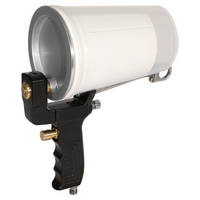
Both the CG110 Gelcoat Spraying Cup Gun and its nozzles use O-rings to ensure an effective leak tight seal. With use, over time the o-rings can wear and perish thus needing replacement to avoid excessive leaks and maintain spray gun performance.
All of the o-rings in the gun and on the nozzle can be replaced when needed. The CG110 Gelcoat Spraying Cup Gun comes with a tool to help user dismantling of the gun. The gun and nozzle use the following o-ring sizes:
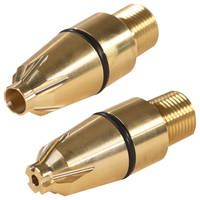
- 2 x 20mm - Nozzle holder o-rings
- 1 x 16mm - Nozzle o-ring
- 1 x 14mm - Trigger External o-ring
- 1 x 7mm - Trigger Internal o-ring
How to Buy
O-rings are available in a Complete Replacement O-Ring Set for CG110 Gelcoat Spray Gun and also Individually for the nozzles.
Further Information
How to Fit
The CG110 Gelcoat Spraying Gun will need basic dismantling to locate and replace the o-rings. A multi-tool is included with the gun to help with this. Also a 4mm allen key, 14mm socket, medium sized flat bladed screw driver and thread sealant will be needed.
Nozzle O-Ring Replacement
Unscrew the nozzle from the gun lid. If it is more than hand tight, use the slotted recess on the CG110 Gun's included tool to engage with the recesses on the nozzle head and unscrew the nozzle.
Remove the old O-ring taking care to not damage the soft brass. Clean the O-ring recess of dirt and debris. Carefully slide the new O-ring over the nozzle until it fits in the recess. Screw the nozzle back into the gun lid finger tight only.
Nozzle Holder O-Ring Replacement
Using the 4mm Allen key, unscrew the grub screw on top of the gun frame directly above the nozzle holder. Once removed, the Nozzle holder will push out of the gun. Only light force should be needed to remove the Nozzle Holder from the gun frame.
Remove the old O-rings taking care to not damage the soft brass. Clean the O-ring recesses of dirt and debris. Carefully slide the new O-rings over the nozzle holder until it fits in the recess.
Press the nozzle holder back into the gun frame by hand. Clean old thread sealant off the grub screw and apply fresh thread sealant. Using the 4mm Allen key, refit and tighten the grub screw into place.
Trigger External O-ring Replacement
First step is removal of the trigger mechanism. Firstly unscrew the trigger button. Take care to retain the spring under the button on removal. Using a 14mm Socket, unscrew the trigger mechanism itself. This will expose the external o-ring on the trigger body.
Remove the old O-ring taking care to not damage the soft brass. Clean the O-ring seat of dirt and debris. Carefully slide the new O-ring over the trigger mechanism until it fits against the seat.
Trigger Internal O-ring Replacement
Looking into the Trigger mechanism from the front, using a flat bladed screw driver, unscrew and remove the small brass plug. You should now be able to see the small internal o-ring
Carefully prise out an remove the old O-ring taking care to not damage the soft brass. Clean the O-ring seat of dirt and debris. Gently press the new O ring into the trigger mechanism. Taking care to avoid cross threading the plug, refit the brass plug.
Taking care to avoid cross threading the trigger mechanism, refit to the gun frame and tighten with the 14mm socket. Replace the trigger spring and screw the trigger button back into place.
Both the CG110 Gelcoat Spraying Cup Gun and its nozzles use O-rings to ensure an effective leak tight seal. With use, over time the o-rings can wear and perish thus needing replacement to avoid excessive leaks and maintain spray gun performance.
All of the o-rings in the gun and on the nozzle can be replaced when needed. The CG110 Gelcoat Spraying Cup Gun comes with a tool to help user dismantling of the gun. The gun and nozzle use the following o-ring sizes:
- 2 x 20mm - Nozzle holder o-rings
- 1 x 16mm - Nozzle o-ring
- 1 x 14mm - Trigger External o-ring
- 1 x 7mm - Trigger Internal o-ring
How to Buy
O-rings are available in a Complete Replacement O-Ring Set for CG110 Gelcoat Spray Gun and also Individually for the nozzles.
Further Information
How to Fit
The CG110 Gelcoat Spraying Gun will need basic dismantling to locate and replace the o-rings. A multi-tool is included with the gun to help with this. Also a 4mm allen key, 14mm socket, medium sized flat bladed screw driver and thread sealant will be needed.
Nozzle O-Ring Replacement
Unscrew the nozzle from the gun lid. If it is more than hand tight, use the slotted recess on the CG110 Gun's included tool to engage with the recesses on the nozzle head and unscrew the nozzle.
Remove the old O-ring taking care to not damage the soft brass. Clean the O-ring recess of dirt and debris. Carefully slide the new O-ring over the nozzle until it fits in the recess. Screw the nozzle back into the gun lid finger tight only.
Nozzle Holder O-Ring Replacement
Using the 4mm Allen key, unscrew the grub screw on top of the gun frame directly above the nozzle holder. Once removed, the Nozzle holder will push out of the gun. Only light force should be needed to remove the Nozzle Holder from the gun frame.
Remove the old O-rings taking care to not damage the soft brass. Clean the O-ring recesses of dirt and debris. Carefully slide the new O-rings over the nozzle holder until it fits in the recess.
Press the nozzle holder back into the gun frame by hand. Clean old thread sealant off the grub screw and apply fresh thread sealant. Using the 4mm Allen key, refit and tighten the grub screw into place.
Trigger External O-ring Replacement
First step is removal of the trigger mechanism. Firstly unscrew the trigger button. Take care to retain the spring under the button on removal. Using a 14mm Socket, unscrew the trigger mechanism itself. This will expose the external o-ring on the trigger body.
Remove the old O-ring taking care to not damage the soft brass. Clean the O-ring seat of dirt and debris. Carefully slide the new O-ring over the trigger mechanism until it fits against the seat.
Trigger Internal O-ring Replacement
Looking into the Trigger mechanism from the front, using a flat bladed screw driver, unscrew and remove the small brass plug. You should now be able to see the small internal o-ring
Carefully prise out an remove the old O-ring taking care to not damage the soft brass. Clean the O-ring seat of dirt and debris. Gently press the new O ring into the trigger mechanism. Taking care to avoid cross threading the plug, refit the brass plug.
Taking care to avoid cross threading the trigger mechanism, refit to the gun frame and tighten with the 14mm socket. Replace the trigger spring and screw the trigger button back into place.
Specification
General Properties
| Gross Weight | 0.001 | kg |
|---|
ASK YOUR OWN QUESTION
Customer Product Reviews for Replacement O-Rings for CG110 Gelcoat Spray Gun and nozzles
SUBMIT YOUR OWN PRODUCT REVIEW
We publish all reviews for verified purchases. Submit your own review and help other customers with their choices.SUBMIT YOUR OWN PRODUCT REVIEW
We publish all reviews for verified purchases. Submit your own review and help other customers with their choices.Shipping Information
Restrictions
This product is not classed as dangerous goods for transport and can be shipped to all destinations without restriction.
Package Size
There are no package size restrictions or surcharges for this product.
Delivery Cost
To find the delivery cost of this item to your address, add it to your basket and then use the instant shipping calculator on the basket page.
100% SECURE
PAYMENT METHODS
Easy Composites EU B.V., registered in the Netherlands 73601195. All content copyright (C) Easy Composites Ltd, 2025. All rights reserved.