Need any help or advice?+44 (0)1782 454499
VIDEOS IN THIS SERIES
This video is part 2 of a 2 part series:PRODUCTS USED IN THIS PROJECT
Although not necessarily an exhaustive list, the following tools and materials, supplied by Easy Composites, were used in this project.
The quantity shown below is the approximate amount used in the project rounded up to the nearest available kit size or quantity.
MATERIALS & CONSUMABLES
ANCILLARIES
VIDEO TUTORIAL
Using a 3D Printed Mould to Laminate a Carbon Fibre Part
WHAT YOU WILL LEARN
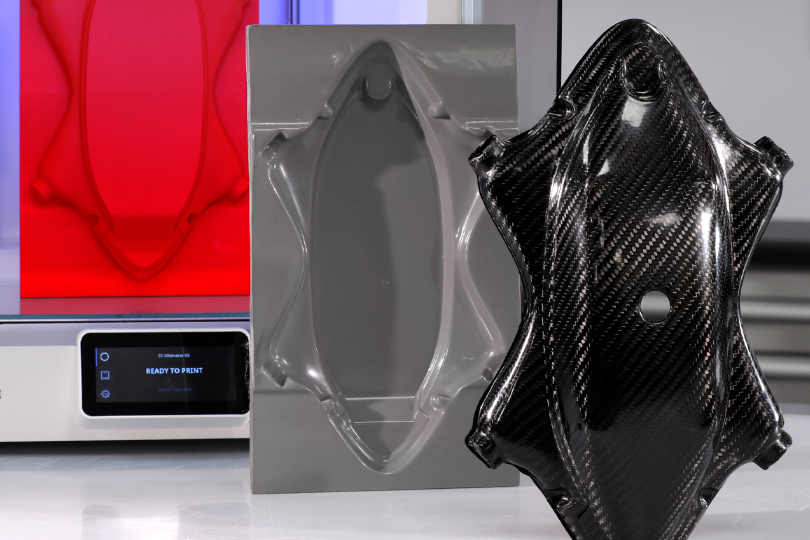
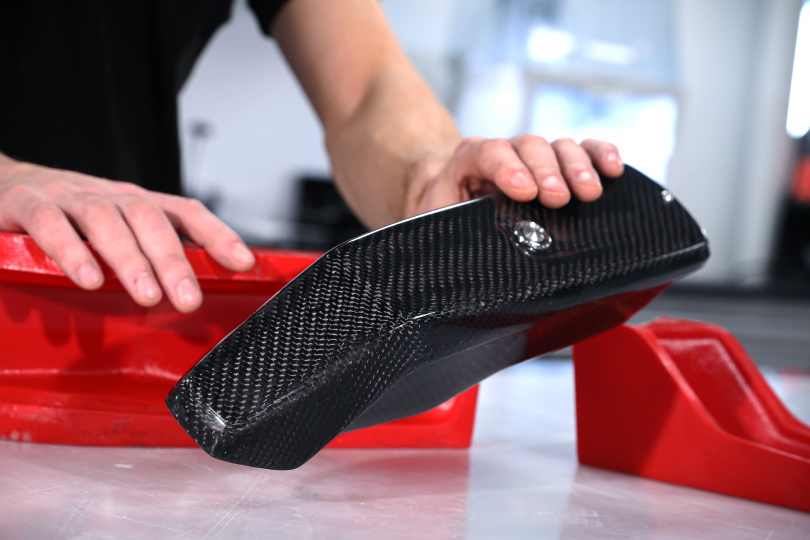
In this video tutorial we work from a 3D printed mould, coat with release agent and directly hand laminate a carbon fibre part, after curing the part is released trimmed and coated with epoxy coating resin to create a perfect cosmetic finish.
This tutorial can be followed to make moulds suitable for and ambient cure process including wet-lay-up, vacuum bagging and resin infusion.
- How to use a 3d printer to directly print a mould suitable for ambient temperature processing
- How to perform a simple hand layup in carbon fibre
- How to coat the finished part to provide a perfect cosmetic finish
INTRODUCTION
Typical composite processes involve the production of a pattern from which to create a mould but for development and prototype parts it is possible to skip the pattern making stage and directly create a mould using 3D printing technology. This particular project has been kept as simple as possible in order to allow parts to be made with the bare minimum investment in equipment, please look through some of our other projects if you are looking for information on more advanced commercial techniques.
We will be taking an FDM print with the barriers already modelled and release coating this before manufacturing the carbon fibre part using a simple hand layup process.
For non-cosmetic parts they could be used directly from the mould however the surface will be slightly compromised by the resolution of the print and limitations of a hand layup process. To bring the finish up to a perfect standard the part can be coated in XCR coating resin and flatted and polished to a high-quality finish.
Material Compatibility
There are a wide range of print materials that can be used for mould making however we strongly recommend using PETG, this offers good inherent release properties with epoxy resin and is readily available and easy to print. In particular ABS should be avoided as a direct mould material as, although not impossible, getting a good release from epoxy resin can be problematic.
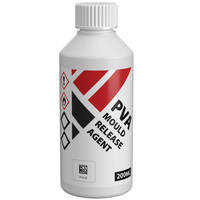
After printing the mould should be prepared with release agent, the most reliable release agent to use in this process is PVA release agent, this offers good layer-line levelling and reliable releasing from epoxy resin.
A mould printed in PETG and release coated with PVA will be compatible with most conventional resin systems such as epoxy polyester and vinylester, generally moulds made in this way are best suited to hand layup processing (with or without a vacuum bag) it would also be possible to process using resin infusion but due to 3D prints generally not being 100% airtight an envelope bagging method may have to be employed. Moulds made with this process are not suitable for elevated temperature cures as used in prepreg production, even when the HDT of the PETG is not theoretically exceeded, in practice we have found the stress of the vacuum bag will lead to excessive warping and distortion.
Materials and Equipment Needed
To Create the 3D Printed Mould
You will need a properly configured and setup FDM printer, in this project we have used the excellent Ultimaker S5 which with its pre-sets and intuitive user interface makes 3d printing easy, however any printer that is properly configured can, obviously, be used. If you are looking for advice on 3d printing we would be happy to recommend our suppliers Dynamism.
We recommend using PETG filament, we have found this to offer an excellent balance of inherent release properties and accuracy, other print materials may well be appropriate, but test should be conducted to ensure compatibility with the process.
To Release Coat the 3D Printed Mould
PVA release agent offers a fast and effective release surface onto a 3D printed mould and whilst release waxes can also be used in this application, they generally will not offer quite the same ease of release. Chemical release agents are not usually the best option in this process as they only provide a thin film and do not serve to level out the printing layers.
To Laminate the Carbon Fibre Part
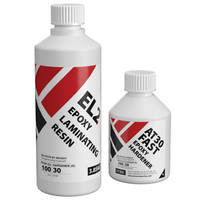
In this project we are using 3 plies of our most popular fibre which is our 210g 2/2 twill carbon but equally any dry composite reinforcement can be used depending upon your application. The resin used is the EL2 laminating epoxy which is specifically designed for wet layup processing and offers excellent strength and wet-out performance. The back of the part is then finished with our economy peel-ply which provides a neat inner surface.
To Coat and Finish the Carbon Fibre Part
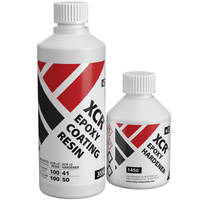
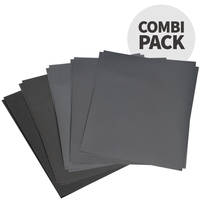
For both repairs and coating we use the XCR coating resin which is specifically designed for coating and finishing applications like this. If void repair is required Flash release tape is useful for creating dams and a range of wet and dry paper, as found in our Mirka combination pack will be needed if you intend to flat and polish the part. If the finish has been flatted the NW1 polishing compound can be used to bring the component through to a full gloss.
PROJECT BREAKDOWN

1. 3D print the mould
The moulds should be printed including any flanges or extensions required to aid in the layup. We suggest using PETG for directly printed moulds as we have found this to provide a reliable release. Printing at a higher resolution will provide a smoother mould surface that is easier to release from in this project we printed with the ‘standard’ settings from CURA with a 0.15mm layer height. If possible it is best practice to orient the printing so that the layers are printed parallel to the direction of release of the part, this will reduce the mechanical lock presented by the print surface, this being said as long as you have a draft-angle of 5deg or greater you can still get a good release even if the layer-lines are presented perpendicular to the release direction.
Moulds that are larger than the print volume can be printed in sections and then bonded together with an appropriate adhesive, for PLA both Cyanoacrylate (super-glue) and epoxy adhesives are very effective.
2. Apply the release agent
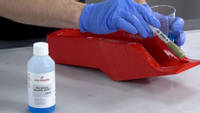
Although PETG will offer an inherent release with epoxy resins, due to the surface irregularity and finish left from the 3D printing process a release agent is still required to ensure that the part will separate from the mould. We have found that PVA release agent offers a very fast and reliable release in this process. PVA is applied in a single coat either by wiping or brushing an even film over the mould surface, this coating should be liberal but not so thick as to cause runs.
Once applied the PVA release agent should be allowed to dry as room temperature typically this will take around 30mins.
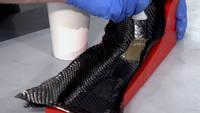
3. Hand-laminate the carbon fibre part
We are laminating the part using EL2 laminating resin, this should be first accurately and thoroughly mixed with its hardener, to ensure that there is no unmixed resin remaining in the container it is best practice to pour from the first pot into a second and mix again.
Before laying the carbon, the mould should be coated in a film of resin. When hand laminating you should, wherever possible, lay the carbon onto the resin and wet out the fabric with resin from underneath this help to ensure proper wet-out and reduces the air entrapment. For small intricate parts such as this a laminating brush is generally the only tool that is required but for larger or flatter mouldings a roller or squeegee can aid the wetting out. For a wet lay-up you are typically aiming for a fibre to resin fraction of 1 to 1 so for every 100g of fibre you will use approximately 100g of resin.
With parts of a thickness of less that 3mm it is usually possible to laminate all of the layers in one single operation, for thicker parts it may be necessary to divide the layup into multiple laminations to reduce the effects of shrinkage and the possibility of a thermal runaway or ‘exotherm’.
In this instance after the reinforcement is laid a layer of peel-ply is used as a final ply to create a neat finish on the inside of the part, this also provides a good surface for subsequent bonding operations. With the peel-ply laminated, the part can then be left to cure at ambient temperate, cure time will vary depending upon the hardener speed and the room temperature but will typically range between 12 and 48hrs.
CAUTION: do not leave the mixed EL2 resin in the bottom of the mixing cup if deeper that 5mm, this can undergo a thermal runaway which will potentially be dangerous. Excess resin should be poured into a tray to increase the surface area and/or the container should be moved to a safe outdoor location in case of over-heating.

4. Trim and finish the edges
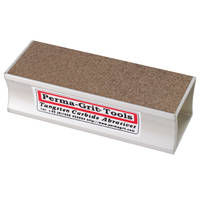
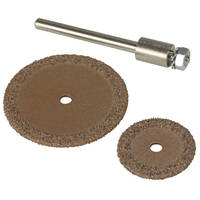
The demoulded part then just needs trimming and finishing to give a clean and nice edge to the part. For this part we used a Dremel type tool fitted with a 32mm Permagrit cut-off wheel which is an excellent all-round trimming tool and last for hours of continuous use. The edges were trued up using a sanding block and finished with 240 grit paper.
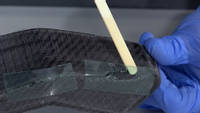
5. Prepare the surface for coating
Although the parts could be used straight from the mould, in order to achieve a good cosmetic finish without pinholes and print layer-lines the part with need to be coated with a resin or clear-coat, to prepare the part the surface will need to be washed with water to remove any PVA from the surface and then abraded with 400 grit wet and dry to provide a good key for the coating.
If your part has any voids or large pinholes these should be filled with resin, for larger voids a dam created from flash release tape can help to hold the resin back from running out. You could use either the EL2 laminating resin or the XCR coating resin for this application. After the repairs have been made, they should be left to cure and then sanded back in flat with 400grit paper to level with the surface of the part.
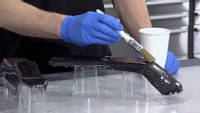
6. Coat with the part XCR coating resin
With the part fixed and flatted it can then be coated to provide a smooth glossy and durable finish. It would be possible to spay an automotive clear coat for this but in this project, we are using the XCR coating resin which will provide a very durable finish and can easily be applied by brush.
You will need around 300grams per square meter for each coat applied, in practice for small parts you will need to mix more than this to allow for the wastage in the mixing cups and brush. The hardener should be added to the resin in the exact ratio of 100:35 as accurately as possible for small batches of resin scales with 1/10 gram accuracy will help.
The resin should not be sprayed, the application method it to brush a thin and even coat steadily over the surface using a method like that of gloss painting, care should be taken not to overload the surface as this will lead to runs in the coating. After applying the coat, it should be checked a few minutes later for any runs, any excess resin should then be removed with a brush as required.
Depending upon the finish left by the first coat, as second may be required if any of the surface irregularity has not been covered, this second coat should be applied when the first has reached the B-stage; for XCR this will typically be 3 hours but will vary depending upon room temperature. To identify if the resin is at the correct stage it should feel tacky to a gloved finger but not leave a residue, at this point the second coat can be mixed and applied as-per the first.
The resin should now be left to fully cure which depending upon temperature will be 12-24hrs. Until fully cured, XCR is highly sensitive to moisture so make absolutely sure the resin is fully cured before you proceed with any wet-sanding.
CAUTION: do not leave the mixed XCR resin in the bottom of the mixing cup if deeper that 5mm, this can undergo a thermal runaway which will potentially be dangerous. Excess resin should be poured into a tray to increase the surface area and/or the container should be moved to a safe outdoor location in case of over-heating.
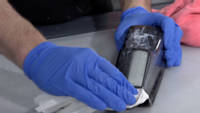
7. Flat and polish the part
If you are happy with the results as left by the XCR coating the part could be used as it is but generally flatting and polishing the part would be preferred as is will leave a more consistent and professional finish.
The flatting process should start with the finest grade of paper that can be used to quickly flat-down the surface, this is a matter of judgment but generally this will be either 400 or 800 grit wet and dry. This is best done wet to prevent the paper from clogging and the grades should be worked through to a minimum of 1200grit, the compound curved areas are done with the paper alone and then for the flat areas and single curvatures it is wrapped around a block to maintain a perfectly flat face. whenever you change through to a finer grade of abrasive it is important to clean the pattern and change the water as it ensures that to don’t simply rub around particles of the previous grade causing scratches.
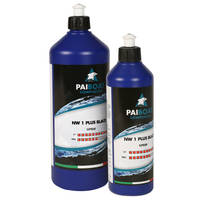
From the 1200grit (or finer) we can continue with the final polish, for this we are using the NW1 polishing compound, which is specifically designed for composite resins, unless your part is very small this is definitely best done with a foam pad on a polishing machine, but if you have the perseverance it is possible to do entirely by hand.
Unlike many compounds the NW1 does not need water and does not quickly dry out, This particular compound is self-diminishing so the more you work it the finer it gets and should be able to take you to a full mirror polish in one step, once buffed the last residue of the compound can be wiped away with a microfibre cloth which should reveal a mirror like polish on your part!
DISCUSSION (4)
Please share any questions or comments you may have about this video tutorial.
For simple casting moulds yes you can use that method. Just take care to ensure that the joining faces are perfectly aligned so the resin does not leak out significantly.
Yes, you could certainly use this same process, i.e. coating with XCR and then flatting and polishing, to really hone the surface of a 3D printed mould that you'll use for a traditional hand-layup or vacuum bagged hand layup. The whole process would be exactly as you see us coating the 3D print in the drone shell tutorial.
LEAVE A COMMENT OR QUESTION
PRODUCTS USED IN THIS PROJECT
Although not necessarily an exhaustive list, the following tools and materials, supplied by Easy Composites, were used in this project.
The quantity shown below is the approximate amount used in the project rounded up to the nearest available kit size or quantity.
MATERIALS & CONSUMABLES


ANCILLARIES


DISCUSSION (4)
Please share any questions or comments you may have about this video tutorial.
For simple casting moulds yes you can use that method. Just take care to ensure that the joining faces are perfectly aligned so the resin does not leak out significantly.
Yes, you could certainly use this same process, i.e. coating with XCR and then flatting and polishing, to really hone the surface of a 3D printed mould that you'll use for a traditional hand-layup or vacuum bagged hand layup. The whole process would be exactly as you see us coating the 3D print in the drone shell tutorial.
LEAVE A COMMENT OR QUESTION
100% SECURE
PAYMENT METHODS
Easy Composites EU B.V., registered in the Netherlands 73601195. All content copyright (C) Easy Composites Ltd, 2025. All rights reserved.
