Need any help or advice?![]() +44 (0)1782 454499
+44 (0)1782 454499
VIDEOS IN THIS SERIES
This video is part 3 of a 3 part series: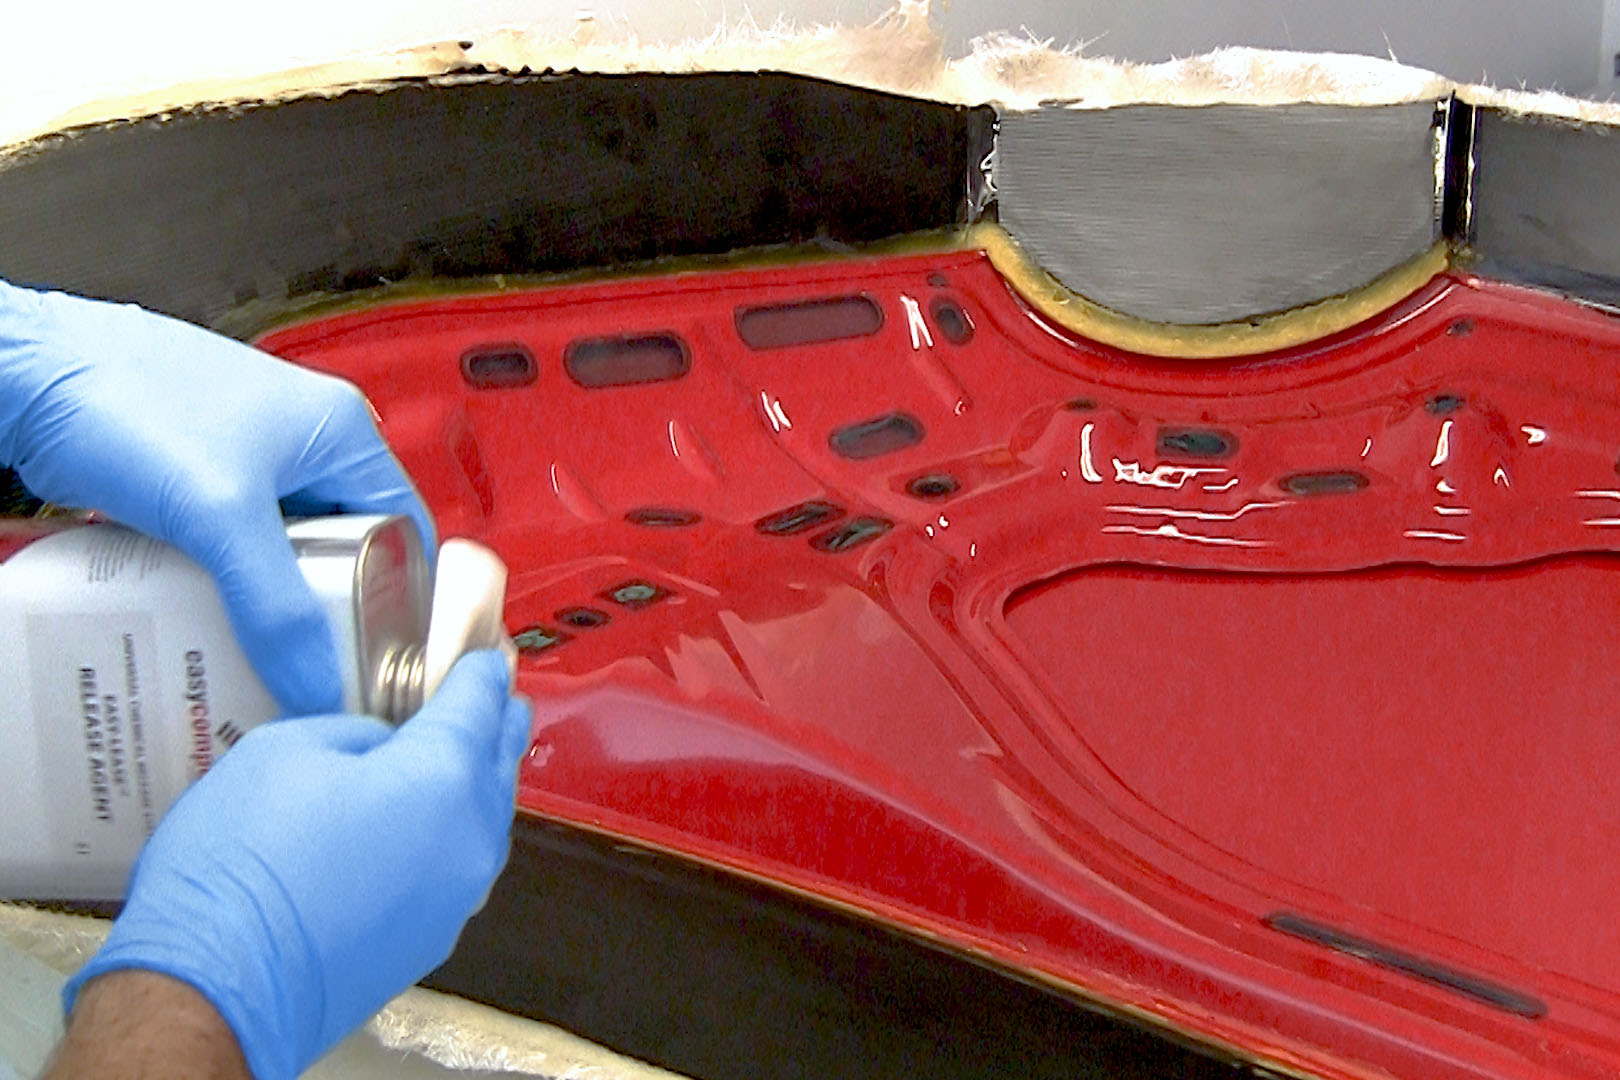
PRODUCTS USED IN THIS PROJECT
Although not necessarily an exhaustive list, the following tools and materials, supplied by Easy Composites, were used in this project.
The quantity shown below is the approximate amount used in the project rounded up to the nearest available kit size or quantity.
MATERIALS & CONSUMABLES

TOOLS & EQUIPMENT
VIDEO TUTORIAL
Trimming and Assembling a Carbon Fibre Bonnet (or Similar Panel)
Part 3 - Trimming, adding bonding fasteners and assembly
In the 3rd part of the series we trim and finish the parts, add bonding fasteners and assemble the finished bonnet.
TUTORIAL BREAKDOWN
1. Trimming lower skin
First of all don PPE to protect yourself from the dust and also potential flying hazards.
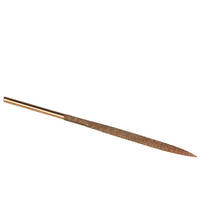
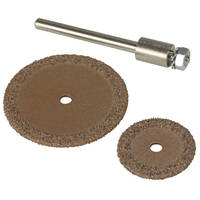
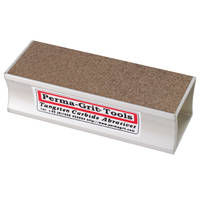
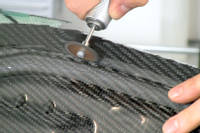
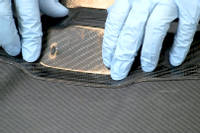
Using a Dremel style cutting tool fitted with a Perma-Grit cutting wheel, the edge of the lower skin was then roughly trimmed. Care was taken to not take off excess material.
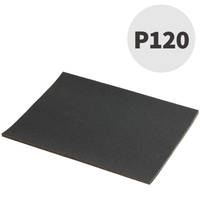
Once the initial rough cut is complete, the edges are finished by first cutting back with a sanding block and files, before finishing off with 120 grit sandpaper to give a nice clean edge
2. Drilling & cutting for fasteners
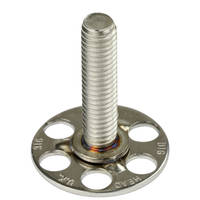
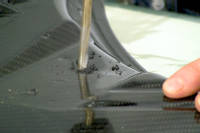
Special load spreading "BigHead" fasteners are used for the hinge areas. These consist of threaded studs welded to a special load spreading plate.
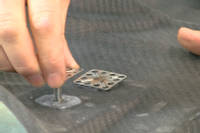
Holes are marked out for the fasteners studs to come through the lower skin, then carefully drilled. Holes are also cut with the Dremel for the bonnet front latch. That hole is also neatened up with files and sandpaper like the edges of the skin.
The bonnet hook was specially fabricated for this project to fit into the opening. It includes good sized bonding tabs so it can be boned onto the lower skin.
3. Bonding on fasteners
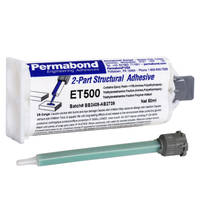
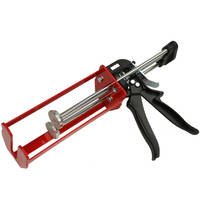
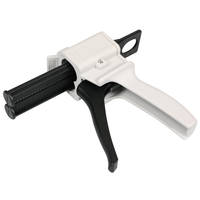
The fasteners are going to be bonded to the lower skin with the Permabond ET500 structural adhesive. The underside of the skin does not need any preparation due to the peel ply finish. The bonding flanges of the bonnet latch have been heavily keyed with a grinder to aid adhesion.
Using the supplied mixing nozzle, the ET500 is dispensed around the stud holes taking care not to get any on the hole itself. The fasteners are inserted stud first into the hole, avoiding getting adhesive on the threads, then pressed down flat onto the lower skin. The holes in the fastener baseplate allow the adhesive to squeeze through meaning as well as a bond metal to carbon, the fastener will be mechanically locked into place by the adhesive.
Similarly, adhesive is carefully applied to the latch flanges and the latch is pressed into place. The lower skin is then left for 10 minutes to allow the adhesive to achieve initial handling strength.
4. Bonding together the upper and lower skins
At this stage the upper and lower skins are being bonded together. To aid alignment, the upper skin is placed back into it's mould. At this point, if needed, any measurement or alignment marks are made on the skin so that the lower skin ends up perfectly positioned on the upper skin.
To bond the skins together, Permabond PT326 is used as the structural adhesive. A large bead is placed in the inner and outer edges of the lower skin - there may be some slight gap filling in places. Once applied, the lower skin is mated to the upper skin. Great care is need to ensure the skins are properly aligned at this stage otherwise the shut lines and upper skin placement may not fit properly on the car.
Once happy with placement, a protective layer of bagging film is used and a lot of weights are applied to hold the skins together properly while they cure.
5. Cutting & finishing the bonnet/hood
Now the two skins are bonded together, the final stage is to trim and finish off the edge of the upper skin.
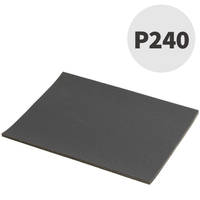
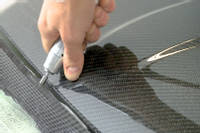
The edge of the upper skin is also cut with the Dremel and Perma-Grit rotary cutting tool. Even more care is taken to ensure too much material is not taken off. The edge is then progressively sanded back using a Perma-grit sanding block before being finished with 120 grit and finally 240 grit sandpaper for a neat edge.
A quick dust off and the bonnet/hood is now complete and ready to be fitted to the car.
DISCUSSION (11)
Please share any questions or comments you may have about this video tutorial.
LEAVE A COMMENT OR QUESTION
PRODUCTS USED IN THIS PROJECT
Although not necessarily an exhaustive list, the following tools and materials, supplied by Easy Composites, were used in this project.
The quantity shown below is the approximate amount used in the project rounded up to the nearest available kit size or quantity.
MATERIALS & CONSUMABLES
TOOLS & EQUIPMENT
DISCUSSION (11)
Please share any questions or comments you may have about this video tutorial.
LEAVE A COMMENT OR QUESTION
100% SECURE
PAYMENT METHODS
Easy Composites EU B.V., registered in the Netherlands 73601195. All content copyright (C) Easy Composites Ltd, 2025. All rights reserved.