Need any help or advice?![]() +44 (0)1782 454499
+44 (0)1782 454499
VIDEOS IN THIS SERIES
This video is part 1 of a 3 part series: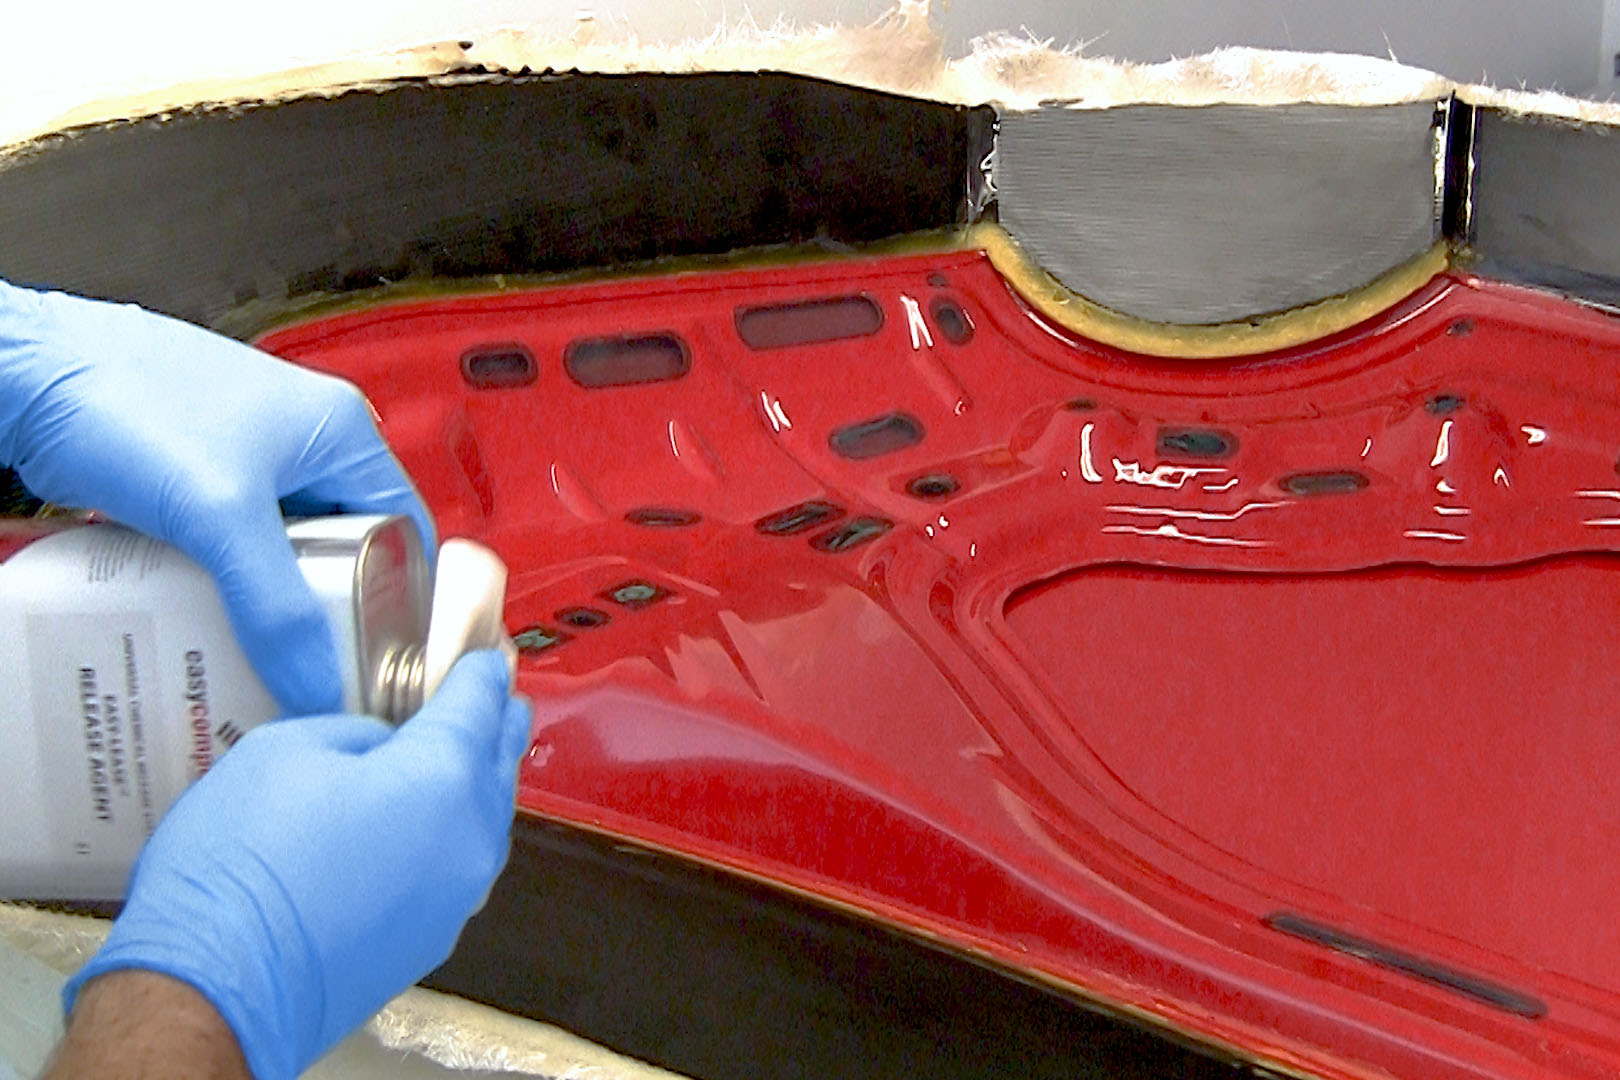
PRODUCTS USED IN THIS PROJECT
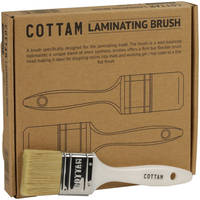
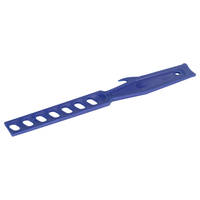
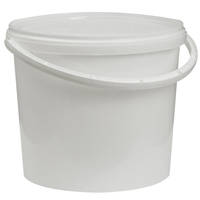
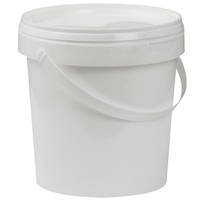
Although not necessarily an exhaustive list, the following tools and materials, supplied by Easy Composites, were used in this project.
The quantity shown below is the approximate amount used in the project rounded up to the nearest available kit size or quantity.
MATERIALS & CONSUMABLES


TOOLS & EQUIPMENT

VIDEO TUTORIAL
How to Make a Mould for a Carbon Fibre Bonnet (or Similar Panel)
In this example we make a carbon fibre car bonnet/hood but the exact same process could be used to make a roof, boot/trunk, wings or doors. In this case we used an original panel from a modern Fiat 500. However, any finished pattern could be used at this stage if you have not got an original to copy or your design is unique
TUTORIAL BREAKDOWN
1. Preparing the bonnet/hood
Ideally choose a panel in good condition with minimal paint blemishes or defects on the surface. The better the quality of the panel now, the better quality the mould surface will be and less need for repairs and polishing later.
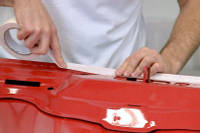
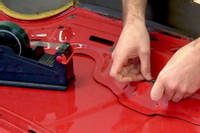
Remove any parts that are not to be moulded - such as the bonnet latch. Create templates for and create the mould flanges. Gaps around the flanges can be filled using filleting wax to get a sealed gap and smooth transition to the flange.
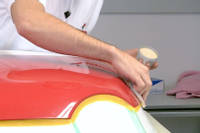
2. Applying release agents
To ensure the best possible chance of a successful release, it is wise to use 2 release agents at this point. First EasyLease is applied to the bonnet with 5 layers being applied. Secondly this is backed up with 2 layers of mould release wax
3. Making the outer skin mould
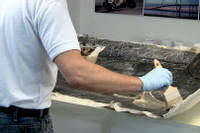
The mould for the outer skin is then made using the Uni-Mould Mould Making System. The lay up for this mould is standard for the Uni-Mould system and consists of Tooling gelcoat backed up with coupling coat and 100gsm CSM, finally finished with the Tooling resin and 4 layers of 450gsm CSM to add the backing strength to the mould
The Outer skin mould is left to fully cure before turning over the whole mould to make a start on the Inner Frame Mould.
4. Preparing inner frame
The flange barrier material is now removed, exposing the flange of the bonnet skin mould. The Filleting wax around the outside of the flange is trimmed and neatened to ensure the same good seal between the Outer skin mould and the bonnet itself. The holes and slots on the frame underside are sealed over with Release Tape to keep the resin out and produce a smooth neat finished mould.
The entire bonnet underside is then coated in release agent just as the outer skin, with extra care taken to ensure the new flange is properly coated in release agent,
5. Making the mould for the inner frame
The mould making process for the inner frame is identical to that of the Outer Skin. Once complete, the mould is allowed to cure fully before it can be trimmed and demoulded.
6. Demoulding and trimming the moulds
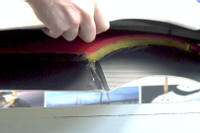
Mark around the outer edge of the flange with a marker pen as a cutting guide. The rough edges are then cut off using a jigsaw to reveal the neat edges of the mould. Using a chisel or demoulding tool, carefully pry between the upper and lower moulds to open up a small gap, Carefully widen this gap and separate and demould the Outer Skin Mould and Inner Frame Mould from the Original bonnet.
Once demoulded, any rough edges can be tidied and the wax removed prior to inspecting the moulds for damage.
7. Repairing the mould damage
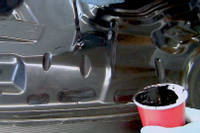
A small patch has been damaged and will need a gel coat repair. Using tools and sandpaper, the damaged material was removed and prepared for repair. A small batch of Tooling Gel Coat is mixed up with some MW1 Wax Additive Solution to avoid a tacky surface finish.
Once cured, the repair was carefully sanded flush with the surrounding area before being polished back to a high gloss.
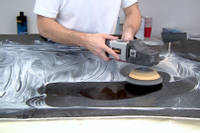
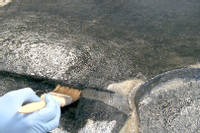
8. Sanding and polishing the mould
To get a very high quality professional finish, the mould was sanded and then polished. The mould surface has very fine print through from the mould process and some small marks and blemishes from the imperfections on the original bonnet. The imperfections were removed by wet sanding the surface working through the grits from coarse to fine. It was then machine polished to give the high gloss finish.
DISCUSSION (12)
Please share any questions or comments you may have about this video tutorial.
Really, any more than 4 layers at a time would be risking the mould overheating. If you wanted to go thicker, then you will need to wait for the first 4 layers to cure, then key the surface and apply another 4 layers (you need the 4 layer thickness to give you the heat to cure the resin)
LEAVE A COMMENT OR QUESTION
PRODUCTS USED IN THIS PROJECT
Although not necessarily an exhaustive list, the following tools and materials, supplied by Easy Composites, were used in this project.
The quantity shown below is the approximate amount used in the project rounded up to the nearest available kit size or quantity.
MATERIALS & CONSUMABLES
TOOLS & EQUIPMENT
DISCUSSION (12)
Please share any questions or comments you may have about this video tutorial.
Really, any more than 4 layers at a time would be risking the mould overheating. If you wanted to go thicker, then you will need to wait for the first 4 layers to cure, then key the surface and apply another 4 layers (you need the 4 layer thickness to give you the heat to cure the resin)
LEAVE A COMMENT OR QUESTION
100% SECURE
PAYMENT METHODS
Easy Composites EU B.V., registered in the Netherlands 73601195. All content copyright (C) Easy Composites Ltd, 2025. All rights reserved.