Need any help or advice?![]() +44 (0)1782 454499
+44 (0)1782 454499
VIDEOS IN THIS SERIES
This video is part 2 of a 3 part series: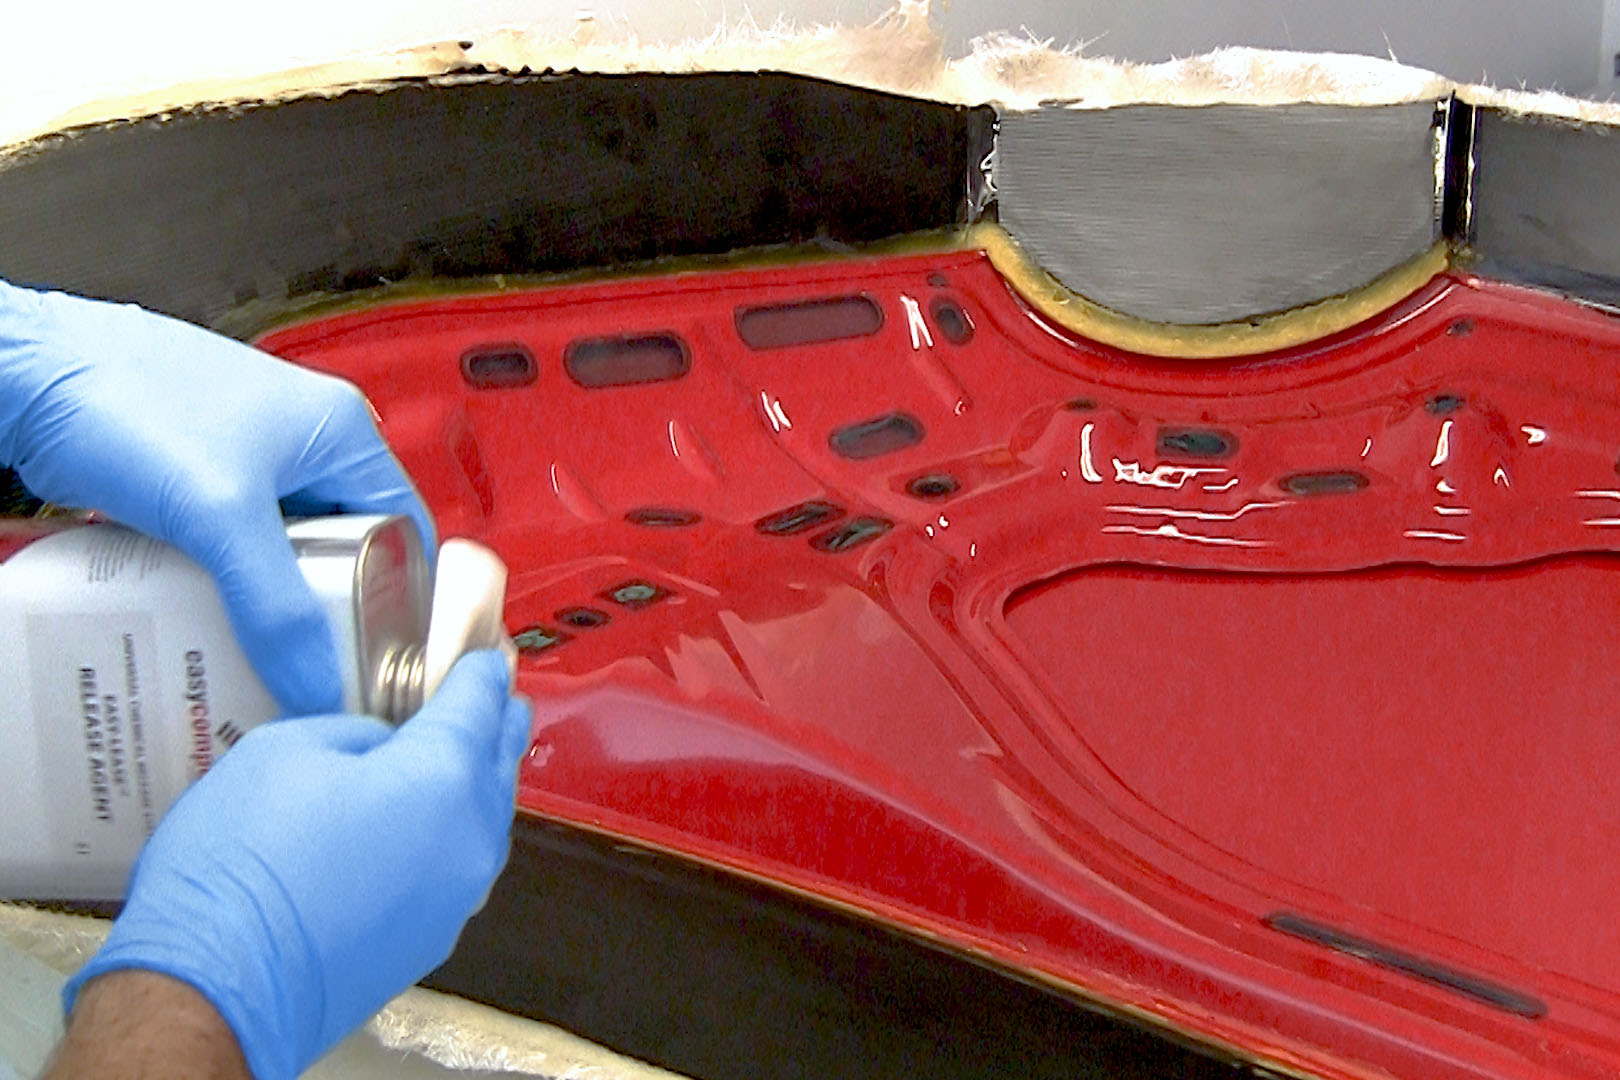
PRODUCTS USED IN THIS PROJECT
Although not necessarily an exhaustive list, the following tools and materials, supplied by Easy Composites, were used in this project.
The quantity shown below is the approximate amount used in the project rounded up to the nearest available kit size or quantity.
REINFORCEMENTS
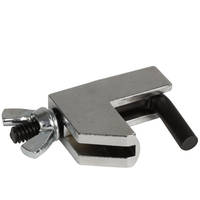
TOOLS & EQUIPMENT

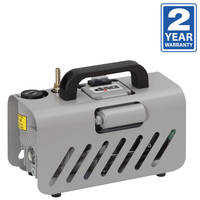


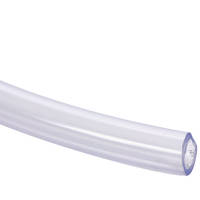
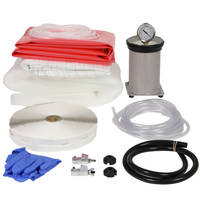
INFUSION EQUIPMENT & CONSUMABLES
MATERIALS & CONSUMABLES
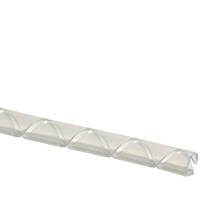
VACUUM BAGGING CONSUMABLES

VIDEO TUTORIAL
How to Resin Infuse a Carbon Fibre Bonnet (or Similar Panel)
In part 2 we make the inner and outer skins for the bonnet using resin infusion of carbon fibre and Lantor Soric core material.
TUTORIAL BREAKDOWN
Spraying the GC50 epoxy compatible gelcoat (optional)
Before you can spray the gelcoat, the mould needs to be treated with EasyLease in accordance with the product instructions.
For many panels, a clear gelcoat is not necessary as the resin infusion already gives a great high gloss finish as standard. However we wanted to demonstrate this additional step for those that want the ultimate in high quality finish and UV protection without any post production finishing.
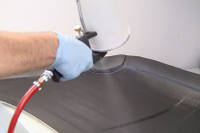
The GC50 is measured out and catalysed with MEKP before thoroughly mixing and loading into the G100 Gelcoat cup gun. Once appropriate PPE is donned, the gelcoat is sprayed onto the mould surface in an even layer before being allowed to cure.
Prior to beginning any of the lay up for infusion, the overspray is cleaned off the mould flanges and any drips or blemishes on the gelcoat surface are sanded out.
2. Laying up the fabric for the bonnet skin
While the flanges are now clean, the Gum Tape is applied all the way around the flange. This is to ensure there are no stray fibres which could get trapped under the tape causing a small leak in the bag.
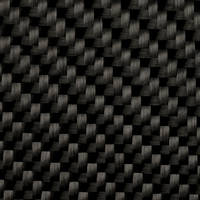
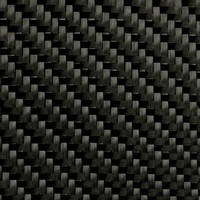
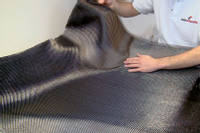
After carefully measuring the mould, the correct size piece of carbon is selected and laid carefully into the mould. The surface layer is a 210gsm twill woven carbon cloth. Extra care is taken to avoid distorting or pulling the fabric as this will be the visible layer on the top surface of the finished part.
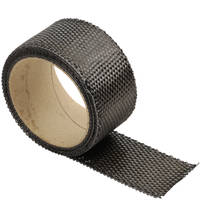
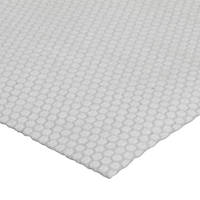
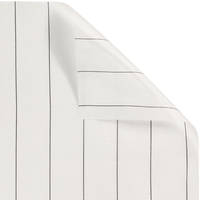
The Soric core material is then cut to size leaving a small gap around the edge and placed in the mould. The gap is filled with several layers of carbon fibre tape so that there is not a ridge or noticable edge that could print through onto the surface. The fabric layup is then completed with another layer of the 210gsm twill Carbon Fibre.
3. Resin infusing the bonnet skin
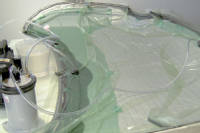
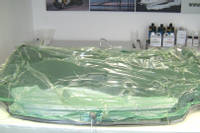
The infusion stack is now added to the mould, starting with the peel ply, then mesh, silicone connectors, spiral and finally the vacuum bag. The infusion for this skin is an entirely conventional infusion process.
A vacuum is pulled on the bag and as is key with all infusions, a good leak test is conducted to ensure that the bag is air tight and all leaks have been fixed. Only at that stage can you consider doing the actual infusion.
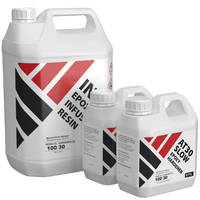
The IN2 Infusion epoxy is measured out accurately on the scales and then thoroughly mixed. Once mixed, the pump is turned on and the infusion is commenced. Once the infusion is complete, the vacuum port and then the resin feed are clamped off and the pump switched off. The part can then be left to fully cure.
Once cured, the vacuum bag and bagging stack can be carefully removed. The peel ply can be ripped off in strips. Once done, carefully prise between the carbon and the mould surface to lift the edge and demould the part.
4. Resin infusing the inner frame
The basic infusion process for the inner frame is almost identical. The only difference is the layup is simplified to 1 layer of 210gsm twill cloth on the surface and 1 layer of 650gsm cloth backing. Some additional fabric is added to the hinge and hook areas for additional strength.
The same infusion bagging stack is done as before and following the leak test, the infusion is carried out. Once cured, the part is demoulded in exactly the same fashion.
DISCUSSION (7)
Please share any questions or comments you may have about this video tutorial.
LEAVE A COMMENT OR QUESTION
PRODUCTS USED IN THIS PROJECT
Although not necessarily an exhaustive list, the following tools and materials, supplied by Easy Composites, were used in this project.
The quantity shown below is the approximate amount used in the project rounded up to the nearest available kit size or quantity.
REINFORCEMENTS
TOOLS & EQUIPMENT
INFUSION EQUIPMENT & CONSUMABLES
MATERIALS & CONSUMABLES
VACUUM BAGGING CONSUMABLES
DISCUSSION (7)
Please share any questions or comments you may have about this video tutorial.
LEAVE A COMMENT OR QUESTION
100% SECURE
PAYMENT METHODS
Easy Composites EU B.V., registered in the Netherlands 73601195. All content copyright (C) Easy Composites Ltd, 2025. All rights reserved.