Hulp of advies nodig?![]() +44 (0)1782 454499
+44 (0)1782 454499
VIDEO'S IN DEZE SERIE
Deze video is deel 1 van een 3-delige serie: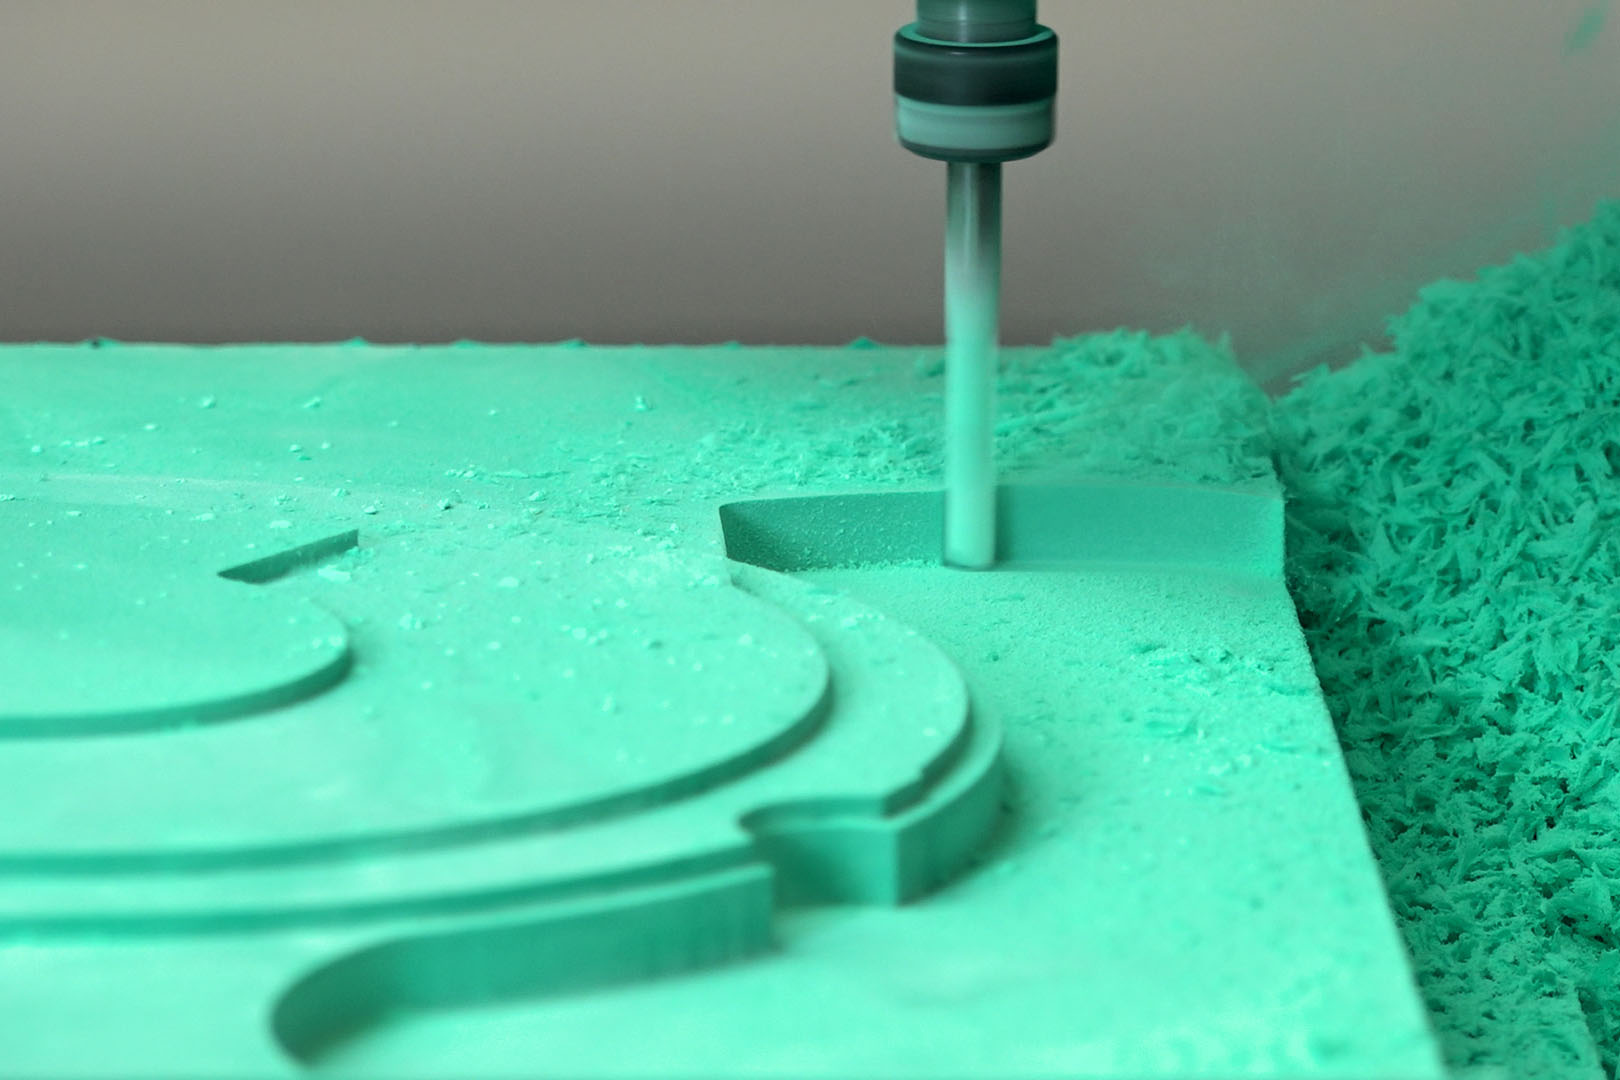
PRODUCTEN DIE IN DIT PROJECT ZIJN GEBRUIKT
Hoewel het niet per se een uitputtende lijst is, werden de volgende gereedschappen en materialen, geleverd door Easy Composites, in dit project gebruikt.
De hieronder getoonde hoeveelheid is de geschatte hoeveelheid die in het project is gebruikt, afgerond naar de dichtstbijzijnde beschikbare kitgrootte of hoeveelheid.
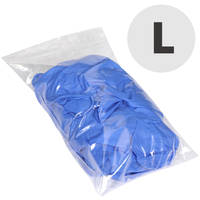
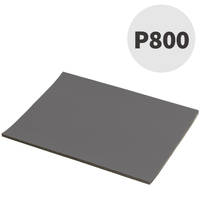
MATERIALEN & VERBRUIKSARTIKELEN
VIDEO-HANDLEIDING
CNC Verspanen van 3D CAD Patronen en Mallen uit Epoxy Tooling Board
Video tutorial die demonstreert hoe een 3D CAD-ontwerp kan worden bewerkt uit epoxy tooling board op een CNC-router om een zeer nauwkeurig patroon of mal te produceren. Inclusief hoe het patroon met de hand kan worden afgewerkt, afgedicht en glanzend gemaakt met behulp van S120 board sealer.
In de tutorial gebruiken we een desktop CNC-router om een blok van onze EB700 Epoxy Tooling Board te bewerken. Het originele 3D-ontwerp is gemaakt in Autodesk's Fusion360 CAD-programma.
Zodra de bewerking voltooid is, gebruiken we Mirka schuurpapier met korrel 800 om de oppervlakte van het patroon licht te egaliseren. Vervolgens spuiten we vier lagen S120 Advanced Board & Mould Sealer voordat we het oppervlak opnieuw egaliseren met meer schuurpapier met korrel 800, waarna we het patroon een volledige glans geven met vier veegapplicaties van de S120 board sealer.
OVERZICHT TUTORIAL
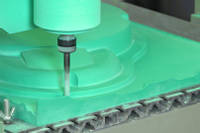
1. CNC-bewerking
Het ontwerp werd opgesteld met Fusion 360 voordat het CNC-gesneden werd met een desktop CNC-router. Voor toepassingen zoals deze was de 6mm frees ideaal en sneed het de plaat gemakkelijk. Nadat de initiële ruwe snijgangen waren voltooid, werden de afwerkingssneden uitgevoerd met een 0.25mm stapover om een goede algehele afwerking te garanderen.
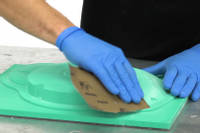
2. Handmatig afwerken
Het bewerkingsproces laat zeer kleine bewerkingssporen achter op het oppervlak van het model. Deze moeten worden gladgemaakt door het model handmatig te schuren met schuurpapier totdat de afwerking glad is. Een goede afveegbeurt met een doek is nodig om stof te verwijderen vóór het afdichten.
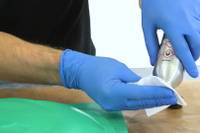
3. Plaatsealer
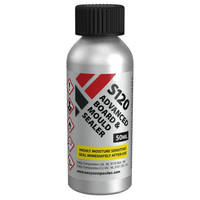
Deze fase heeft als doel het oppervlak van het model af te dichten en tot een hoogglans, perfecte afwerking te brengen, klaar om de mal van te nemen. Aanvankelijk worden lagen S120 plaatafdichtmiddel aangebracht met de spuitmond om te helpen afdichten en een egale coating op te bouwen. Voor een typische epoxyplaat zijn tussen de 3 en 5 lagen nodig.
Nadat de 4e laag enkele uren heeft gedroogd, schuurt u met schuurpapier de oneffenheden weg en maakt u de afwerking op de plaat glad. Eenmaal glad, wordt de laatste laag aangebracht met een pluisvrije doek voordat de sealer mag drogen. Eenmaal uitgehard, kan het patroon worden nagehard in de oven om het klaar te maken voor het malproductieproces.
DISCUSSIE (12)
Deel al uw vragen of opmerkingen over deze videohandleiding.
Ja, u kunt ook een dunne harslaag gebruiken om de plaat af te dichten als u geen specifieke plaatafdichter (zoals S120) wilt gebruiken. Hars zal iets dikker opbouwen en daarom iets meer schuren vereisen om een vlak, nauwkeurig oppervlak te herstellen. Een goede keuze zou onze XCR Epoxycoating Hars zijn - deze is dun aan te brengen, hardt snel uit tot een hoge glans en is zeer goed polijstbaar. De werktemperatuur van de XCR is lager dan die van de plaatafdichter, maar is nog steeds geschikt voor gebruik tot 80°C.
Bekijk onze tutorial over vacuümzakken van een gesplitst gevormd koolstofvezel buiscomponent, ik denk dat dit precies is wat u zoekt!
EEN OPMERKING OF VRAAG ACHTERLATEN
PRODUCTEN DIE IN DIT PROJECT ZIJN GEBRUIKT
Hoewel het niet per se een uitputtende lijst is, werden de volgende gereedschappen en materialen, geleverd door Easy Composites, in dit project gebruikt.
De hieronder getoonde hoeveelheid is de geschatte hoeveelheid die in het project is gebruikt, afgerond naar de dichtstbijzijnde beschikbare kitgrootte of hoeveelheid.
MATERIALEN & VERBRUIKSARTIKELEN
DISCUSSIE (12)
Deel al uw vragen of opmerkingen over deze videohandleiding.
Ja, u kunt ook een dunne harslaag gebruiken om de plaat af te dichten als u geen specifieke plaatafdichter (zoals S120) wilt gebruiken. Hars zal iets dikker opbouwen en daarom iets meer schuren vereisen om een vlak, nauwkeurig oppervlak te herstellen. Een goede keuze zou onze XCR Epoxycoating Hars zijn - deze is dun aan te brengen, hardt snel uit tot een hoge glans en is zeer goed polijstbaar. De werktemperatuur van de XCR is lager dan die van de plaatafdichter, maar is nog steeds geschikt voor gebruik tot 80°C.
Bekijk onze tutorial over vacuümzakken van een gesplitst gevormd koolstofvezel buiscomponent, ik denk dat dit precies is wat u zoekt!
EEN OPMERKING OF VRAAG ACHTERLATEN
100% VEILIG
BETAALMETHODEN
Easy Composites EU B.V., geregistreerd in Nederland 73601195. Alle inhoud auteursrecht (C) Easy Composites Ltd, 2025. Alle rechten voorbehouden.