Hulp of advies nodig?![]() +44 (0)1782 454499
+44 (0)1782 454499
VIDEO'S IN DEZE SERIE
Deze video is deel 2 van een 3-delige serie: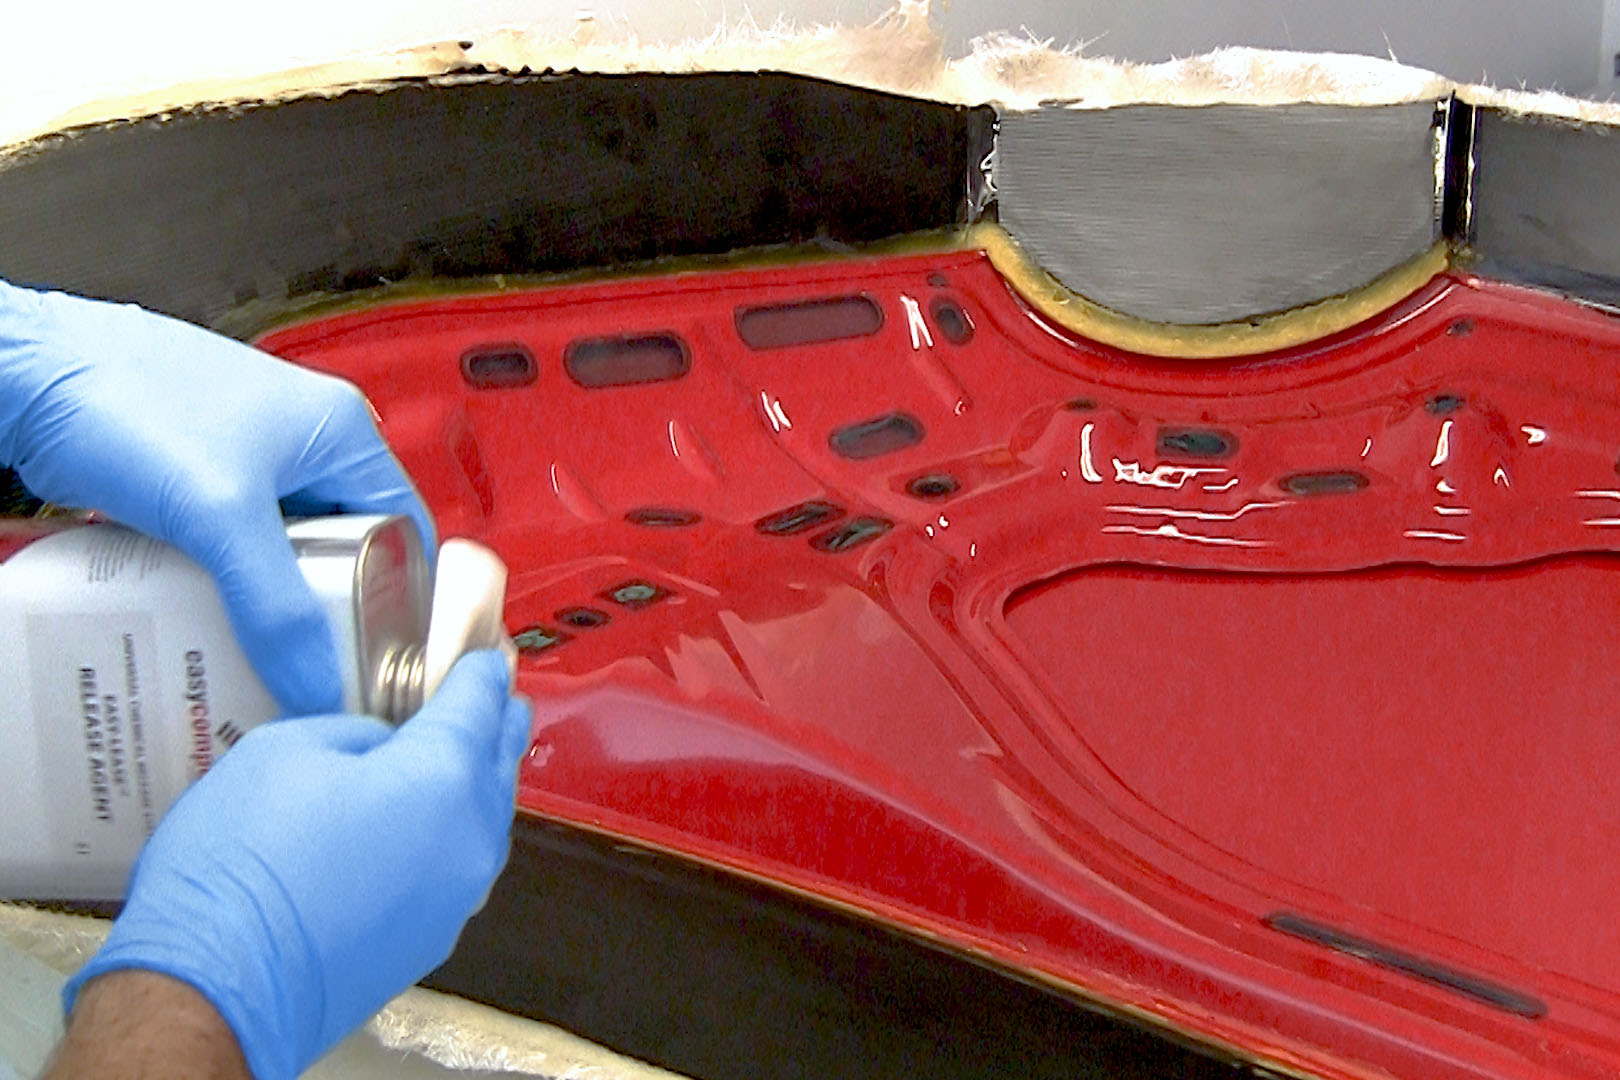
PRODUCTEN DIE IN DIT PROJECT ZIJN GEBRUIKT
Hoewel het niet per se een uitputtende lijst is, werden de volgende gereedschappen en materialen, geleverd door Easy Composites, in dit project gebruikt.
De hieronder getoonde hoeveelheid is de geschatte hoeveelheid die in het project is gebruikt, afgerond naar de dichtstbijzijnde beschikbare kitgrootte of hoeveelheid.
VERSTERKINGEN
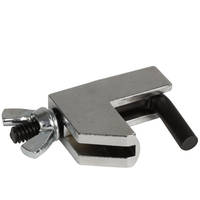
GEREEDSCHAP & APPARATUUR
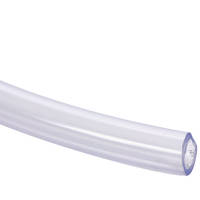
INFUSIE APPARATUUR & VERBRUIKSARTIKELEN
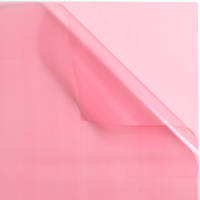
MATERIALEN & VERBRUIKSARTIKELEN
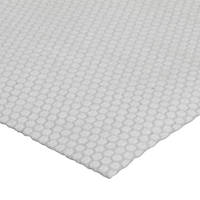
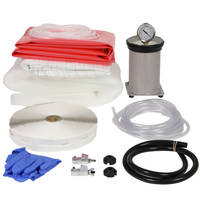
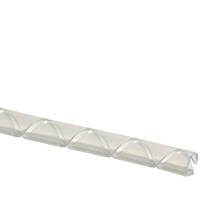
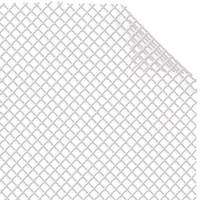
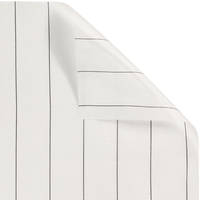
VACUÜMZAKBENODIGDHEDEN

VIDEO-HANDLEIDING
Hoe Hars in een Koolstofvezel Motorkap (of Vergelijkbaar Paneel) te Gieten
In deel 2 maken we de binnen- en buitenkant voor de motorkap met behulp van harsinfusie van koolstofvezel en Lantor Soric kernmateriaal.
OVERZICHT TUTORIAL
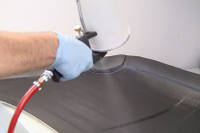
Spuiten van de GC50 epoxy-compatibele gelcoat (optioneel)
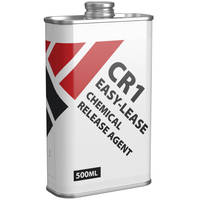
Voordat u de gelcoat kunt spuiten, moet de mal worden behandeld met EasyLease volgens de productinstructies.
Voor veel panelen is een transparante gelcoat niet nodig, aangezien de harsinfusie standaard al een uitstekende hoogglansafwerking geeft. We wilden deze extra stap echter demonstreren voor degenen die de ultieme hoogwaardige afwerking en UV-bescherming willen zonder enige nabewerking.
De GC50 wordt afgemeten en gekatalyseerd met MEKP voordat het grondig wordt gemengd en in het G100 Gelcoat bekerpistool wordt geladen. Zodra de juiste PBM zijn aangetrokken, wordt de gelcoat in een gelijkmatige laag op het maloppervlak gespoten voordat het wordt toegestaan uit te harden.
Voordat met de lay-up voor infusie wordt begonnen, wordt de overspray van de malflenzen gereinigd en worden eventuele druppels of onvolkomenheden op het gelcoat-oppervlak weggeschuurd.
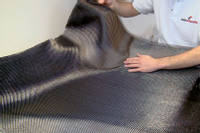
2. Het aanbrengen van het weefsel voor de motorkap huid
Terwijl de flenzen nu schoon zijn, wordt de Gum Tape helemaal rond de flens aangebracht. Dit is om ervoor te zorgen dat er geen losse vezels zijn die onder de tape vast kunnen komen te zitten, wat een klein lek in de zak zou veroorzaken.
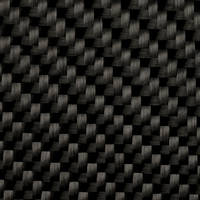
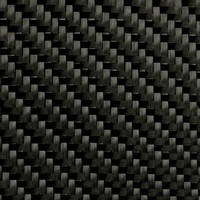
Na het zorgvuldig opmeten van de mal, wordt het stuk carbon van de juiste maat geselecteerd en voorzichtig in de mal gelegd. De oppervlaktelaag is een 210gsm kepergeweven carbonweefsel. Extra zorg wordt besteed om vervorming of trekken aan het weefsel te voorkomen, aangezien dit de zichtbare laag zal zijn op het bovenoppervlak van het afgewerkte onderdeel.
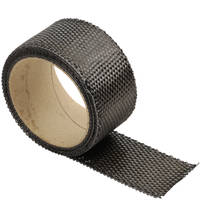
Het Soric kernmateriaal wordt vervolgens op maat gesneden, waarbij een kleine opening rond de rand wordt gelaten en in de mal wordt geplaatst. De opening wordt opgevuld met verschillende lagen koolstofvezeltape, zodat er geen richel of merkbare rand is die op het oppervlak kan doordrukken. De stoffen lay-up wordt vervolgens voltooid met nog een laag van de 210gsm twill Carbon Fibre.
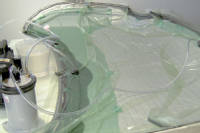
3. Harsinfusie van de motorkap huid
De infusiestapel wordt nu aan de mal toegevoegd, beginnend met de peel ply, dan mesh, siliconen connectoren, spiraal en tenslotte de vacuümzak. De infusie voor deze huid is een volledig conventioneel infusieproces.
Er wordt een vacuüm getrokken op de zak en, zoals cruciaal is bij alle infusies, wordt een goede lektest uitgevoerd om ervoor te zorgen dat de zak luchtdicht is en alle lekken zijn verholpen. Pas in dat stadium kunt u overwegen de daadwerkelijke infusie uit te voeren.
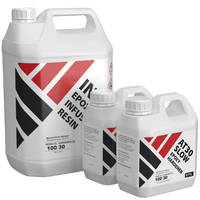
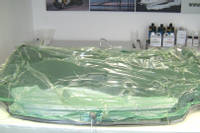
De IN2 Infusie epoxy wordt nauwkeurig afgemeten op de weegschaal en vervolgens grondig gemengd. Eenmaal gemengd, wordt de pomp aangezet en wordt de infusie gestart. Zodra de infusie is voltooid, worden de vacuümpoort en vervolgens de harsaanvoer afgeklemd en wordt de pomp uitgeschakeld. Het onderdeel kan dan worden achtergelaten om volledig uit te harden.
Na uitharding kunnen de vacuümzak en de vacuümopbouw voorzichtig worden verwijderd. De scheurdoek kan in stroken worden afgetrokken. Daarna wrikt u voorzichtig tussen het carbon en het vormoppervlak om de rand op te tillen en het onderdeel uit de mal te halen.
4. Harsinfusie van het binnenframe
Het basisinfusieproces voor het binnenframe is vrijwel identiek. Het enige verschil is dat de opbouw is vereenvoudigd tot 1 laag 210gsm twill doek op het oppervlak en 1 laag 650gsm doek als ruglaag. Extra stof wordt toegevoegd aan de scharnier- en haakgebieden voor extra sterkte.
Dezelfde infusie vacuümopbouw wordt aangebracht als voorheen en na de lektest wordt de infusie uitgevoerd. Na uitharding wordt het onderdeel op exact dezelfde manier uit de mal gehaald.
DISCUSSIE (7)
Deel al uw vragen of opmerkingen over deze videohandleiding.
EEN OPMERKING OF VRAAG ACHTERLATEN
PRODUCTEN DIE IN DIT PROJECT ZIJN GEBRUIKT
Hoewel het niet per se een uitputtende lijst is, werden de volgende gereedschappen en materialen, geleverd door Easy Composites, in dit project gebruikt.
De hieronder getoonde hoeveelheid is de geschatte hoeveelheid die in het project is gebruikt, afgerond naar de dichtstbijzijnde beschikbare kitgrootte of hoeveelheid.
VERSTERKINGEN
GEREEDSCHAP & APPARATUUR
INFUSIE APPARATUUR & VERBRUIKSARTIKELEN
MATERIALEN & VERBRUIKSARTIKELEN
VACUÜMZAKBENODIGDHEDEN
DISCUSSIE (7)
Deel al uw vragen of opmerkingen over deze videohandleiding.
EEN OPMERKING OF VRAAG ACHTERLATEN
100% VEILIG
BETAALMETHODEN
Easy Composites EU B.V., geregistreerd in Nederland 73601195. Alle inhoud auteursrecht (C) Easy Composites Ltd, 2025. Alle rechten voorbehouden.