Hulp of advies nodig?![]() +44 (0)1782 454499
+44 (0)1782 454499
VIDEO'S IN DEZE SERIE
Deze video is deel 1 van een 3-delige serie: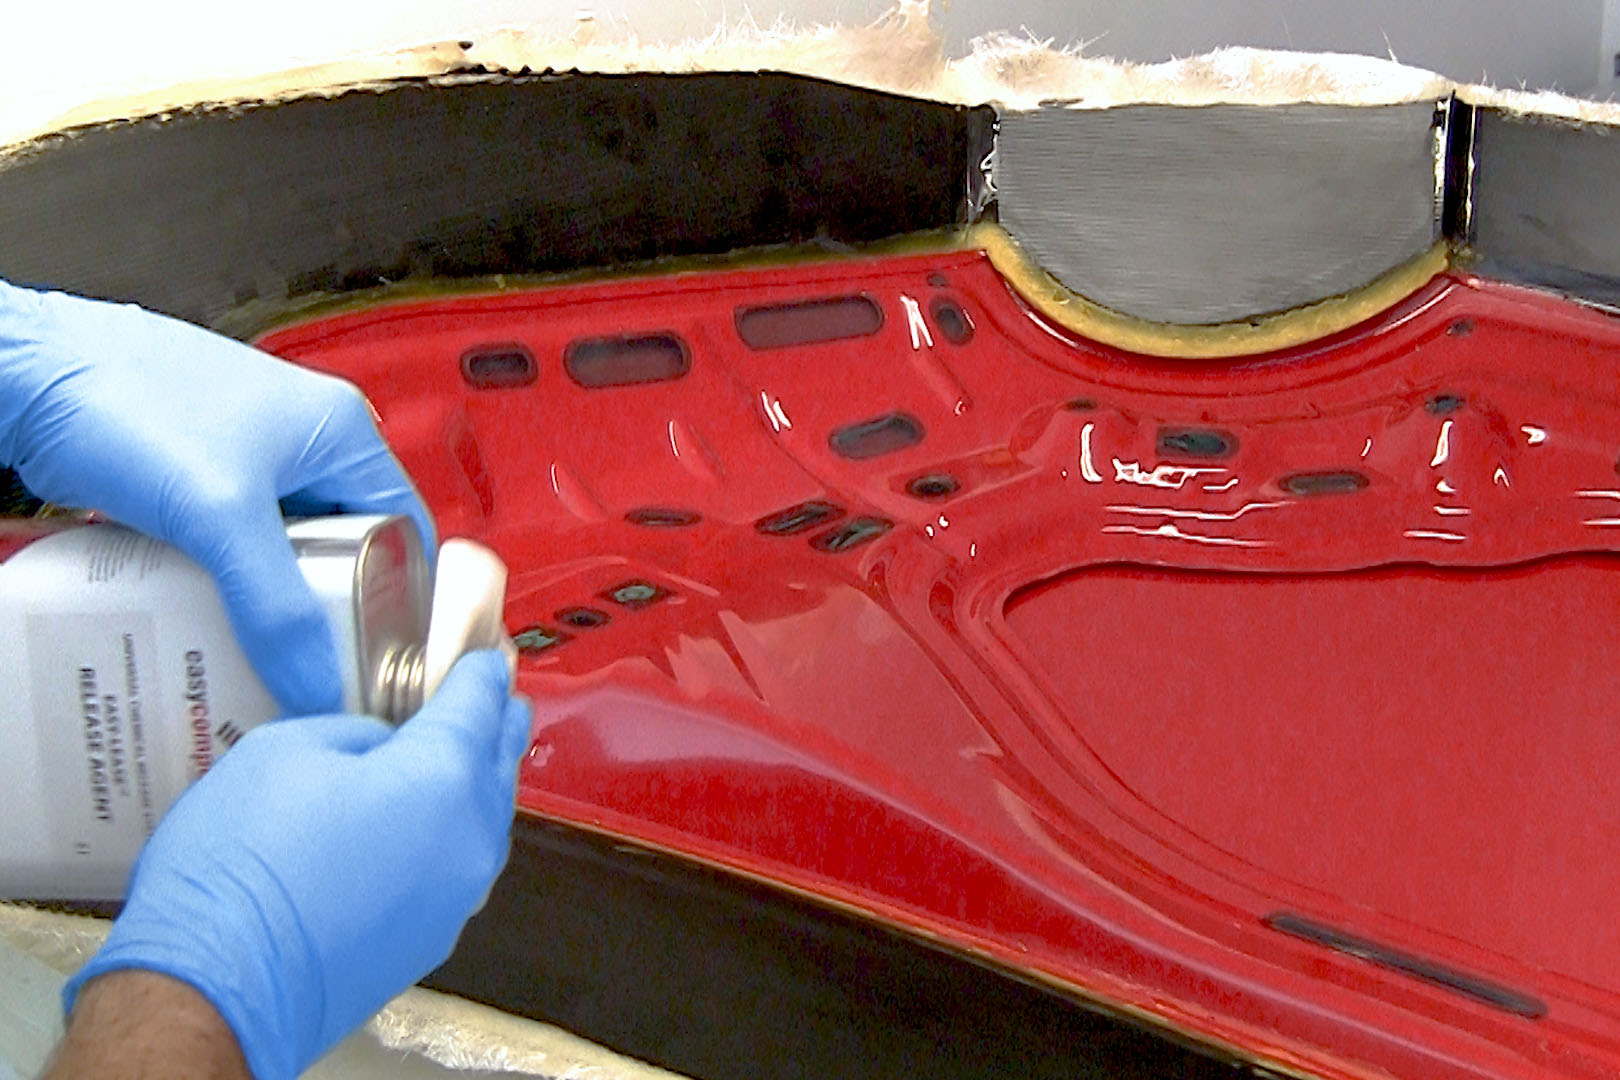
PRODUCTEN DIE IN DIT PROJECT ZIJN GEBRUIKT
Hoewel het niet per se een uitputtende lijst is, werden de volgende gereedschappen en materialen, geleverd door Easy Composites, in dit project gebruikt.
De hieronder getoonde hoeveelheid is de geschatte hoeveelheid die in het project is gebruikt, afgerond naar de dichtstbijzijnde beschikbare kitgrootte of hoeveelheid.
MATERIALEN & VERBRUIKSARTIKELEN

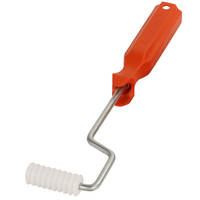
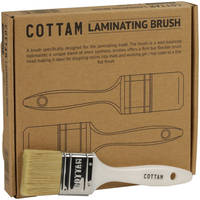
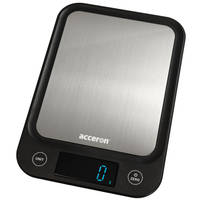
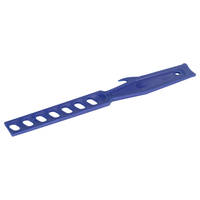
GEREEDSCHAP & APPARATUUR
VIDEO-HANDLEIDING
Een Mal Maken voor een Koolstofvezel Motorkap (of Vergelijkbaar Paneel)
In dit voorbeeld maken we een koolstofvezel motorkap, maar exact hetzelfde proces zou kunnen worden gebruikt om een dak, kofferbak, spatborden of deuren te maken. In dit geval hebben we een origineel paneel van een moderne Fiat 500 gebruikt. Elk afgewerkt patroon zou echter in dit stadium kunnen worden gebruikt als u geen origineel heeft om te kopiëren of als uw ontwerp uniek is.
OVERZICHT TUTORIAL
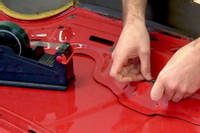
1. De motorkap voorbereiden
Kies idealiter een paneel in goede staat met minimale lakfouten of defecten op het oppervlak. Hoe beter de kwaliteit van het paneel nu, hoe beter de kwaliteit van het vormoppervlak zal zijn en hoe minder reparaties en polijsten later nodig zullen zijn.
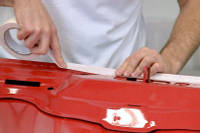
Verwijder alle onderdelen die niet moeten worden gegoten – zoals de motorkapvergrendeling. Maak sjablonen voor en creëer de malflenzen. Spleten rond de flenzen kunnen worden opgevuld met fileerwas om een afgedichte opening en een vloeiende overgang naar de flens te verkrijgen.
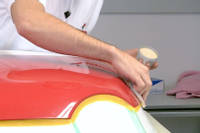
2. Aanbrengen van lossingsmiddelen
Om de grootste kans op een succesvolle lossing te garanderen, is het verstandig om op dit punt twee lossingsmiddelen te gebruiken. Eerst wordt EasyLease in 5 lagen op de motorkap aangebracht. Ten tweede wordt dit ondersteund met 2 lagen lossingswas.
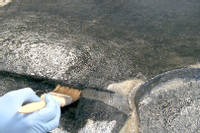
3. De buitenhuidmal maken
De mal voor de buitenhuid wordt vervolgens gemaakt met behulp van het Uni-Mould Mallenmaaksysteem. De opbouw voor deze mal is standaard voor het Uni-Mould systeem en bestaat uit Tooling gelcoat, ondersteund met een koppelingslaag en 100gsm CSM, uiteindelijk afgewerkt met de Tooling hars en 4 lagen 450gsm CSM om de mal extra sterkte te geven.
De buitenste huidmal wordt volledig uitgehard voordat de hele mal wordt omgedraaid om te beginnen met de binnenste framemal.
4. Het voorbereiden van het binnenframe
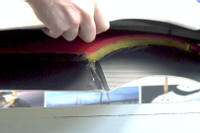
Het flensbarrièremateriaal wordt nu verwijderd, waardoor de flens van de motorkap-huidmal zichtbaar wordt. De afdichtingswas rond de buitenkant van de flens wordt bijgesneden en netjes gemaakt om dezelfde goede afdichting te garanderen tussen de buitenhuidmal en de motorkap zelf. De gaten en sleuven aan de onderzijde van het frame worden afgedicht met lossingsband om de hars buiten te houden en een gladde, nette afgewerkte mal te produceren.
De gehele onderzijde van de motorkap wordt vervolgens gecoat met lossingsmiddel, net als de buitenhuid, waarbij extra zorg wordt besteed om ervoor te zorgen dat de nieuwe flens goed is gecoat met lossingsmiddel.
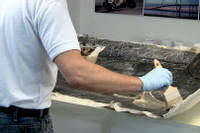
5. Het maken van de mal voor het binnenframe
Het malproductieproces voor het binnenframe is identiek aan dat van de buitenhuid. Eenmaal voltooid, wordt de mal volledig uitgehard voordat deze kan worden bijgesneden en ontkist.
6. De mallen ontkisten en bijsnijden
Markeer de buitenrand van de flens met een markeerstift als snijgeleider. De ruwe randen worden vervolgens met een decoupeerzaag afgesneden om de nette randen van de mal te onthullen. Gebruik een beitel of ontkistingsgereedschap om voorzichtig tussen de bovenste en onderste mallen te wrikken om een kleine opening te creëren. Verbreed deze opening voorzichtig en scheid en ontkist de mal voor de buitenhuid en de mal voor het binnenframe van de originele motorkap.
Eenmaal ontkist, kunnen eventuele ruwe randen worden opgeruimd en de was worden verwijderd alvorens de mallen te inspecteren op beschadigingen.
7. Repareren van de malbeschadiging
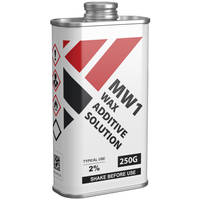
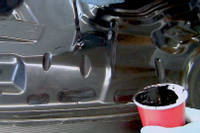
Een klein gedeelte is beschadigd en heeft een gelcoat reparatie nodig. Met gereedschap en schuurpapier werd het beschadigde materiaal verwijderd en voorbereid voor reparatie. Een kleine hoeveelheid Tooling Gel Coat wordt gemengd met wat MW1 Wax Additive Solution om een plakkerige oppervlakteafwerking te voorkomen.
Eenmaal uitgehard werd de reparatie zorgvuldig vlak geschuurd met het omliggende gebied, alvorens deze weer tot hoogglans te polijsten.
8. Schuren en polijsten van de mal
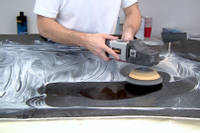
Om een professioneel afwerking van zeer hoge kwaliteit te krijgen, is de mal geschuurd en daarna gepolijst. Het oppervlak van de mal heeft zeer fijne afdrukken van het malproces en enkele kleine vlekken en oneffenheden van de imperfecties op de originele motorkap. De imperfecties werden verwijderd door het oppervlak nat te schuren van grof naar fijn. Daarna is het machinaal gepolijst voor de hoogglansafwerking.
DISCUSSIE (12)
Deel al uw vragen of opmerkingen over deze videohandleiding.
Meer dan 4 lagen tegelijk zou echt riskeren dat de mal oververhit raakt. Als je dikker wilt gaan, moet je wachten tot de eerste 4 lagen zijn uitgehard, dan het oppervlak opruwen en nog eens 4 lagen aanbrengen (je hebt de dikte van 4 lagen nodig om de warmte te krijgen om de hars uit te harden)
EEN OPMERKING OF VRAAG ACHTERLATEN
PRODUCTEN DIE IN DIT PROJECT ZIJN GEBRUIKT
Hoewel het niet per se een uitputtende lijst is, werden de volgende gereedschappen en materialen, geleverd door Easy Composites, in dit project gebruikt.
De hieronder getoonde hoeveelheid is de geschatte hoeveelheid die in het project is gebruikt, afgerond naar de dichtstbijzijnde beschikbare kitgrootte of hoeveelheid.
MATERIALEN & VERBRUIKSARTIKELEN
GEREEDSCHAP & APPARATUUR
DISCUSSIE (12)
Deel al uw vragen of opmerkingen over deze videohandleiding.
Meer dan 4 lagen tegelijk zou echt riskeren dat de mal oververhit raakt. Als je dikker wilt gaan, moet je wachten tot de eerste 4 lagen zijn uitgehard, dan het oppervlak opruwen en nog eens 4 lagen aanbrengen (je hebt de dikte van 4 lagen nodig om de warmte te krijgen om de hars uit te harden)
EEN OPMERKING OF VRAAG ACHTERLATEN
100% VEILIG
BETAALMETHODEN
Easy Composites EU B.V., geregistreerd in Nederland 73601195. Alle inhoud auteursrecht (C) Easy Composites Ltd, 2025. Alle rechten voorbehouden.