Need any help or advice?![]() +44 (0)1782 454499
+44 (0)1782 454499
VIDEOS IN THIS SERIES
This video is part 3 of a 5 part series:
PRODUCTS USED IN THIS PROJECT
Although not necessarily an exhaustive list, the following tools and materials, supplied by Easy Composites, were used in this project.
The quantity shown below is the approximate amount used in the project rounded up to the nearest available kit size or quantity.
MOULD MAKING MATERIALS

ANCILLARIES

VIDEO TUTORIAL
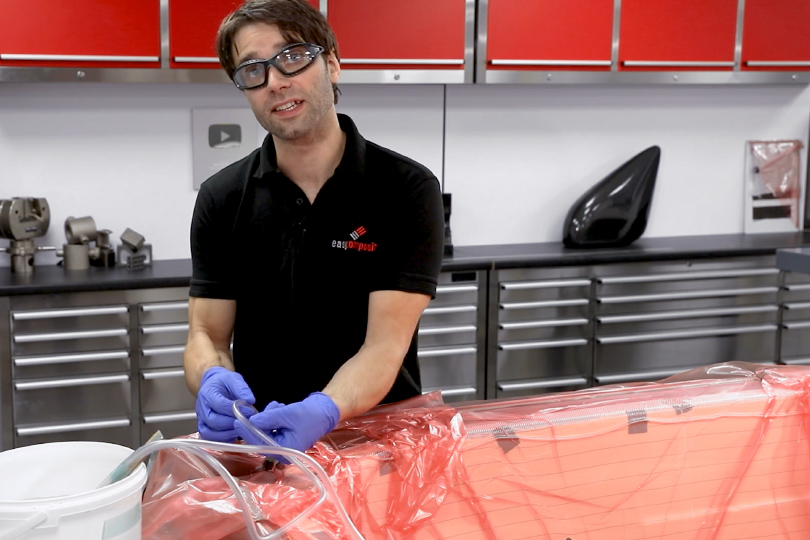
How to Laminate Larger Composite Moulds Using Uni-Mould
WHAT YOU WILL LEARN
- How to add simple flat barriers to your pattern
- How to apply release agent and corner filets to you pattern
- How to gelcoat and laminate a larger mould using the Uni-Mould tooling system
In this video tutorial we work from a pattern and use it to produce a production-ready fibreglass mould (tool) using the Uni-Mould tooling system.
This tutorial demonstrated laminating the mould in multiple sections which is a process that can be used to laminate a mould of any size.
INTRODUCTION
There are many different mould making methods and materials used in modern composites, in this tutorial we will be focusing solely on the Uni-Mould tooling system which is a very versatile mould making material which is suitable for use with all common resin systems including epoxy, vinylester and polyester.
Uni-Mould contains special fillers that massively reduce the shrinkage and warping associated with traditional polyester mould making methods. The ability to simultaneously laminate 4 plies of 450gsm as the main reinforcement structure allows for very rapid mould production and, in-fact, the entire process can be completed in a single day.
In this tutorial we will be preparing the pattern with Easylease chemical release agent, attaching polypropylene barriers that will form the mould flange and applying fillets to seal the joints using filleting wax. We then go on to produce the mould itself and cover all of the techniques and methods required to correctly apply the tooling gelcoat, coupling coat and tooling resin, once the mould has cured it is released from the pattern and lightly polished to finish the production-ready mould.
Material Compatibility
The Uni-Mould system has a vinylester gelcoat which will be in direct contact with you pattern so it is very important to check that your pattern is made from, or coated with, a material that will not be attacked from the styrene solvent in the gelcoat. In this video we use a pattern that has been coated with the Pattern-Coat™ Primer and Hi-Gloss which are known to be completely compatible.
It is also common to create moulds from existing panels that have been painted, whilst most professional and industrial 2k paints (like factory car panels) will work perfectly well, it is essential to conduct a small test to ensure compatibility of any unknown paint system. The most common mistake that we encounter is patterns coated with normal 1k 'rattle-can type paint systems, whilst you can achieve an excellent surface finish on the pattern, this will soon be attacked by the styrene in the gelcoat causing the pattern to bond permanently into the mould.
The Uni-Mould system can be used with all conventional composites release systems including Easylease chemical release agent, mould release wax and PVA mould release agent.
Uni-Mould is known to work with the following pattern/barrier materials:
- Pattern-Coat™ Primer
- Pattern-Coat™ Hi-Gloss
- Heat Cured 2k Paint*
- Polyester/Vinylester/Epoxy Gelcoats
- Calibrated Sheet Wax
- Polypropylene, Polyethylene, Nylon, Acetal, PTFE and PVC Plastics**
- Glass
- Metals
- Melamine Board
*Conduct a test sample to ensure compatibility. **Will self-release, release agent is not necessarily required.
TUTORIAL BREAKDOWN
1. Materials and equipment needed
To prepare the pattern you will need a suitable release agent, in this project we are using Easylease chemical release agent. You will also need a suitable material to form the barriers for the flanges, here we use polypropylene sheet, fluted sign-board is another option that is more cost effective but will leave a slightly ridged texture on the mould flange. You will also need fileting wax to seal around the barriers and create smooth fillets.
The mould itself is made using the Uni-Mould tooling system which comprises of a tooling gelcoat for the mould surface, a coupling coat resin that is reinforced with a light weight chopped strand mat and then the main mould reinforcement which comprises of a tooling resin and 4 plies of 450gsm chopped strand mat, although we do supply all of the materials individually, in this example we are using the large Uni-Mould complete mould making kit which is a convenient package which includes all off the laminating tools and materials needed to produce up to 3.3sqm of mould.
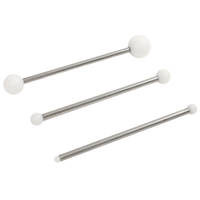
Tools list:- Wax filleting tools
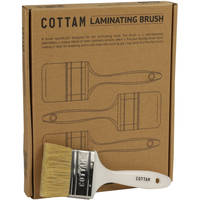
- Laminating brushes*
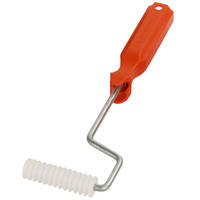
- Plastic finned roller*
- Mixing buckets
- Knife/shears
- Weighing scales
- Trimming tool (typically an angle-grinder)
*included in the Uni-Mould complete mould making kit.
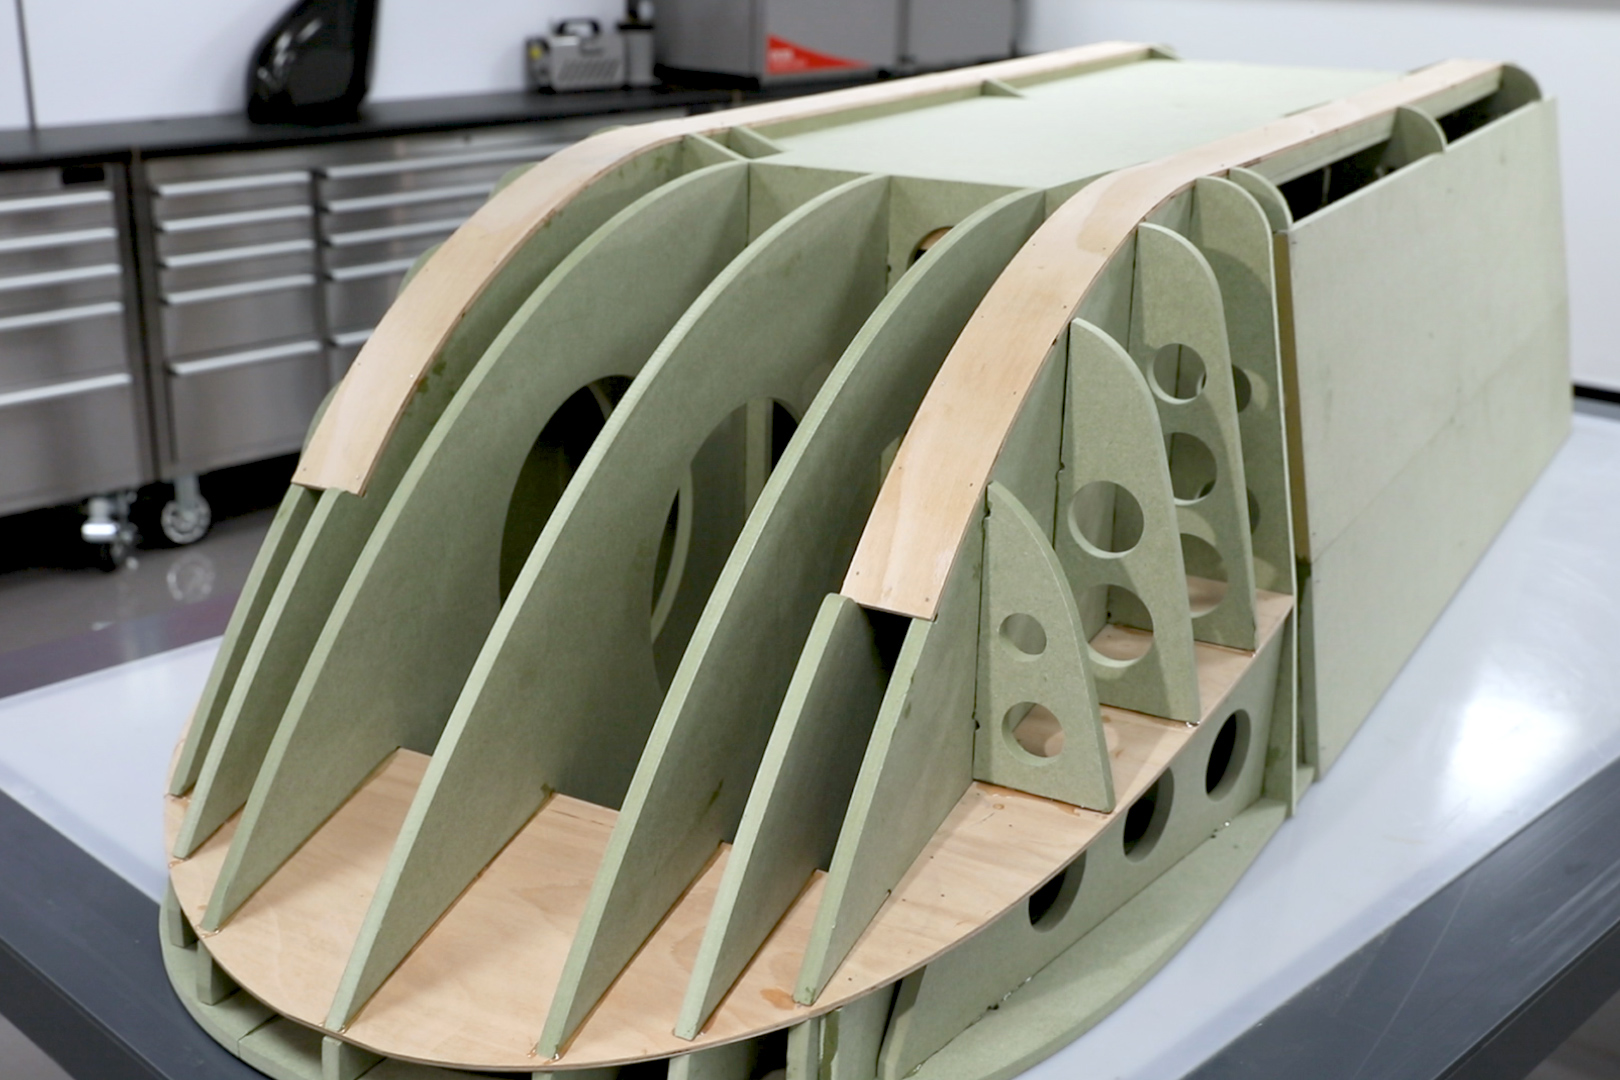
2. Create the barriers
If your pattern has not been made with the barriers included they will need to be added, the purpose of the barrier is to create an extension around the perimeter of the pattern that will for a flange on the mould, mould flanges are an important feature that allow the part to be made oversized so that it can be trimmed to final dimension, it also creates the area where a vacuum bag can be sealed in the case of mould sealed vacuum bagging methods.
Barriers can be made from any material that will provide a release, in this example we are using 3mm polypropylene sheet attached to a particle board backing, many plastics are suitable for this application including polyethylene, PVC, acetal, nylon and PVC, a commonly available plastic which should be avoided is ABS this is because the styrene in the tooling gelcoat will attack the ABS which will likely lead to sticking. For flat barriers melamine covered particle board (contiboard) is also suitable but this will require release agent to ensure easy separation.
The size of the flange required will largely depend on the process that the mould is intended for, moulds for hand layup or prepreg production can often have smaller flanges of around 50mm, this particular mould is intended for resin infusion where a flange of at least 100mm is preferred to provide sufficient room to position the stack of materials and seal the vacuum bag to the flange. If practical it is also good practice to put a 90degree return onto the flange as this will further stiffen the mould and ensure that the flanges don’t warp.
Once cut to shape the barriers can be attached using any appropriate method, typically hot-melt glue or double-sided tape is used for this, it just needs to be robust enough not to moved or detach when stressed during the hand layup process.
The example in this tutorial uses a very simple flat barrier, many project do require a much more complex flange to be formed, you can find examples of more complicated barriers in our bonnet mould making and airbox mould making tutorials.
3. Apply the release agent
If the pattern or original part is not completely clean, then the first step will be to remove any surface contamination by washing with soapy water and following with a solvent based cleaner such as EasyLease™ Mould Cleaner.
Most composite release systems such as wax and PVA can be used with the Uni-Mould tooling system but we would recommend using the highly reliable Easylease chemical release agent, which is what is used in this and indeed most of our other projects.
Pattern cleaning and release agent application should be performed in a well-ventilated area. After cleaning the mould surface apply the Easy-Lease™ Chemical Release Agent in a thin film over the surface of the mould using a small piece of lint-free cloth.
Once the film begins to evaporate (5-30 seconds) use a second piece of cloth lightly in a circular motion to remove the excess and even-out the film.
On a new pattern apply at least 6 coats leaving a minimum of 15mins between each application. Leave the final coat for at least 1 hour before laminating the mould. It is important to use lint free solvent application wipes as normal tissue papers can be attacked by the solvent and leave smearing, it is also important to use a fresh piece of cloth for each coat so that you don’t contaminate the release agent with partly cured material from the previous cloth.
Note: Large patterns may need to be done in stages to avoid evaporation, depending upon working temperature and mould complexity around 0.5sqm should be considered the maximum area per application.
4. Create the wax filets
The corner between the pattern and the mould needs to be sealed to prevent the gelcoat from bleeding under and creating a mechanical lock, to do this a very simple and effective method is to apply a bit of fileting wax to the corner and then shape a radius by dragging a ball ended fileting tool pressed firmly into the corner. It is also possible to use modelling clay such as plasticine for this application, but it must be warmed sufficiently to allow it to form easily and not peel out behind the tool. Any wax residue can be lifted by rubbing another piece of wax over it.
5. Apply the tooling gelcoat
The Uni-Mould tooling gelcoat is vinylester based so it needs catalysing with MEKP at 2% as this gel is quite low reactivity if you are working in a cooler environment 3% MEKP would be preferred to ensure that the gelcoat cures in a reasonable time. With precise scales it is possible to weigh it the catalyst but it this example we are using a catalyst dispenser bottle to make the dosing easier, with the catalyst added the gelcoat needs to be thoroughly mixed ensuring to scrape the sides and bottom of the container to ensure that it is fully mixed.
Now catalysed, the gelcoat can be brushed onto the pattern, this is a liberal application and you will find that it will naturally coat evenly at about 4-500g per square meter. The brushing method is probably better described as spreading rather than painting and you are looking for an even coverage without any drips or runs, special care should be taken in corners at the bottom of vertical surfaces to ensure that there is not excessive pooling.
The Uni-Mould tooling gelcoat does not exclusively need to be used with the rest of the Uni-Mould system and is compatible with all conventional polyester and vinylester resins and, as such, is commonly used as a durable tooling surface for more traditional GRP mould making methods using polyester laminating resins for the reinforcement.
After coating this is left to cure which will typically be around 4-6hrs at room temperature. Is it very important that the gelcoat is properly cured before continuing with a second coat or the coupling coat, if you continue too soon the gelcoat will be attacked by the solvents in the next layer which will wrinkle and ruin the surface. When it is properly cured it will feel completely solid with a very slightly tack, if you are in any doubt leave it longer, good adhesion to the following layers will still be achieved even days later.
For more complex, 2-coats of gelcoat is usually preferred to ensure a good coat thickness is achieved in all areas, if you are applying a second gelcoat this is done in exactly the same manner as the first.
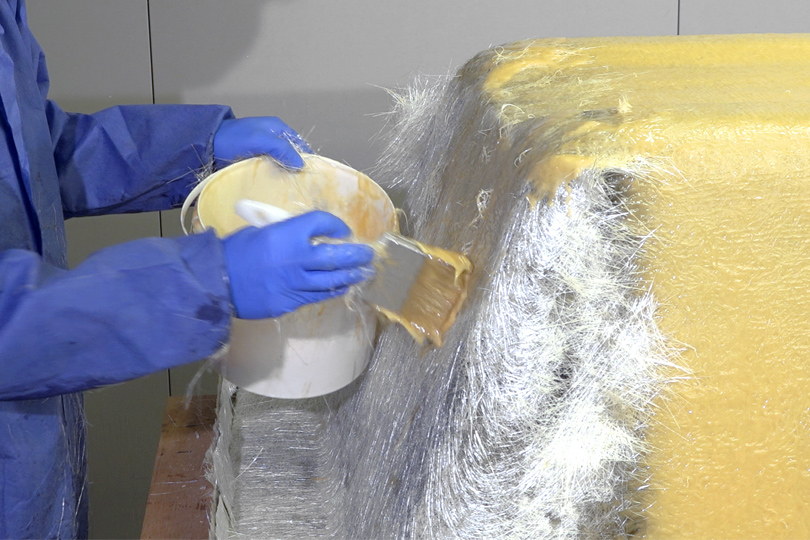
6. Laminate the coupling coat
The purpose of this coupling coat is to put a layer of reinforcement without any voids onto the gelcoat, unlike the tooling resin that will follow later the coupling coat resin is transparent and so identifying and eliminating small air pockets and voids is much easier, if then in the following main tooling resin reinforcement there are small air voids these will be behind this coupling layer and therefore the gelcoat will still be supported.
Before mixing the Coupling coat resin you should prepare the chopped strand mat, the particular mat used in the coupling coat is a very lightweight 100g mat, this is only used for the coupling coat where we will laminate 2 plies, the 100g matting is ideal for these very first layers as is follows the contours and details of the mould very easily.
When cutting the reinforcement you will find that cutting the kit of matting into panels that neatly fit into the shapes and contours of the mould with make the layup much easier, the matting will cut easily with scissors or a knife, where you have overlaps in the reinforcement it is generally best to tear the matting so that you get a feathered edge which will make for a smoother and more level transition into the next piece.
With the reinforcement prepared the coupling coat resin can be mixed, just like the gelcoat, the coupling coat is a vinylester resin system and therefore needs catalysing with MEKP at 1-2% and mixing in just the same way.
The coupling coat can then be brushed onto the gelcoat and the chopped strand mat laid onto this, whenever you are hand laminating it its always best practice to get a rich layer of resin under the reinforcement, rather than trying to wet the material out from the back, as this reduces the likelihood of air entrapment.
With the chop strand mat laid down it can then be stippled into the resin, at this point the emulsion binder that holds the chopped strands together will begin to dissolve in the resin and it will become much more pliable and able to follow intricate contours. Once this binder in the matting has broken down brush strokes on the surface should be avoided as these will easily drag the now loose fibres around the surface, instead a stippling action should be used to consolidate the laminate, unless you are working on a very small mould, a laminating roller will also make the consolidation easier and more even. Identifying when the matting is fully wetted out is very easy as it will look almost completely transparent and any air bubbles or pockets will have been removed.
Once laminated the coupling coat should be allowed to cure to a ‘tack’ which will typically be 1-3hrs depending on catalyst level and ambient temperature.
7. Laminate the main tooling resin and reinforcement
With the coupling coat cured, the main reinforcement for the mould can now be applied this comprises of the tooling resin used in conjunction with 4 layers of a heavier weight 450gsm chopped strand mat which has been precut into a kit in the same way as the coupling coat reinforcement. It is important to do all four layers in one lamination as the specialist non-shrink fillers need the heat from the exothermic reaction to work, if you were to do less layers the heat build-up would not be sufficient, likewise if you were to go much thicker with the laminate you run the risk of the layup getting too hot during cure which could lead to pre-release or distortion.
Laminating with essentially the same method as the coupling coat the four layers are built over a manageable area, for a single laminator working alone the largest mould that should be attempted in one layup would normally be around 1sqm, if the part is larger than this, the staggered layup method, demonstrated here using multiple batches of resin and laminating around 0.75sqm at a time will be needed, using this technique a mould of almost any size can be tackled and you will see on this mould the first areas that were laminated are curing as I we are laying up a new strip 2 batches further down.
After the laminating is complete the mould can be left to cure, when this happens the resin will generate heat through an exothermic reaction and you will notice it cures to a lighter colour, after 24hrs at room temperature it will be ready to remove from the pattern.
We do use this Uni-Mould tooling system in a number of our videos so if you want to pick up even more tips on working with this system it’s definitely worth taking a look through some of our other tutorials such as the bonnet mould making and airbox mould making projects.
8. De-mould from the pattern
With the mould now cured the plastic flange barriers can be removed and the mould flanges trimmed back, In this example we use an angle grinder with a 1mm slitting disc which makes light work of the job, but there are many appropriate tools that can be used for this task.
If the pattern was properly prepared the mould should separate easily from the pattern, gently prizing the separation line with a plastic wedge it usually all that is required, for more stubborn moulds sometimes lightly flexing and twisting the mould, or tapping over the surface with a rubber mallet will help to break it away.
9. Polish to a final finish
After removing from the pattern there may be slight haze left on the surface of the mould from the release agent, this almost instantly polishes out using NW1 polishing compound and a rotary polisher leaving a mirror like finish on the mould, this mould is now ready for service!
DISCUSSION (3)
Please share any questions or comments you may have about this video tutorial.
You could but you would be needing to deal with the classic problem of traditional polyester resin layups, which is the shrinkage. The best way to deal with polyester shrinkage is to lay us one layer at a time and allow it to cure fully between plies. By building up the layers slowly, over a number of days, the effects of shrinkage are significantly reduced. The advantage to Uni-Mould is that its shrinkage is negligible, allowing what should take four or more days to be done in one for the same result.
The large, 3.3sqm kit, was enough to make this mould.
LEAVE A COMMENT OR QUESTION
PRODUCTS USED IN THIS PROJECT
Although not necessarily an exhaustive list, the following tools and materials, supplied by Easy Composites, were used in this project.
The quantity shown below is the approximate amount used in the project rounded up to the nearest available kit size or quantity.
MOULD MAKING MATERIALS
ANCILLARIES
DISCUSSION (3)
Please share any questions or comments you may have about this video tutorial.
You could but you would be needing to deal with the classic problem of traditional polyester resin layups, which is the shrinkage. The best way to deal with polyester shrinkage is to lay us one layer at a time and allow it to cure fully between plies. By building up the layers slowly, over a number of days, the effects of shrinkage are significantly reduced. The advantage to Uni-Mould is that its shrinkage is negligible, allowing what should take four or more days to be done in one for the same result.
The large, 3.3sqm kit, was enough to make this mould.
LEAVE A COMMENT OR QUESTION
100% SECURE
PAYMENT METHODS
Easy Composites EU B.V., registered in the Netherlands 73601195. All content copyright (C) Easy Composites Ltd, 2025. All rights reserved.